
Article link has been copied
Get 15% Off On Your First Purchase
What’s Been Up

5 festive nail designs to inspire your next at-home mani

By
Urvi Shah
3
min read
Makeup
5 festive nail designs to inspire your next at-home mani
What’s Been Up
Makeup

5 festive nail designs to inspire your next at-home mani

‍

By
Urvi Shah
By
Urvi Shah
What’s Been Up
Makeup
3
Min read
Consider this your festive nail moodboard. Discover five chic designs to bookmark, recreate and wear on repeat all season long
5 festive nail designs to inspire your next at-home mani

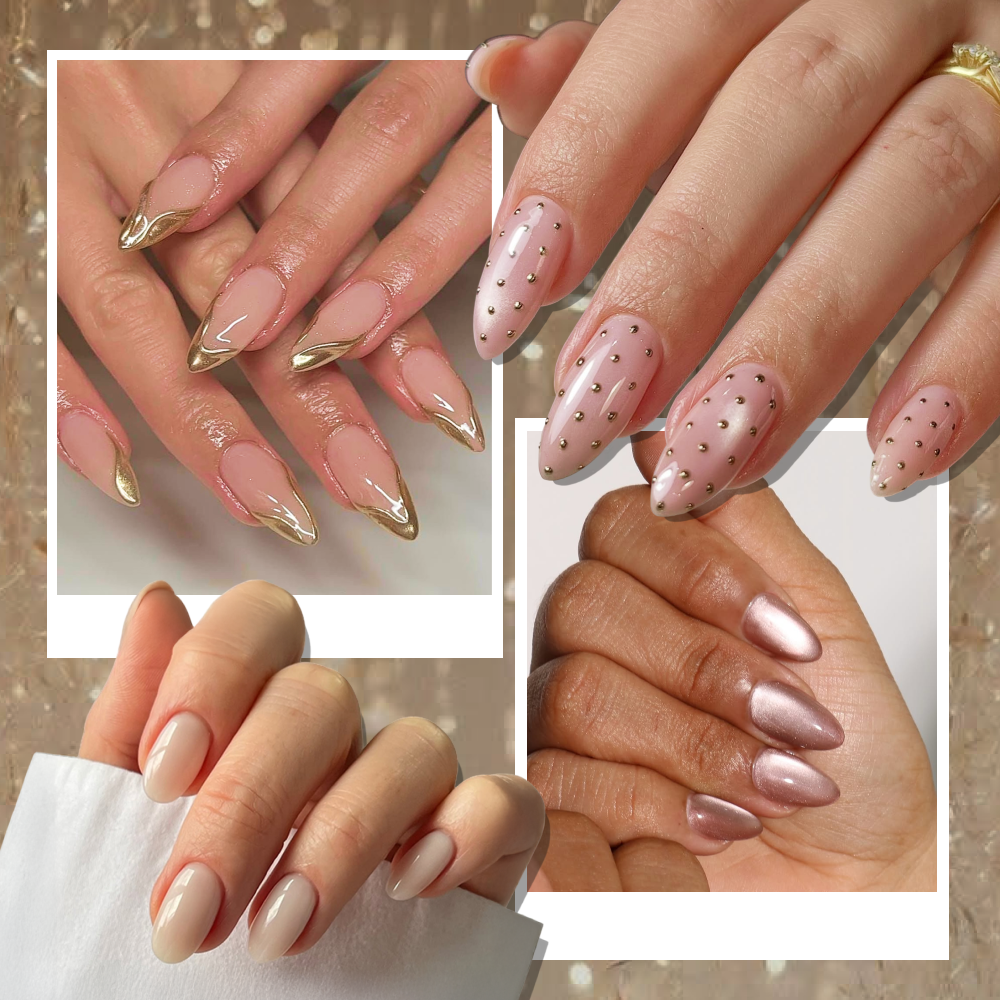
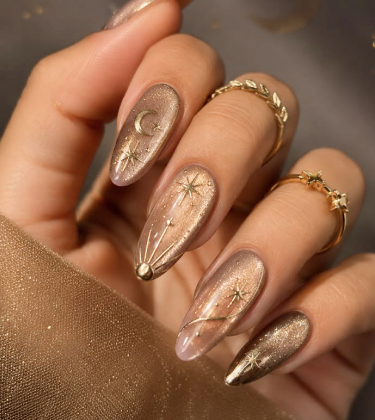
Festive nails are no longer an afterthought. They’re just as much a part of your look as your hair and makeup. From a flash of gold that catches the light every time you reach for your clutch to a quiet luxury manicure that looks effortlessly polished wrapped around a champagne coupe, there's something so undeniably chic about having photo-ready digits. And while some manicures may seem impossible to achieve without a nail artist, many are relatively easy to recreate at home.

‍

Ahead, six designs worth bookmarking for the festive season.
‍

Daily Life Forever52 Naturals The All You Need 32 Shades Eyeshadow Palette - Midnight Haze 03 (48 g)
1162613
Daily Life Forever52
Know More
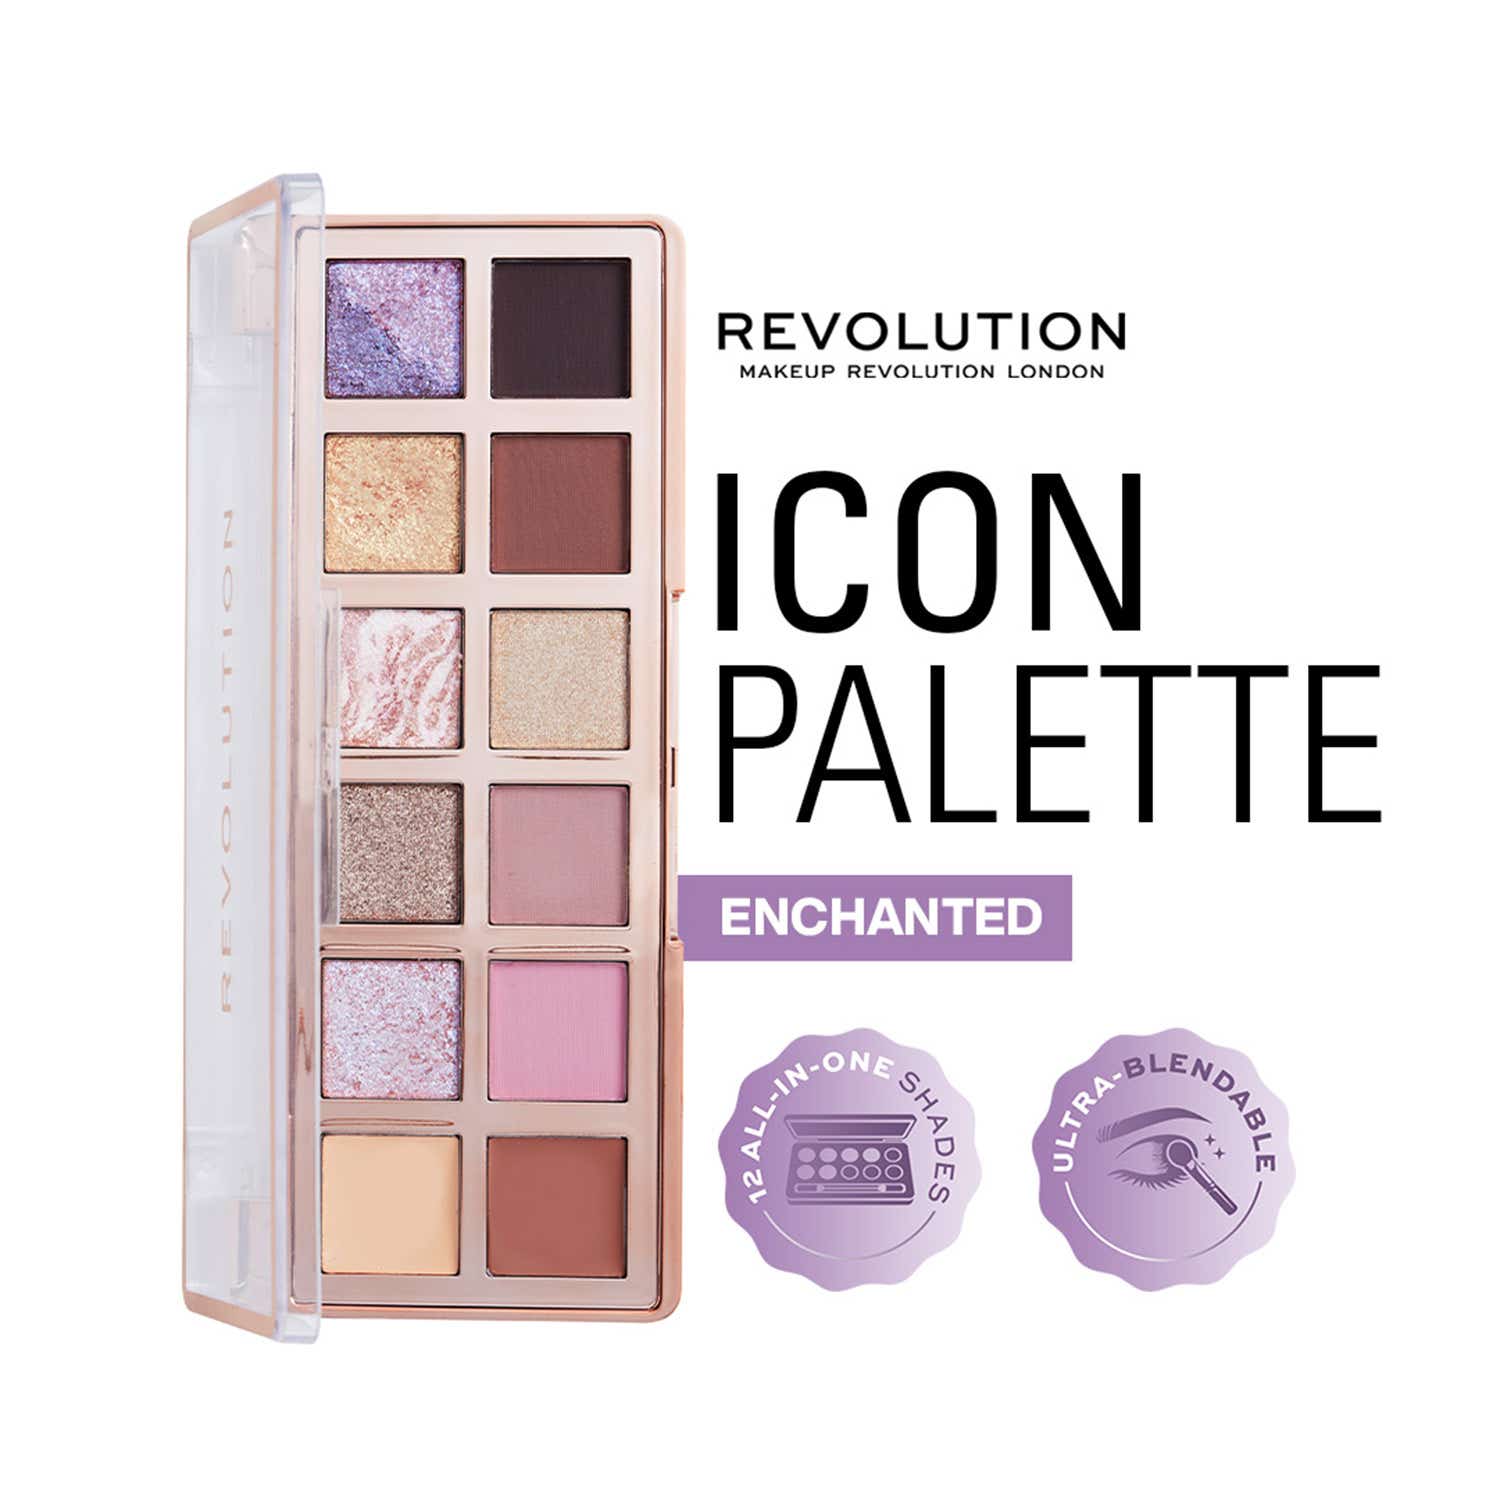
Makeup Revolution The Icon Palette - Enchanted Icon (8.4 g)
1160851
Makeup Revolution
Know More
KIKO Milano Fast & Shiny Base And Top Coat (11 ml)
1138005
KIKO Milano
Know More
KIKO Milano Smart Nail Lacquer - 101 White French (7 ml)
1138141
KIKO Milano
Know More
Lakme Absolute Gel Stylist Nail Polish Snowball + Top Coat Combo
COMBO_240202085548-G0M
Lakme
Know More
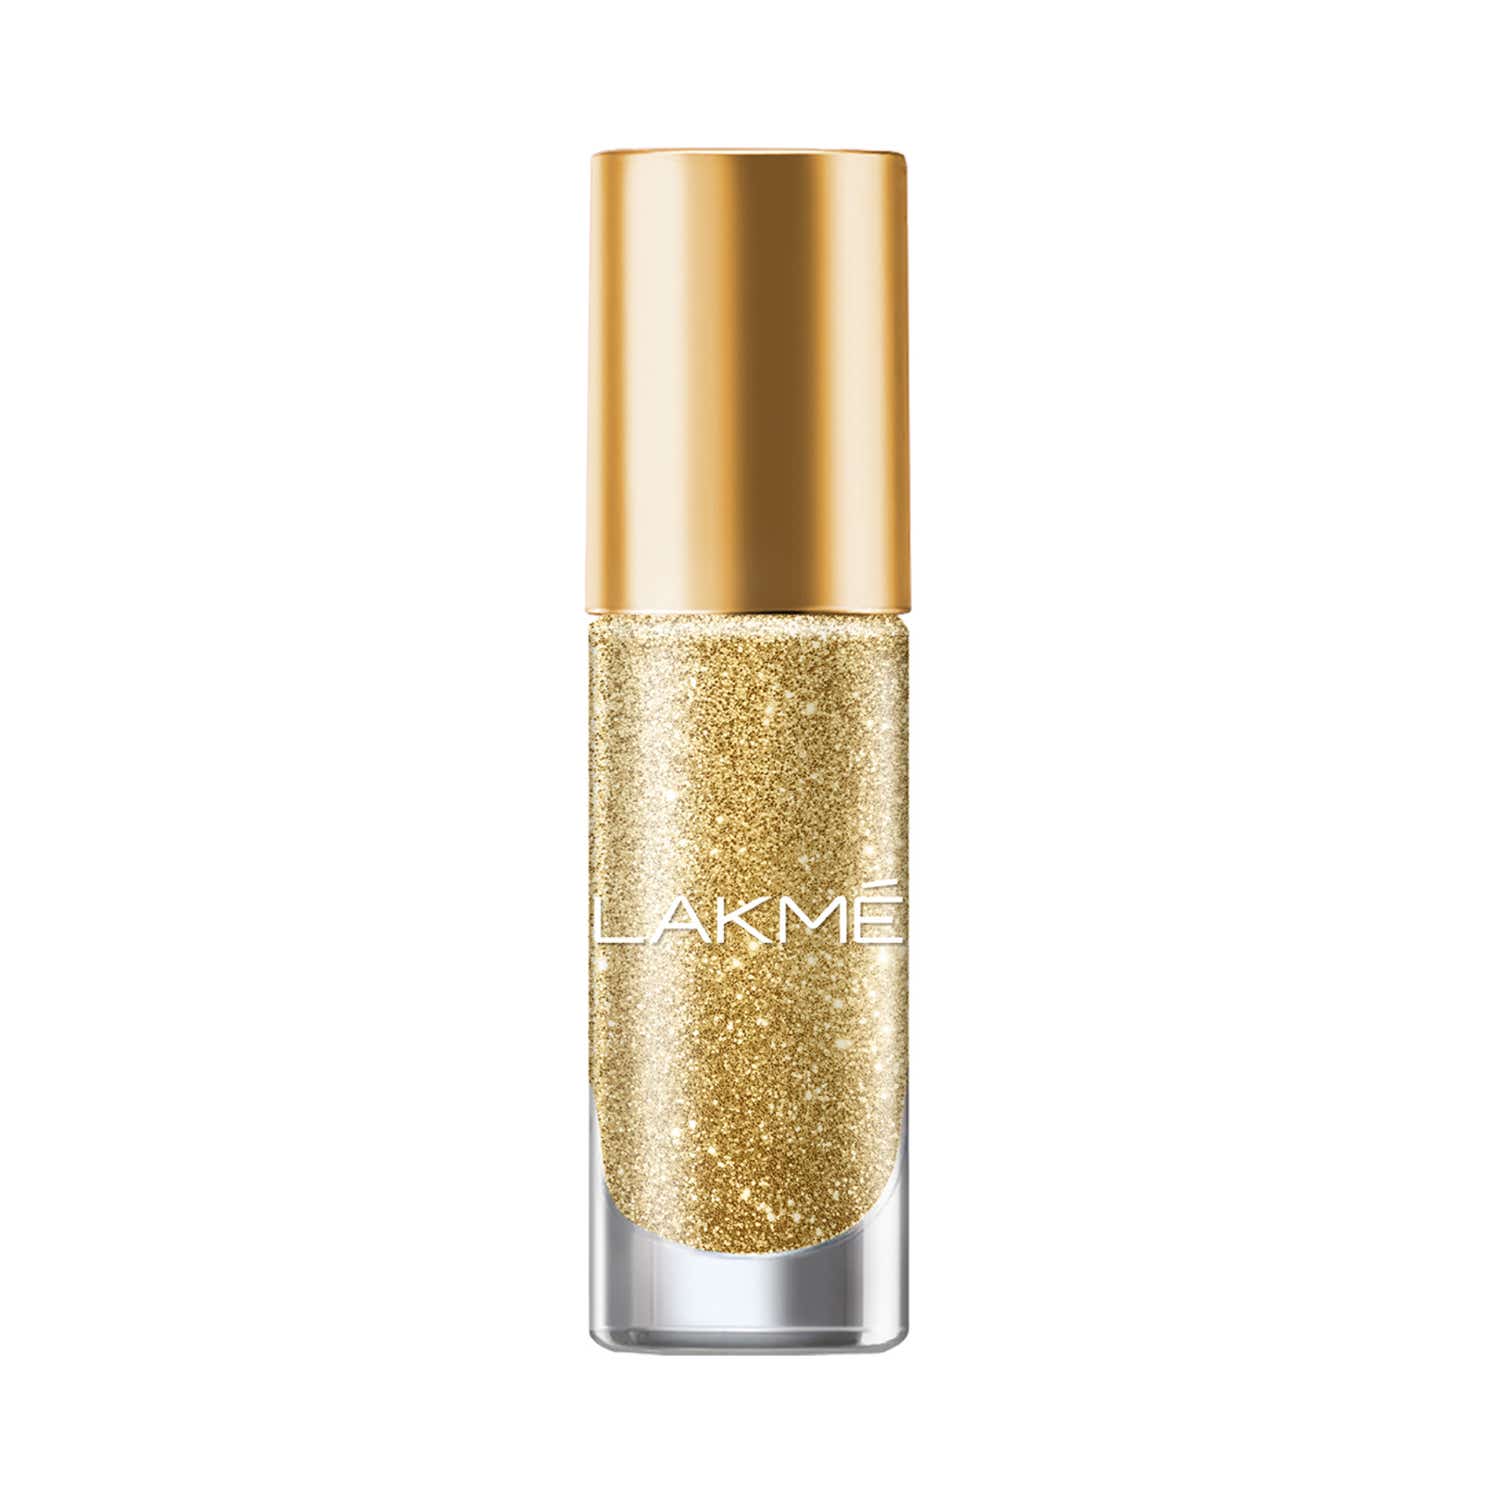
Lakme Glitterati Nail Paints - Golden Glow (6 ml)
1127881
Lakme
Know More
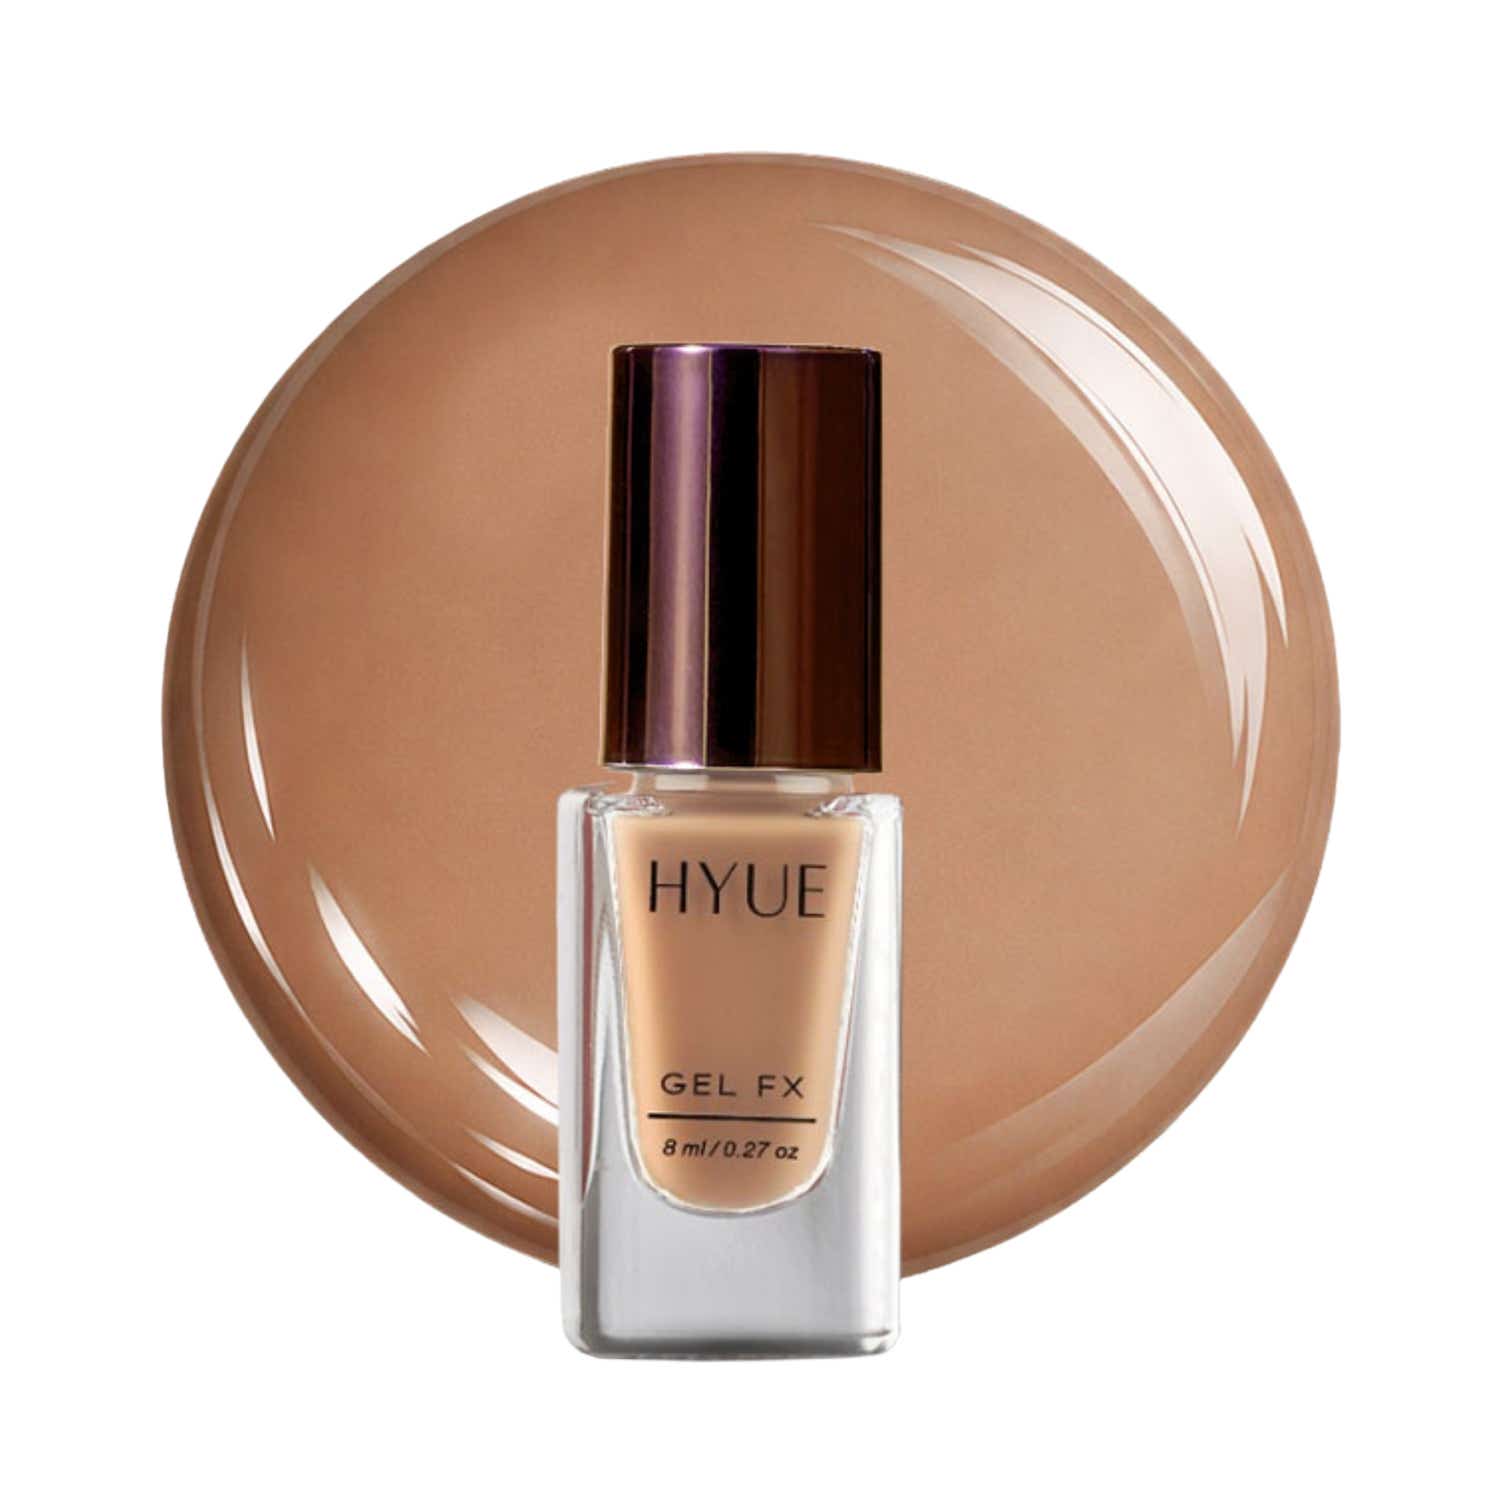
Hyue Gel Fx Nail Paint - Naked (8 ml)
1195964
HYUE
Know More

1162613
Daily Life Forever52
.

Daily Life Forever52 Naturals The All You Need 32 Shades Eyeshadow Palette - Midnight Haze 03 (48 g)

No items found.
Add to Cart
1160851
Makeup Revolution
.

Makeup Revolution The Icon Palette - Enchanted Icon (8.4 g)

No items found.
Add to Cart
1138005
KIKO Milano
.

KIKO Milano Fast & Shiny Base And Top Coat (11 ml)

No items found.
Add to Cart
1138141
KIKO Milano
.

KIKO Milano Smart Nail Lacquer - 101 White French (7 ml)

No items found.
Add to Cart
COMBO_240202085548-G0M
Lakme
.

Lakme Absolute Gel Stylist Nail Polish Snowball + Top Coat Combo

No items found.
Add to Cart
1127881
Lakme
.

Lakme Glitterati Nail Paints - Golden Glow (6 ml)

No items found.
Add to Cart
1195964
HYUE
.

Hyue Gel Fx Nail Paint - Naked (8 ml)

No items found.
Add to Cart

FAQs

How should I prep my nails before doing a festive manicure?

‍

Start with clean, dry nails and remove any residual polish or oil. File them into your preferred shape, gently tidy the cuticles and apply a base coat before moving on to colour.

‍

How can I keep my manicure looking fresh throughout a festive evening?

‍

Avoid using your nails as tools and be mindful of prolonged contact with water while the polish is setting. A fresh layer of top coat can also help maintain shine and protect the finish.

‍

What should I do if I make a mistake while doing nail art?

‍

Keep a small brush or cotton swab dipped in nail-polish remover nearby. You can use it to clean up edges or correct small mistakes without having to redo the entire manicure.

‍

How do I choose a festive manicure that works with my outfit?

‍

Think about the overall mood of your outfit. A milky-white or understated French manicure can complement heavily embellished dressing, while metallics, shimmer and bolder details can add another layer to a simpler ensemble.
‍

Ombré hues


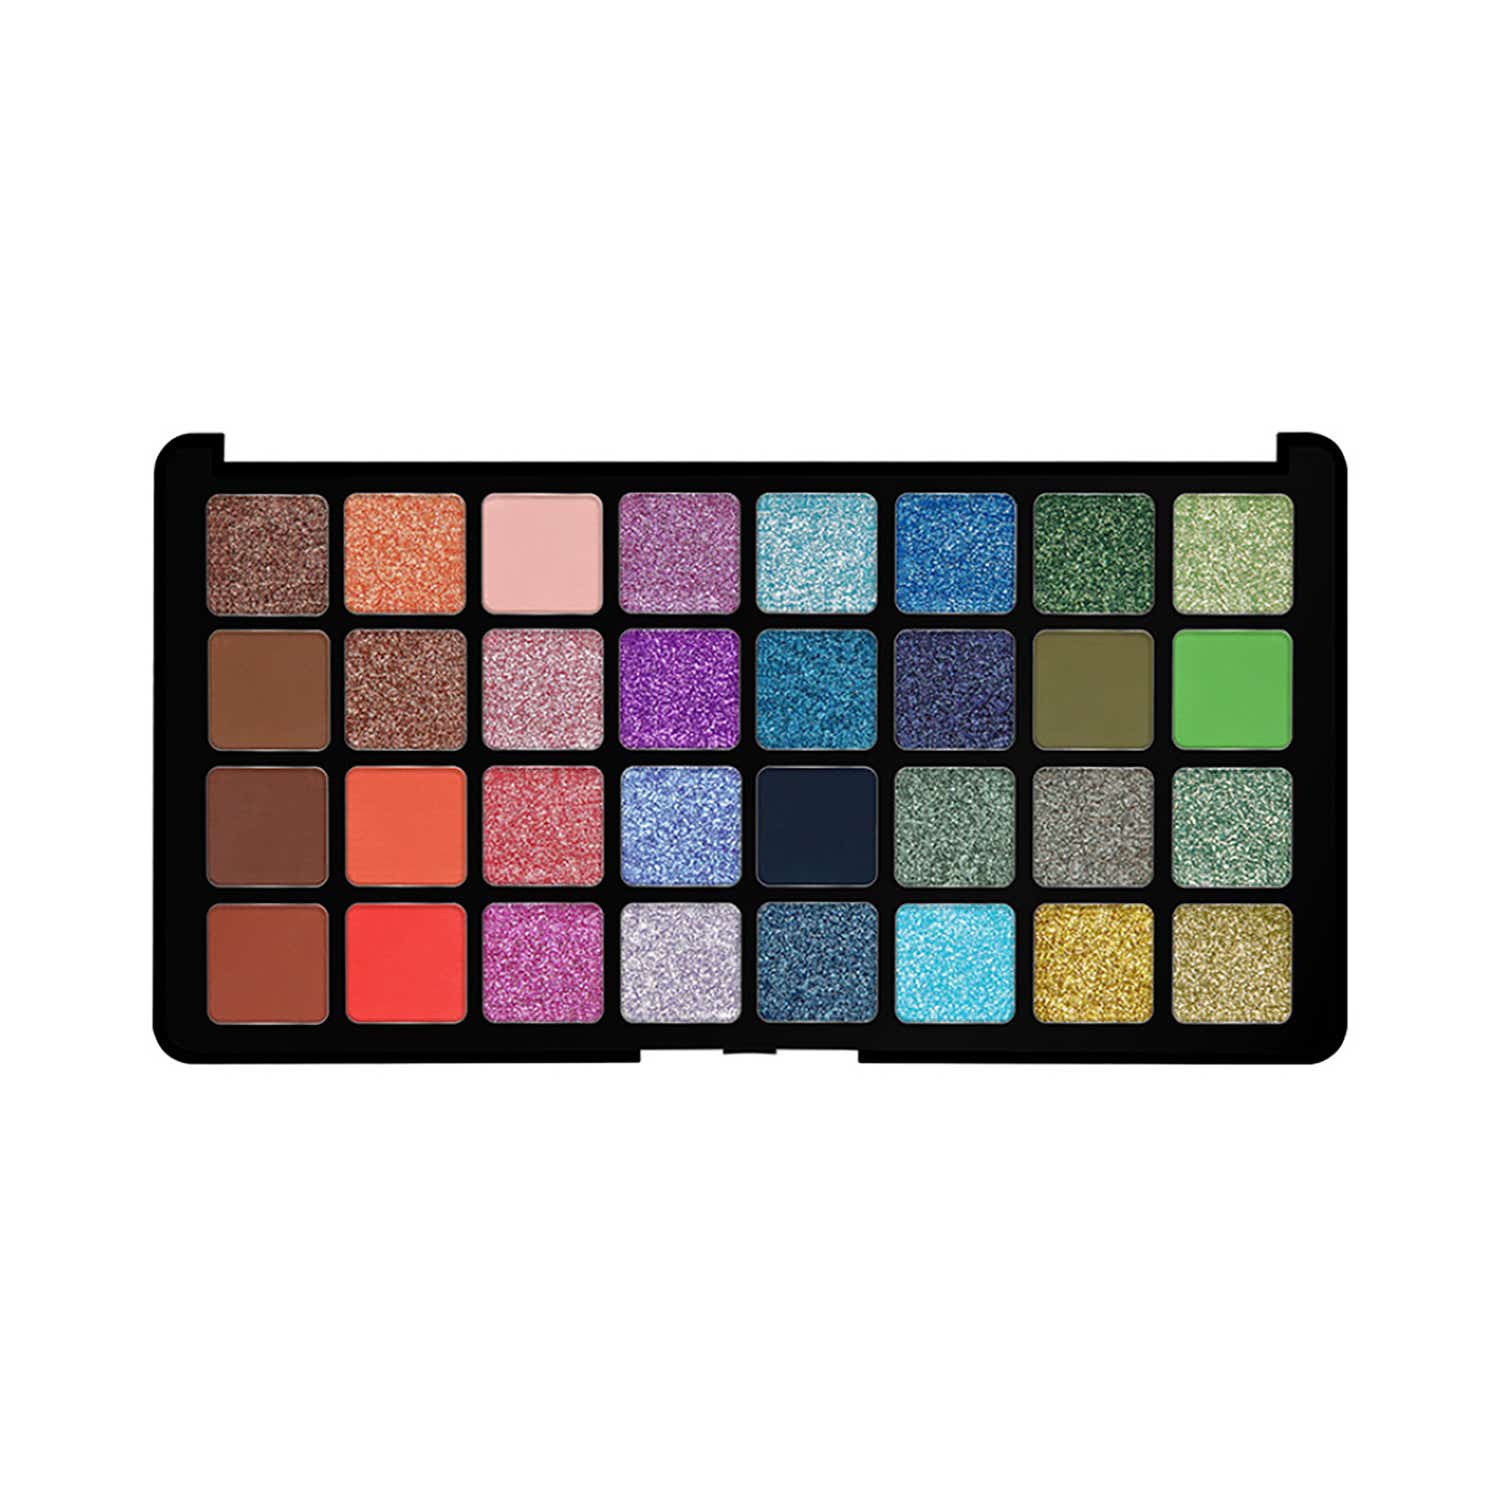
A multi-benefit eyeshadow can define the lash line as effortlessly as an eyeliner. The right shade can fill in your brows too. It can even double as blush or highlighter. But recently, it has been moonlighting as a nail pigment, lending itself particularly well to hazy, ombré nails that call for something more soft and diffused than actual polish. Since this look is dominating our current beauty moodboard, consider it a timely trick for the festive season. Begin with a layer of base coat to smooth the surface of your nails. Let it dry for a minute to avoid pigment from smudging or smearing under the pressure of your fingers. Then, reach for a colourful palette and a small, fluffy brush. Pick up your preferred shade, tap away any excess and gently buff the pigment around the tips of your nails in light, sweeping motions. Build up the colour gradually for a more intense finish, or continue blending for a softer, diffused sheen. Finally, seal everything in with a glossy, long-wearing top coat.

Tira recommends:


Daily Life Forever52 Naturals The All You Need 32 Shades Eyeshadow Palette - Midnight Haze 03
Makeup Revolution The Icon Palette - Enchanted Icon
KIKO Milano Fast & Shiny Base And Top Coat

‍

Milky white


The milky-white manicure has reigned supreme since 2023. It effortlessly blurs the line between elevated and understated, perfect for those of us who naturally gravitate towards nail art designs that never overwhelm the rest of our look. Come festive season, it'll work just as well for pared-back outfits as it will for full-blown looks. Recreating the look itself is simple—the real trick is finding the right shade. Too opaque can veer chalky, and too sheer can make the finish appear bumpy and uneven. Once you've identified your shade, apply your polish in thin, even layers, letting each one dry as you go. Finish with a top coat, and you're done.

Tira recommends:


KIKO Milano Smart Nail Lacquer - 101 White French
Lakme Absolute Gel Stylist Nail Polish Snowball + Top Coat Combo

‍

Gilded tips


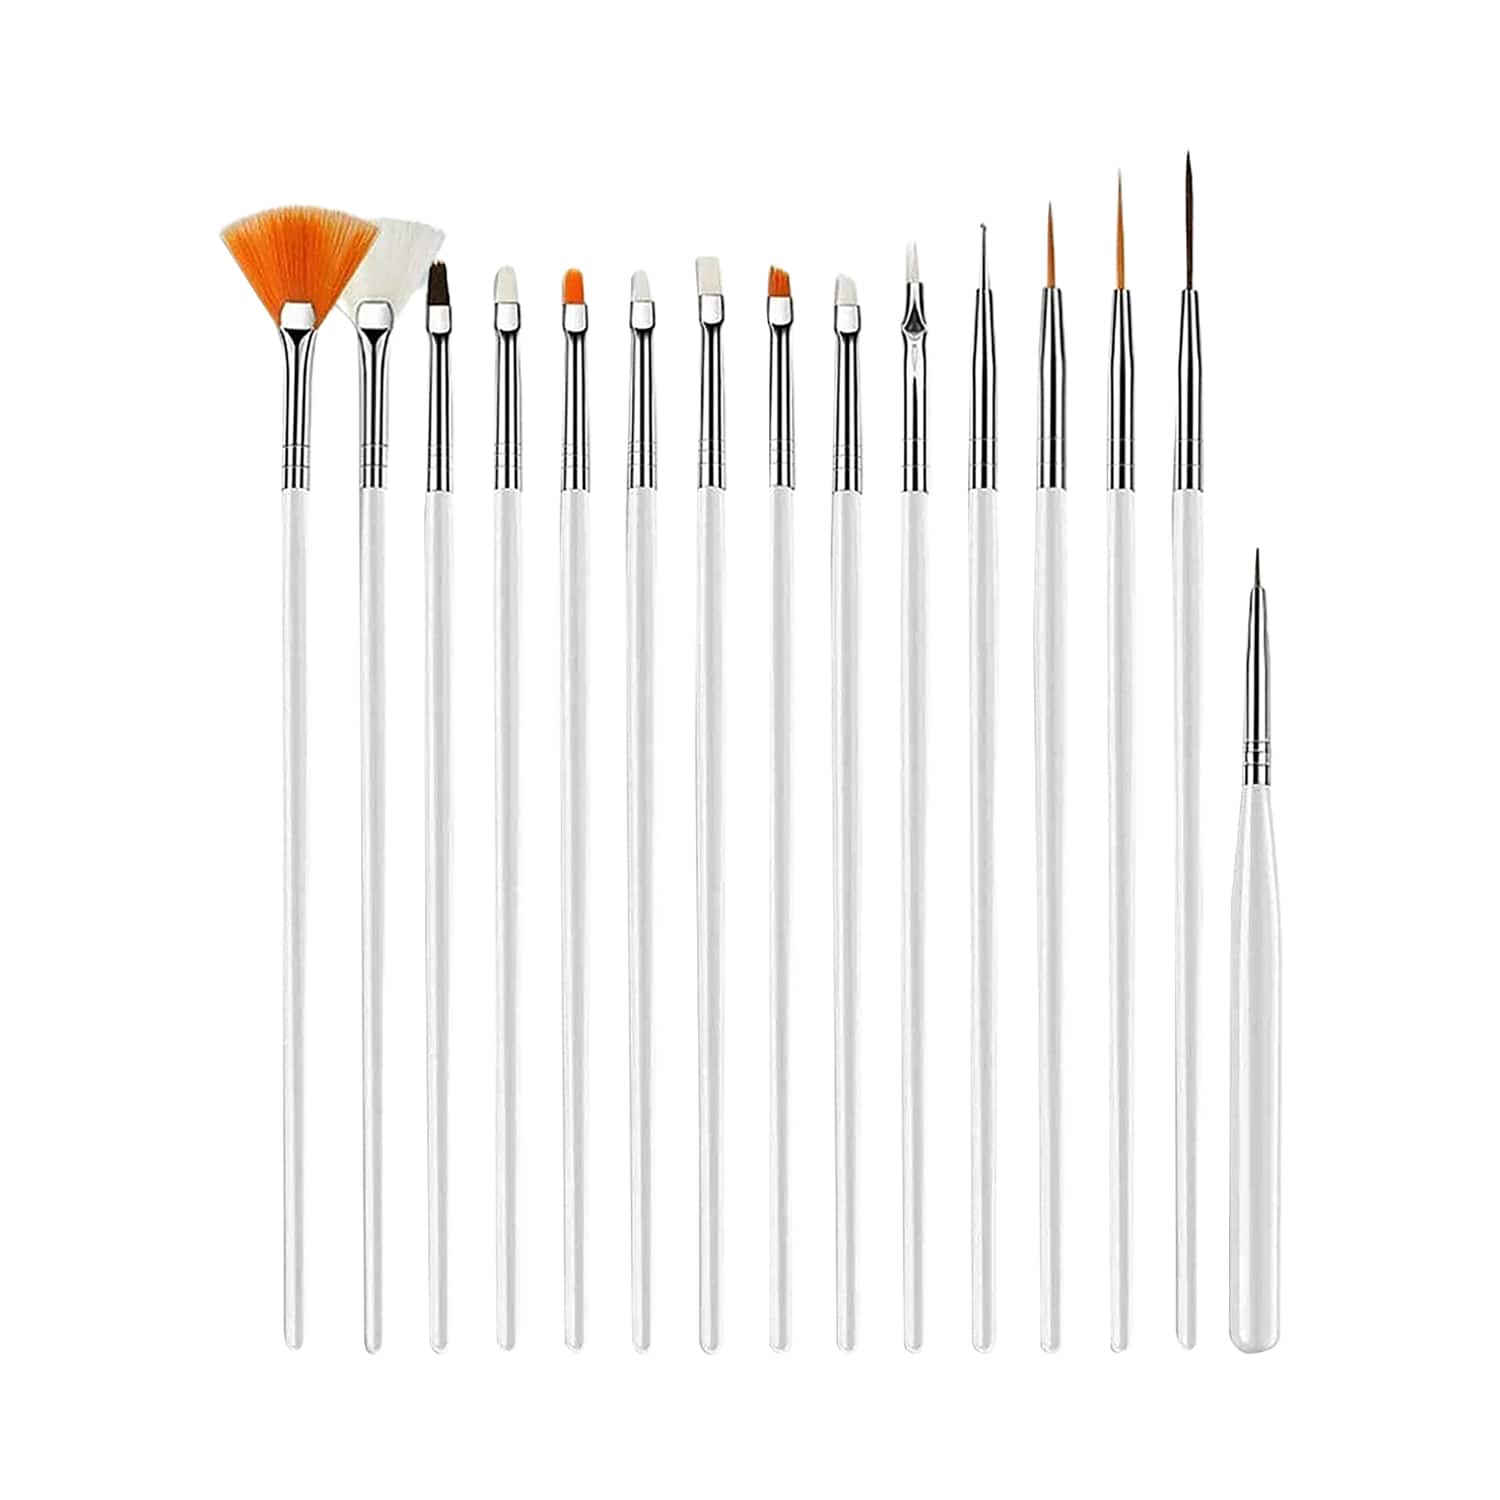
The quintessential French manicure is appealing as is. But swap the traditional white tip for metallic gold, and the everyday classic feels infinitely more festive. Begin with a sheer nude or pink polish. Ensure your application is neat, because unlike most manicures, this one leaves the nail almost entirely exposed. Once the second coat has settled, reach for a fine nail-art brush and golden nail polish. Dip the brush in the polish and trace two diagonal lines from either side of the nail towards the centre, then join them at the base to create a sharp 'A' shape. Now, soften the point at the centre to create a curved French tip, then fill in the rest of the tip.

Tira recommends:


Lakme Glitterati Nail Paints - Golden Glow
Hyue Gel Fx Nail Paint - Naked
Bronson Professional Nail Art Acrylic UV Polish Brushes Tool Kit - White

‍

Polka dots


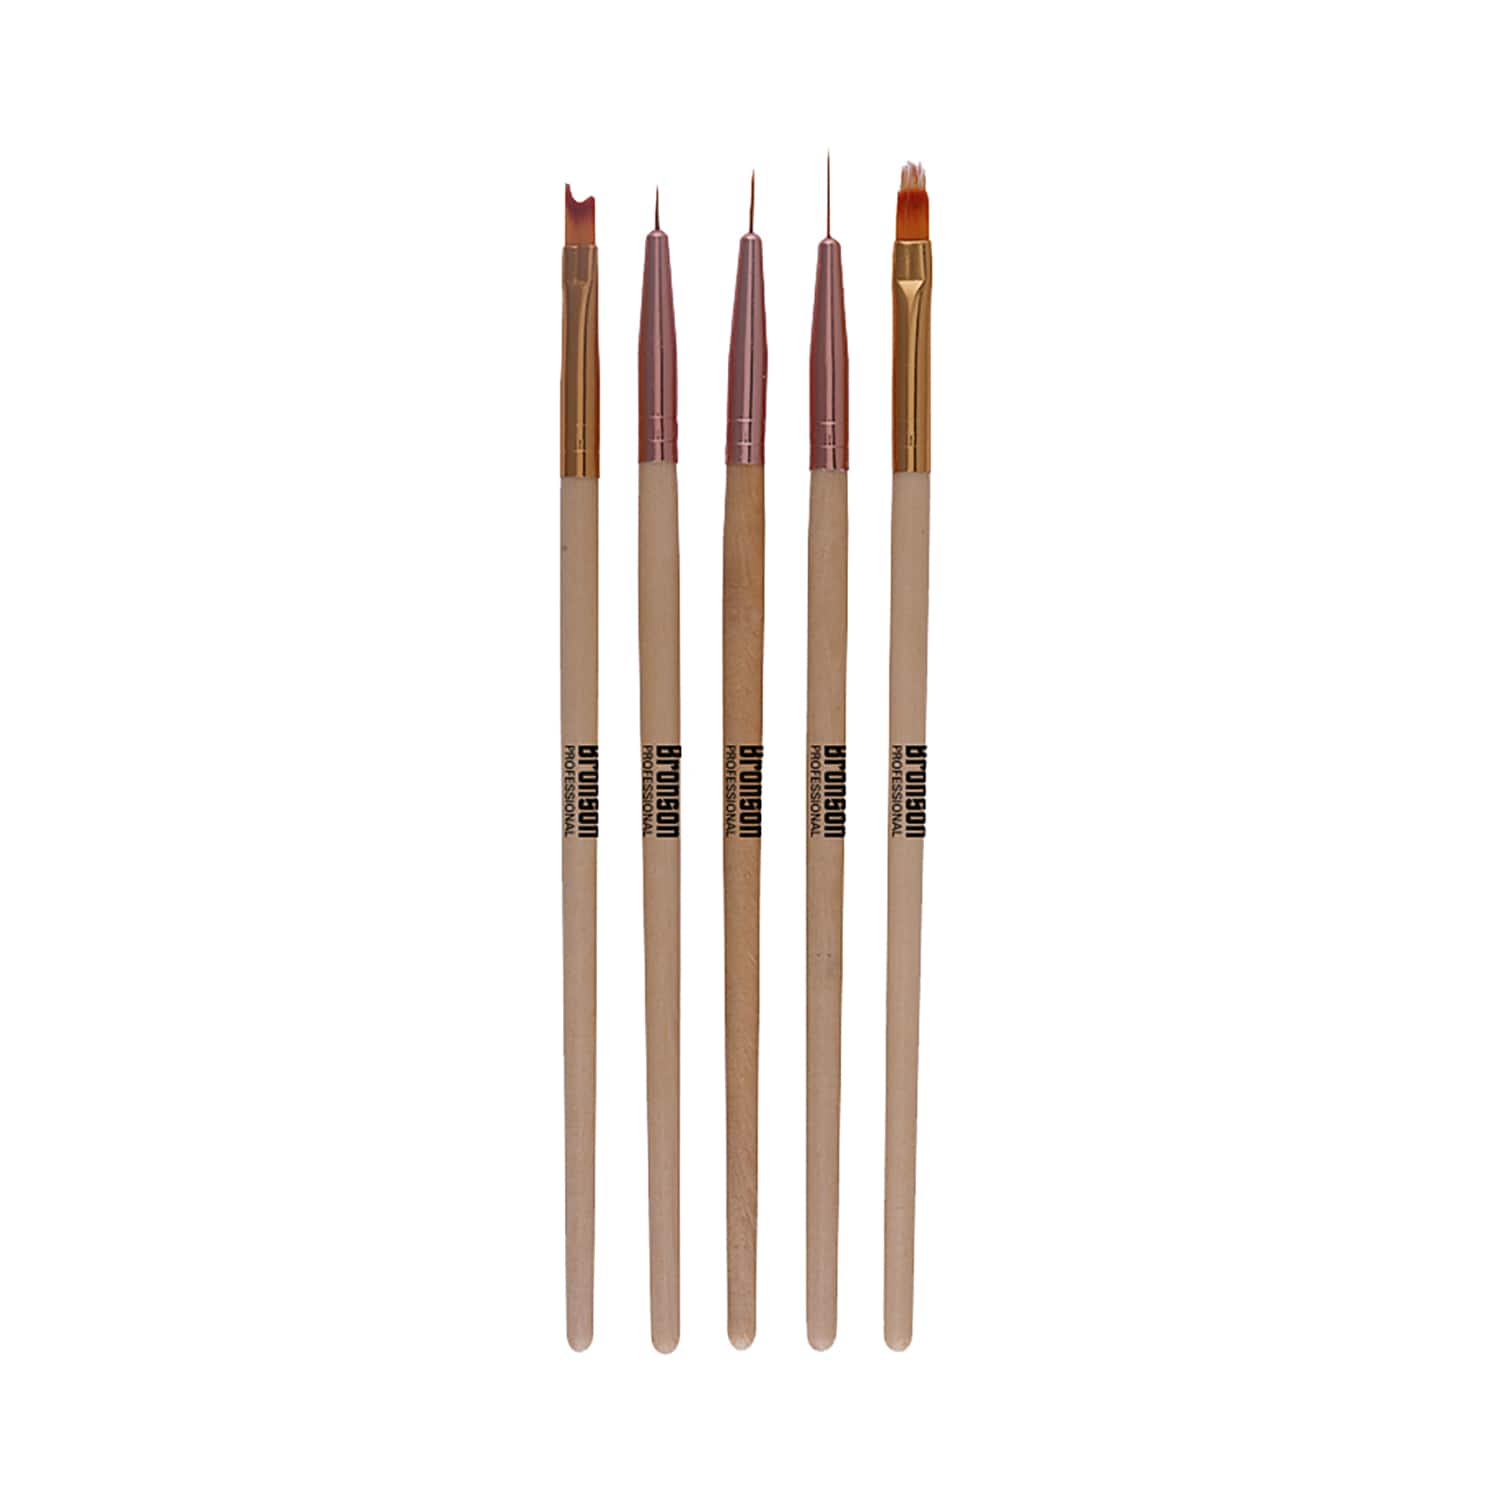
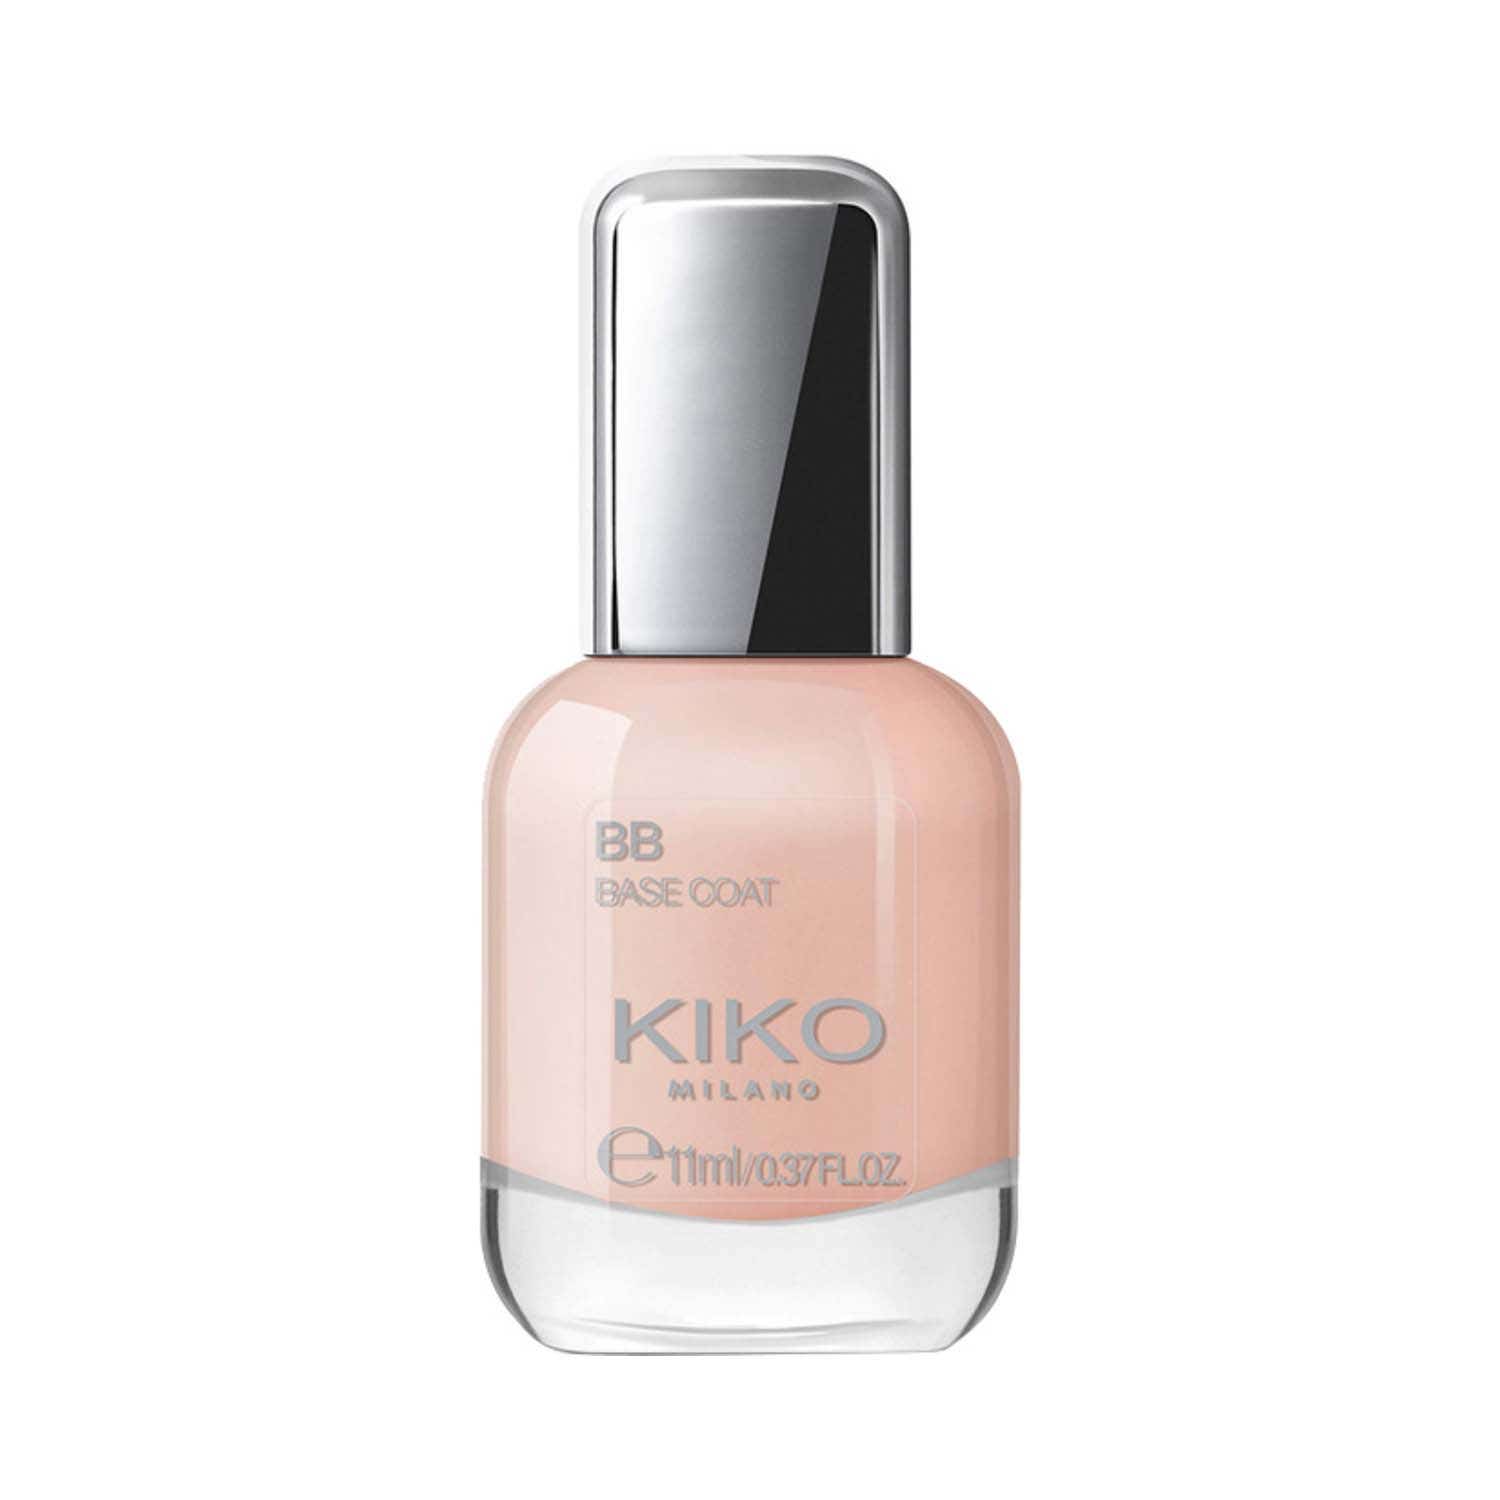
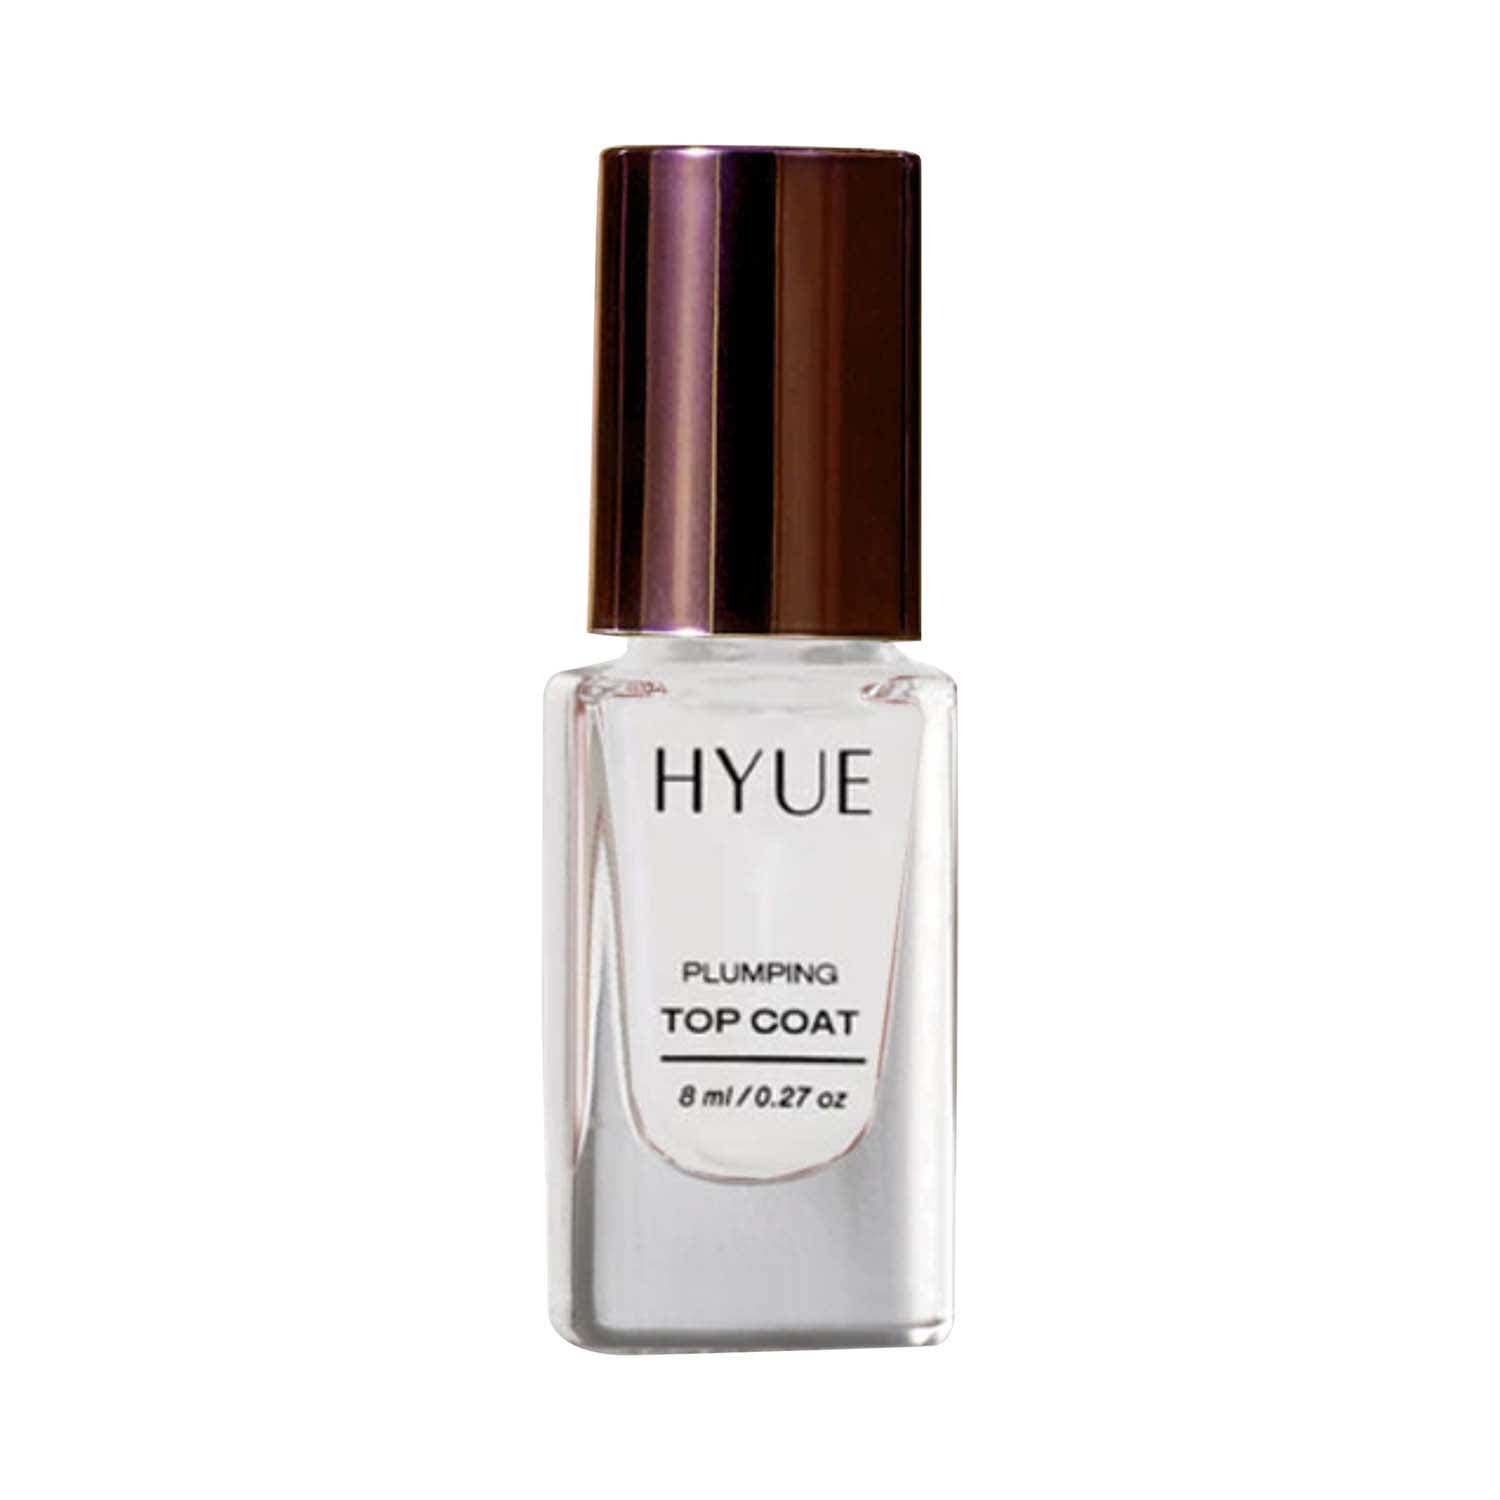
Polka dots have been cropping up everywhere of late—even in beauty. More specifically, on our fingertips. They have a way of making even the simplest manicure feel more considered. Once your base coat is dry, apply a milky-pink polish as your backdrop, then choose a metallic shade—gold, silver or any iridescent hue you like—for the dots. Before you begin, make sure your dotting tool is clean. Dip it into the polish, then dot it onto a palette once to remove any excess product. This will help keep each dot uniform in size. When applying them to the nail, hold the tool vertically rather than at an angle for a cleaner finish. Once the dots have dried, seal the mani with a top coat.

Tira recommends:


Bronson Professional Nail Art Ombre Brush & Gel Liner Brush Set - Brown
KIKO Milano BB Base Coat
Lakme Ultimate Glam Chrome Nail Polish - Gold
HYUE Nail Plumping Top Coat

‍

Jewel-toned cat eye


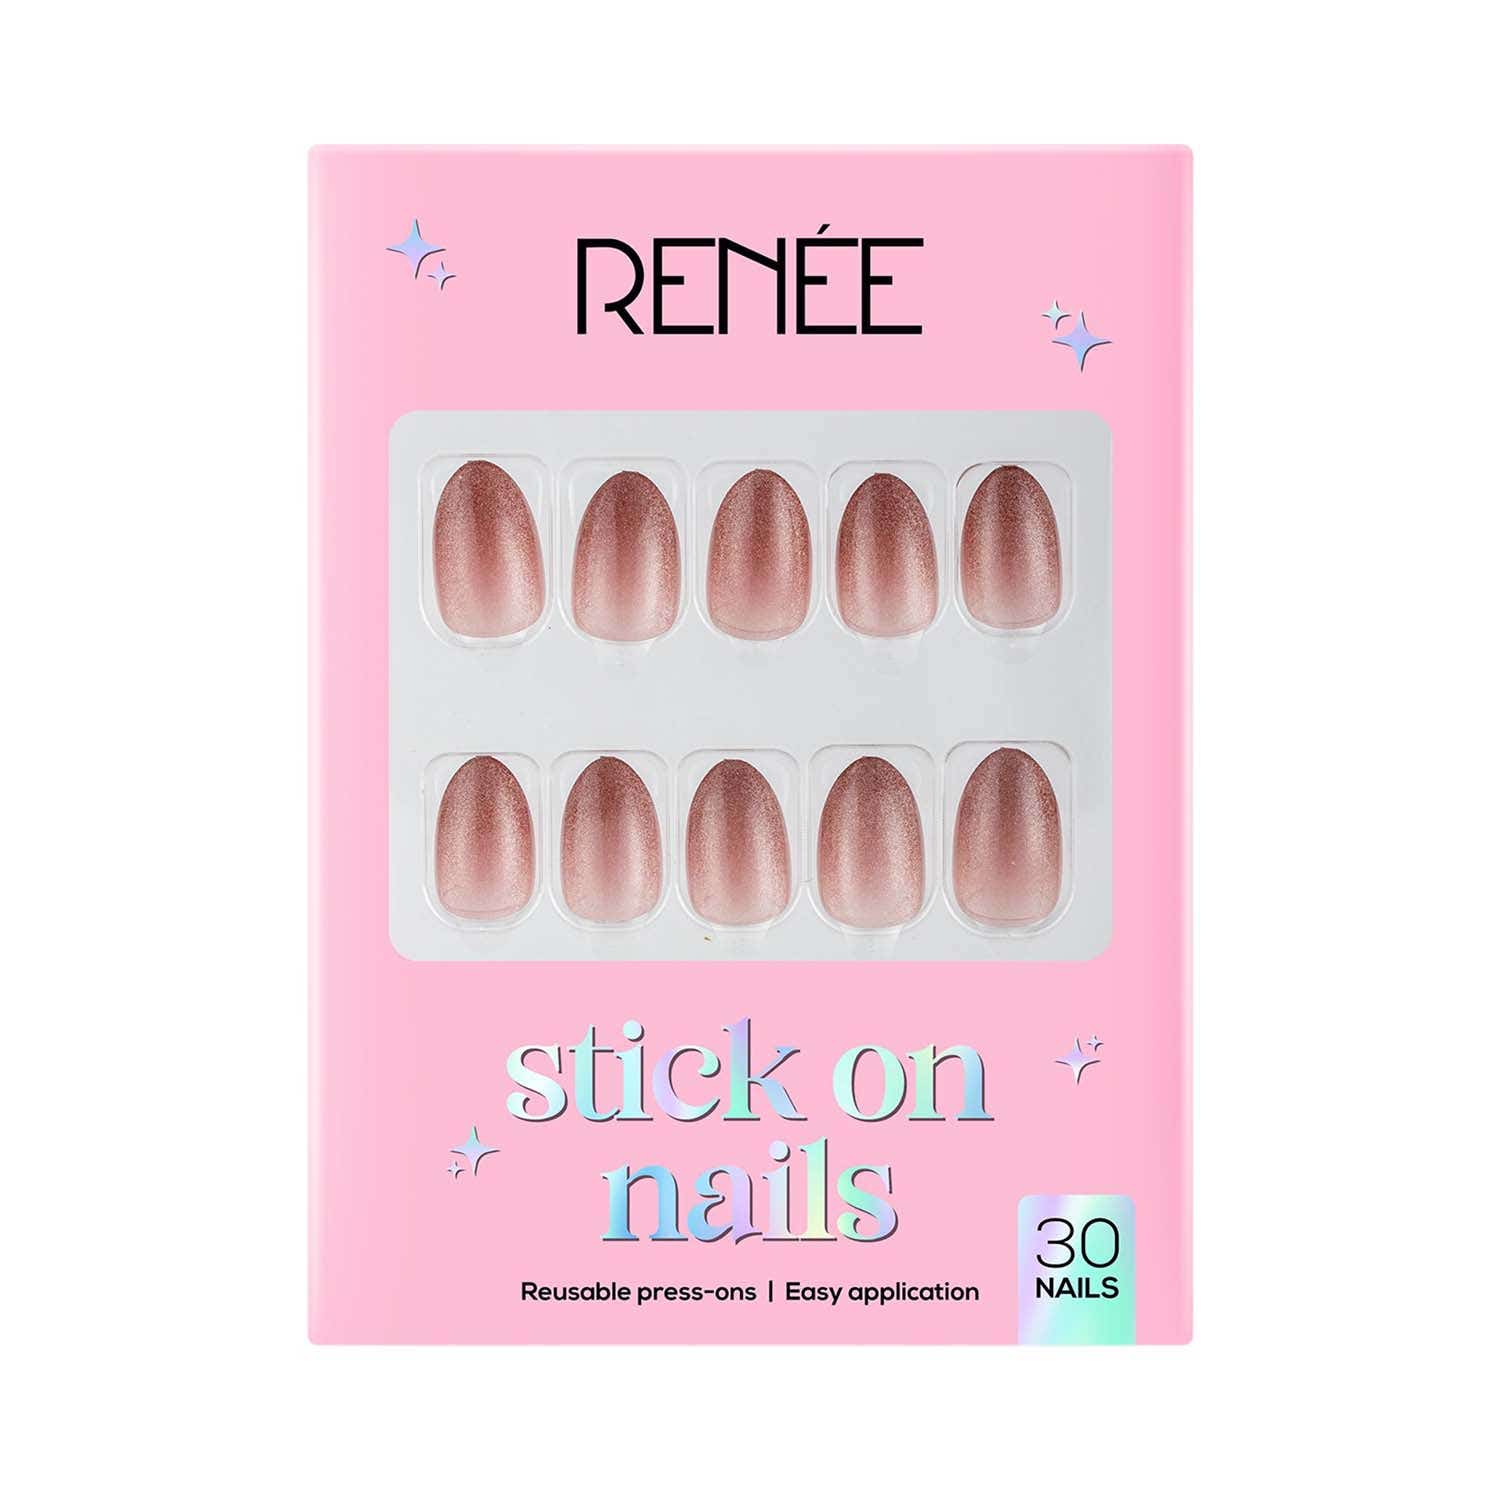
If actual nail art sounds like more effort than you're willing to expend, turn to cat-eye press-ons instead. Not only is the aesthetic dominating our feeds—mesmerising, light-shifting and reflective—you just cannot go wrong with the technique when all it requires is glue and faux nails. Choose a set in a magnetic, jewel-toned finish. Lay out the press-ons first and match each one to the nail it fits best. If you're confused between sizes, choose the slightly larger one and file the sides down until it sits perfectly within your natural nail. Apply a small amount of glue to the underside of every press-on nail, along with a thin layer over your natural nail. Then place each one over your cuticle and press them on for a few seconds to secure them in place.

Tira recommends:


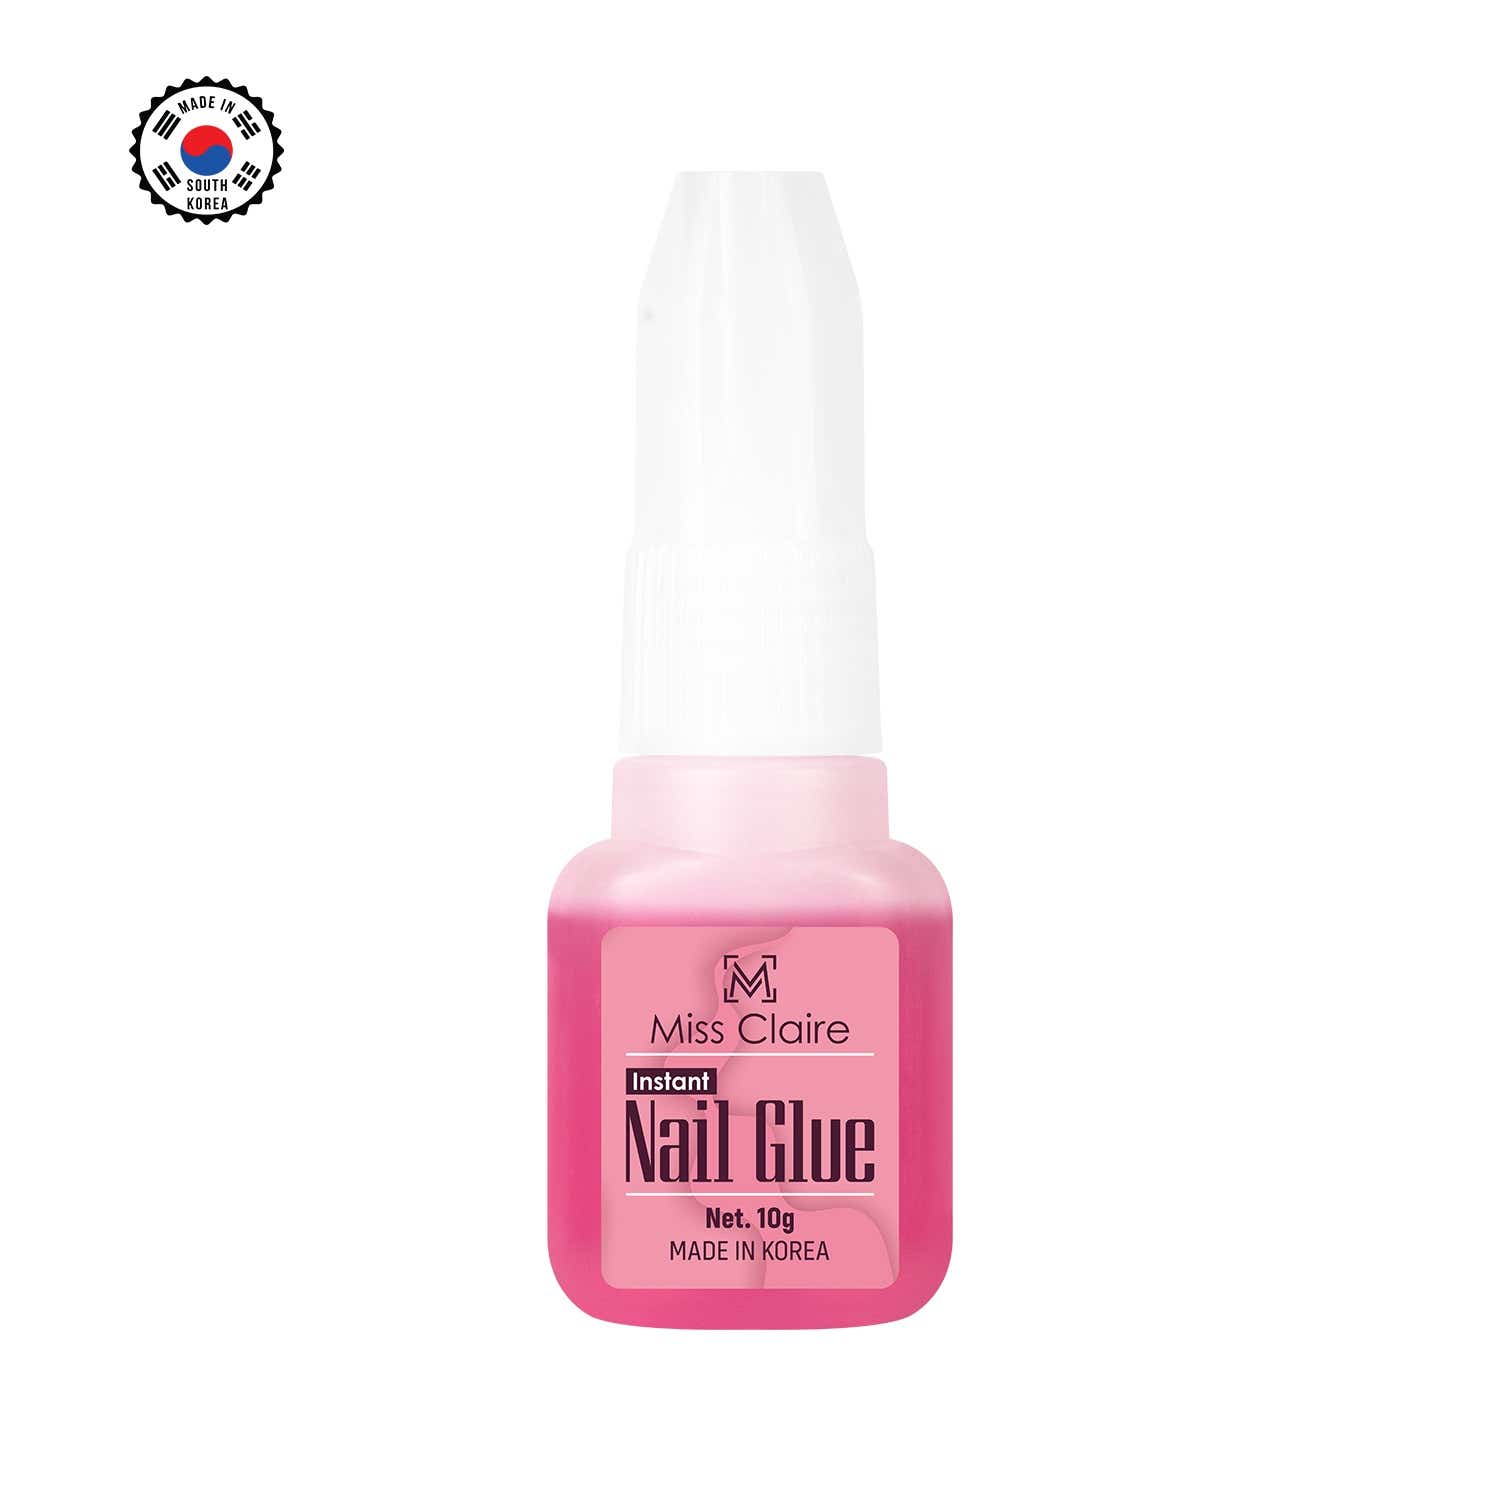
Miss Claire Nails Glue
RENEE Stick On Nails - Cat Eye Nail 04
1128374
Bronson Professional
Bronson Professional Nail Art Acrylic UV Polish Brushes Tool Kit - White (15pcs)
Know More
1128369
Bronson Professional
Bronson Professional Nail Art Ombre Brush & Gel Liner Brush Set - Brown (5pcs)
Know More
1137992
KIKO Milano
KIKO Milano BB Base Coat (11 ml)
Know More
1141465
Lakme
Lakme Ultimate Glam Chrome Nail Polish - Gold (6 ml)
Know More
1201921
HYUE
HYUE Nail Plumping Top Coat (8 ml)
Know More
948327
Miss Claire
Miss Claire Nails Glue (10 g)
Know More
1192404
RENEE
RENEE Stick On Nails - Cat Eye Nail 04 (Pack of 30)
Know More

FAQs

How should I prep my nails before doing a festive manicure?

‍

Start with clean, dry nails and remove any residual polish or oil. File them into your preferred shape, gently tidy the cuticles and apply a base coat before moving on to colour.

‍

How can I keep my manicure looking fresh throughout a festive evening?

‍

Avoid using your nails as tools and be mindful of prolonged contact with water while the polish is setting. A fresh layer of top coat can also help maintain shine and protect the finish.

‍

What should I do if I make a mistake while doing nail art?

‍

Keep a small brush or cotton swab dipped in nail-polish remover nearby. You can use it to clean up edges or correct small mistakes without having to redo the entire manicure.

‍

How do I choose a festive manicure that works with my outfit?

‍

Think about the overall mood of your outfit. A milky-white or understated French manicure can complement heavily embellished dressing, while metallics, shimmer and bolder details can add another layer to a simpler ensemble.
‍

Ombré hues


A multi-benefit eyeshadow can define the lash line as effortlessly as an eyeliner. The right shade can fill in your brows too. It can even double as blush or highlighter. But recently, it has been moonlighting as a nail pigment, lending itself particularly well to hazy, ombré nails that call for something more soft and diffused than actual polish. Since this look is dominating our current beauty moodboard, consider it a timely trick for the festive season. Begin with a layer of base coat to smooth the surface of your nails. Let it dry for a minute to avoid pigment from smudging or smearing under the pressure of your fingers. Then, reach for a colourful palette and a small, fluffy brush. Pick up your preferred shade, tap away any excess and gently buff the pigment around the tips of your nails in light, sweeping motions. Build up the colour gradually for a more intense finish, or continue blending for a softer, diffused sheen. Finally, seal everything in with a glossy, long-wearing top coat.

Tira recommends:


Daily Life Forever52 Naturals The All You Need 32 Shades Eyeshadow Palette - Midnight Haze 03
Makeup Revolution The Icon Palette - Enchanted Icon
KIKO Milano Fast & Shiny Base And Top Coat

‍

Milky white


The milky-white manicure has reigned supreme since 2023. It effortlessly blurs the line between elevated and understated, perfect for those of us who naturally gravitate towards nail art designs that never overwhelm the rest of our look. Come festive season, it'll work just as well for pared-back outfits as it will for full-blown looks. Recreating the look itself is simple—the real trick is finding the right shade. Too opaque can veer chalky, and too sheer can make the finish appear bumpy and uneven. Once you've identified your shade, apply your polish in thin, even layers, letting each one dry as you go. Finish with a top coat, and you're done.

Tira recommends:


KIKO Milano Smart Nail Lacquer - 101 White French
Lakme Absolute Gel Stylist Nail Polish Snowball + Top Coat Combo

‍

Gilded tips


The quintessential French manicure is appealing as is. But swap the traditional white tip for metallic gold, and the everyday classic feels infinitely more festive. Begin with a sheer nude or pink polish. Ensure your application is neat, because unlike most manicures, this one leaves the nail almost entirely exposed. Once the second coat has settled, reach for a fine nail-art brush and golden nail polish. Dip the brush in the polish and trace two diagonal lines from either side of the nail towards the centre, then join them at the base to create a sharp 'A' shape. Now, soften the point at the centre to create a curved French tip, then fill in the rest of the tip.

Tira recommends:


Lakme Glitterati Nail Paints - Golden Glow
Hyue Gel Fx Nail Paint - Naked
Bronson Professional Nail Art Acrylic UV Polish Brushes Tool Kit - White

‍

Polka dots


Polka dots have been cropping up everywhere of late—even in beauty. More specifically, on our fingertips. They have a way of making even the simplest manicure feel more considered. Once your base coat is dry, apply a milky-pink polish as your backdrop, then choose a metallic shade—gold, silver or any iridescent hue you like—for the dots. Before you begin, make sure your dotting tool is clean. Dip it into the polish, then dot it onto a palette once to remove any excess product. This will help keep each dot uniform in size. When applying them to the nail, hold the tool vertically rather than at an angle for a cleaner finish. Once the dots have dried, seal the mani with a top coat.

Tira recommends:


Bronson Professional Nail Art Ombre Brush & Gel Liner Brush Set - Brown
KIKO Milano BB Base Coat
Lakme Ultimate Glam Chrome Nail Polish - Gold
HYUE Nail Plumping Top Coat

‍

Jewel-toned cat eye


If actual nail art sounds like more effort than you're willing to expend, turn to cat-eye press-ons instead. Not only is the aesthetic dominating our feeds—mesmerising, light-shifting and reflective—you just cannot go wrong with the technique when all it requires is glue and faux nails. Choose a set in a magnetic, jewel-toned finish. Lay out the press-ons first and match each one to the nail it fits best. If you're confused between sizes, choose the slightly larger one and file the sides down until it sits perfectly within your natural nail. Apply a small amount of glue to the underside of every press-on nail, along with a thin layer over your natural nail. Then place each one over your cuticle and press them on for a few seconds to secure them in place.

Tira recommends:


Miss Claire Nails Glue
RENEE Stick On Nails - Cat Eye Nail 04

No items found.

No items found.
About

Ombré hues


A multi-benefit eyeshadow can define the lash line as effortlessly as an eyeliner. The right shade can fill in your brows too. It can even double as blush or highlighter. But recently, it has been moonlighting as a nail pigment, lending itself particularly well to hazy, ombré nails that call for something more soft and diffused than actual polish. Since this look is dominating our current beauty moodboard, consider it a timely trick for the festive season. Begin with a layer of base coat to smooth the surface of your nails. Let it dry for a minute to avoid pigment from smudging or smearing under the pressure of your fingers. Then, reach for a colourful palette and a small, fluffy brush. Pick up your preferred shade, tap away any excess and gently buff the pigment around the tips of your nails in light, sweeping motions. Build up the colour gradually for a more intense finish, or continue blending for a softer, diffused sheen. Finally, seal everything in with a glossy, long-wearing top coat.

Tira recommends:


Daily Life Forever52 Naturals The All You Need 32 Shades Eyeshadow Palette - Midnight Haze 03
Makeup Revolution The Icon Palette - Enchanted Icon
KIKO Milano Fast & Shiny Base And Top Coat

‍

Milky white


The milky-white manicure has reigned supreme since 2023. It effortlessly blurs the line between elevated and understated, perfect for those of us who naturally gravitate towards nail art designs that never overwhelm the rest of our look. Come festive season, it'll work just as well for pared-back outfits as it will for full-blown looks. Recreating the look itself is simple—the real trick is finding the right shade. Too opaque can veer chalky, and too sheer can make the finish appear bumpy and uneven. Once you've identified your shade, apply your polish in thin, even layers, letting each one dry as you go. Finish with a top coat, and you're done.

Tira recommends:


KIKO Milano Smart Nail Lacquer - 101 White French
Lakme Absolute Gel Stylist Nail Polish Snowball + Top Coat Combo

‍

Gilded tips


The quintessential French manicure is appealing as is. But swap the traditional white tip for metallic gold, and the everyday classic feels infinitely more festive. Begin with a sheer nude or pink polish. Ensure your application is neat, because unlike most manicures, this one leaves the nail almost entirely exposed. Once the second coat has settled, reach for a fine nail-art brush and golden nail polish. Dip the brush in the polish and trace two diagonal lines from either side of the nail towards the centre, then join them at the base to create a sharp 'A' shape. Now, soften the point at the centre to create a curved French tip, then fill in the rest of the tip.

Tira recommends:


Lakme Glitterati Nail Paints - Golden Glow
Hyue Gel Fx Nail Paint - Naked
Bronson Professional Nail Art Acrylic UV Polish Brushes Tool Kit - White

‍

Polka dots


Polka dots have been cropping up everywhere of late—even in beauty. More specifically, on our fingertips. They have a way of making even the simplest manicure feel more considered. Once your base coat is dry, apply a milky-pink polish as your backdrop, then choose a metallic shade—gold, silver or any iridescent hue you like—for the dots. Before you begin, make sure your dotting tool is clean. Dip it into the polish, then dot it onto a palette once to remove any excess product. This will help keep each dot uniform in size. When applying them to the nail, hold the tool vertically rather than at an angle for a cleaner finish. Once the dots have dried, seal the mani with a top coat.

Tira recommends:


Bronson Professional Nail Art Ombre Brush & Gel Liner Brush Set - Brown
KIKO Milano BB Base Coat
Lakme Ultimate Glam Chrome Nail Polish - Gold
HYUE Nail Plumping Top Coat

‍

Jewel-toned cat eye


If actual nail art sounds like more effort than you're willing to expend, turn to cat-eye press-ons instead. Not only is the aesthetic dominating our feeds—mesmerising, light-shifting and reflective—you just cannot go wrong with the technique when all it requires is glue and faux nails. Choose a set in a magnetic, jewel-toned finish. Lay out the press-ons first and match each one to the nail it fits best. If you're confused between sizes, choose the slightly larger one and file the sides down until it sits perfectly within your natural nail. Apply a small amount of glue to the underside of every press-on nail, along with a thin layer over your natural nail. Then place each one over your cuticle and press them on for a few seconds to secure them in place.

Tira recommends:


Miss Claire Nails Glue
RENEE Stick On Nails - Cat Eye Nail 04

FAQs

How should I prep my nails before doing a festive manicure?

‍

Start with clean, dry nails and remove any residual polish or oil. File them into your preferred shape, gently tidy the cuticles and apply a base coat before moving on to colour.

‍

How can I keep my manicure looking fresh throughout a festive evening?

‍

Avoid using your nails as tools and be mindful of prolonged contact with water while the polish is setting. A fresh layer of top coat can also help maintain shine and protect the finish.

‍

What should I do if I make a mistake while doing nail art?

‍

Keep a small brush or cotton swab dipped in nail-polish remover nearby. You can use it to clean up edges or correct small mistakes without having to redo the entire manicure.

‍

How do I choose a festive manicure that works with my outfit?

‍

Think about the overall mood of your outfit. A milky-white or understated French manicure can complement heavily embellished dressing, while metallics, shimmer and bolder details can add another layer to a simpler ensemble.

‍

Daily Life Forever52 Naturals The All You Need 32 Shades Eyeshadow Palette - Midnight Haze 03 (48 g)
Daily Life Forever52
1162613
Know More
Makeup Revolution The Icon Palette - Enchanted Icon (8.4 g)
Makeup Revolution
1160851
Know More
KIKO Milano Fast & Shiny Base And Top Coat (11 ml)
KIKO Milano
1138005
Know More
KIKO Milano Smart Nail Lacquer - 101 White French (7 ml)
KIKO Milano
1138141
Know More
Lakme Absolute Gel Stylist Nail Polish Snowball + Top Coat Combo
Lakme
COMBO_240202085548-G0M
Know More
Lakme Glitterati Nail Paints - Golden Glow (6 ml)
Lakme
1127881
Know More
Hyue Gel Fx Nail Paint - Naked (8 ml)
HYUE
1195964
Know More

FAQs

How should I prep my nails before doing a festive manicure?

‍

Start with clean, dry nails and remove any residual polish or oil. File them into your preferred shape, gently tidy the cuticles and apply a base coat before moving on to colour.

‍

How can I keep my manicure looking fresh throughout a festive evening?

‍

Avoid using your nails as tools and be mindful of prolonged contact with water while the polish is setting. A fresh layer of top coat can also help maintain shine and protect the finish.

‍

What should I do if I make a mistake while doing nail art?

‍

Keep a small brush or cotton swab dipped in nail-polish remover nearby. You can use it to clean up edges or correct small mistakes without having to redo the entire manicure.

‍

How do I choose a festive manicure that works with my outfit?

‍

Think about the overall mood of your outfit. A milky-white or understated French manicure can complement heavily embellished dressing, while metallics, shimmer and bolder details can add another layer to a simpler ensemble.
‍

Ombré hues


A multi-benefit eyeshadow can define the lash line as effortlessly as an eyeliner. The right shade can fill in your brows too. It can even double as blush or highlighter. But recently, it has been moonlighting as a nail pigment, lending itself particularly well to hazy, ombré nails that call for something more soft and diffused than actual polish. Since this look is dominating our current beauty moodboard, consider it a timely trick for the festive season. Begin with a layer of base coat to smooth the surface of your nails. Let it dry for a minute to avoid pigment from smudging or smearing under the pressure of your fingers. Then, reach for a colourful palette and a small, fluffy brush. Pick up your preferred shade, tap away any excess and gently buff the pigment around the tips of your nails in light, sweeping motions. Build up the colour gradually for a more intense finish, or continue blending for a softer, diffused sheen. Finally, seal everything in with a glossy, long-wearing top coat.

Tira recommends:


Daily Life Forever52 Naturals The All You Need 32 Shades Eyeshadow Palette - Midnight Haze 03
Makeup Revolution The Icon Palette - Enchanted Icon
KIKO Milano Fast & Shiny Base And Top Coat

‍

Milky white


The milky-white manicure has reigned supreme since 2023. It effortlessly blurs the line between elevated and understated, perfect for those of us who naturally gravitate towards nail art designs that never overwhelm the rest of our look. Come festive season, it'll work just as well for pared-back outfits as it will for full-blown looks. Recreating the look itself is simple—the real trick is finding the right shade. Too opaque can veer chalky, and too sheer can make the finish appear bumpy and uneven. Once you've identified your shade, apply your polish in thin, even layers, letting each one dry as you go. Finish with a top coat, and you're done.

Tira recommends:


KIKO Milano Smart Nail Lacquer - 101 White French
Lakme Absolute Gel Stylist Nail Polish Snowball + Top Coat Combo

‍

Gilded tips


The quintessential French manicure is appealing as is. But swap the traditional white tip for metallic gold, and the everyday classic feels infinitely more festive. Begin with a sheer nude or pink polish. Ensure your application is neat, because unlike most manicures, this one leaves the nail almost entirely exposed. Once the second coat has settled, reach for a fine nail-art brush and golden nail polish. Dip the brush in the polish and trace two diagonal lines from either side of the nail towards the centre, then join them at the base to create a sharp 'A' shape. Now, soften the point at the centre to create a curved French tip, then fill in the rest of the tip.

Tira recommends:


Lakme Glitterati Nail Paints - Golden Glow
Hyue Gel Fx Nail Paint - Naked
Bronson Professional Nail Art Acrylic UV Polish Brushes Tool Kit - White

‍

Polka dots


Polka dots have been cropping up everywhere of late—even in beauty. More specifically, on our fingertips. They have a way of making even the simplest manicure feel more considered. Once your base coat is dry, apply a milky-pink polish as your backdrop, then choose a metallic shade—gold, silver or any iridescent hue you like—for the dots. Before you begin, make sure your dotting tool is clean. Dip it into the polish, then dot it onto a palette once to remove any excess product. This will help keep each dot uniform in size. When applying them to the nail, hold the tool vertically rather than at an angle for a cleaner finish. Once the dots have dried, seal the mani with a top coat.

Tira recommends:


Bronson Professional Nail Art Ombre Brush & Gel Liner Brush Set - Brown
KIKO Milano BB Base Coat
Lakme Ultimate Glam Chrome Nail Polish - Gold
HYUE Nail Plumping Top Coat

‍

Jewel-toned cat eye


If actual nail art sounds like more effort than you're willing to expend, turn to cat-eye press-ons instead. Not only is the aesthetic dominating our feeds—mesmerising, light-shifting and reflective—you just cannot go wrong with the technique when all it requires is glue and faux nails. Choose a set in a magnetic, jewel-toned finish. Lay out the press-ons first and match each one to the nail it fits best. If you're confused between sizes, choose the slightly larger one and file the sides down until it sits perfectly within your natural nail. Apply a small amount of glue to the underside of every press-on nail, along with a thin layer over your natural nail. Then place each one over your cuticle and press them on for a few seconds to secure them in place.

Tira recommends:


Miss Claire Nails Glue
RENEE Stick On Nails - Cat Eye Nail 04

FAQs

How should I prep my nails before doing a festive manicure?

‍

Start with clean, dry nails and remove any residual polish or oil. File them into your preferred shape, gently tidy the cuticles and apply a base coat before moving on to colour.

‍

How can I keep my manicure looking fresh throughout a festive evening?

‍

Avoid using your nails as tools and be mindful of prolonged contact with water while the polish is setting. A fresh layer of top coat can also help maintain shine and protect the finish.

‍

What should I do if I make a mistake while doing nail art?

‍

Keep a small brush or cotton swab dipped in nail-polish remover nearby. You can use it to clean up edges or correct small mistakes without having to redo the entire manicure.

‍

How do I choose a festive manicure that works with my outfit?

‍

Think about the overall mood of your outfit. A milky-white or understated French manicure can complement heavily embellished dressing, while metallics, shimmer and bolder details can add another layer to a simpler ensemble.
‍

What's New
Makeup
Skin
Hair
Fragrance
Bath & Body
Men
Mom & Baby
Wellness