What’s Been Up
7 Paula's Choice products that belong in your routine
Read Now


Who doesn’t love the idea of sculpted cheekbones and a naturally lifted face? While contouring has long been the go-to technique for adding definition, not everyone wants to spend time blending sharp lines before heading out for brunch, a dinner date, or even just a regular workday. Enter blush blocking—the makeup trend that’s changing the game with a softer, fresher approach to shaping the face. Instead of relying on bronzer and contour, blush blocking uses bold or strategic blush placement to add structure, warmth, and dimension all at once. Think lifted cheeks, a healthy flush, and that effortless “I just look good” energy without the extra steps.
Part of what makes blush blocking so popular right now is how wearable and customisable it is. You can go subtle with diffused rosy tones for an everyday glow, or experiment with brighter placement for a more editorial feel. The trick lies in where you place the colour—higher on the cheekbones, sweeping towards the temples, or even layered across the cheeks for a sculpted effect that still looks soft and skin-like. It’s playful, flattering, and surprisingly easy to master once you know the basics. If you’ve been curious about trying blush blocking but didn’t know where to start, consider this your guide to the techniques, placement tips, and products that make the trend work.


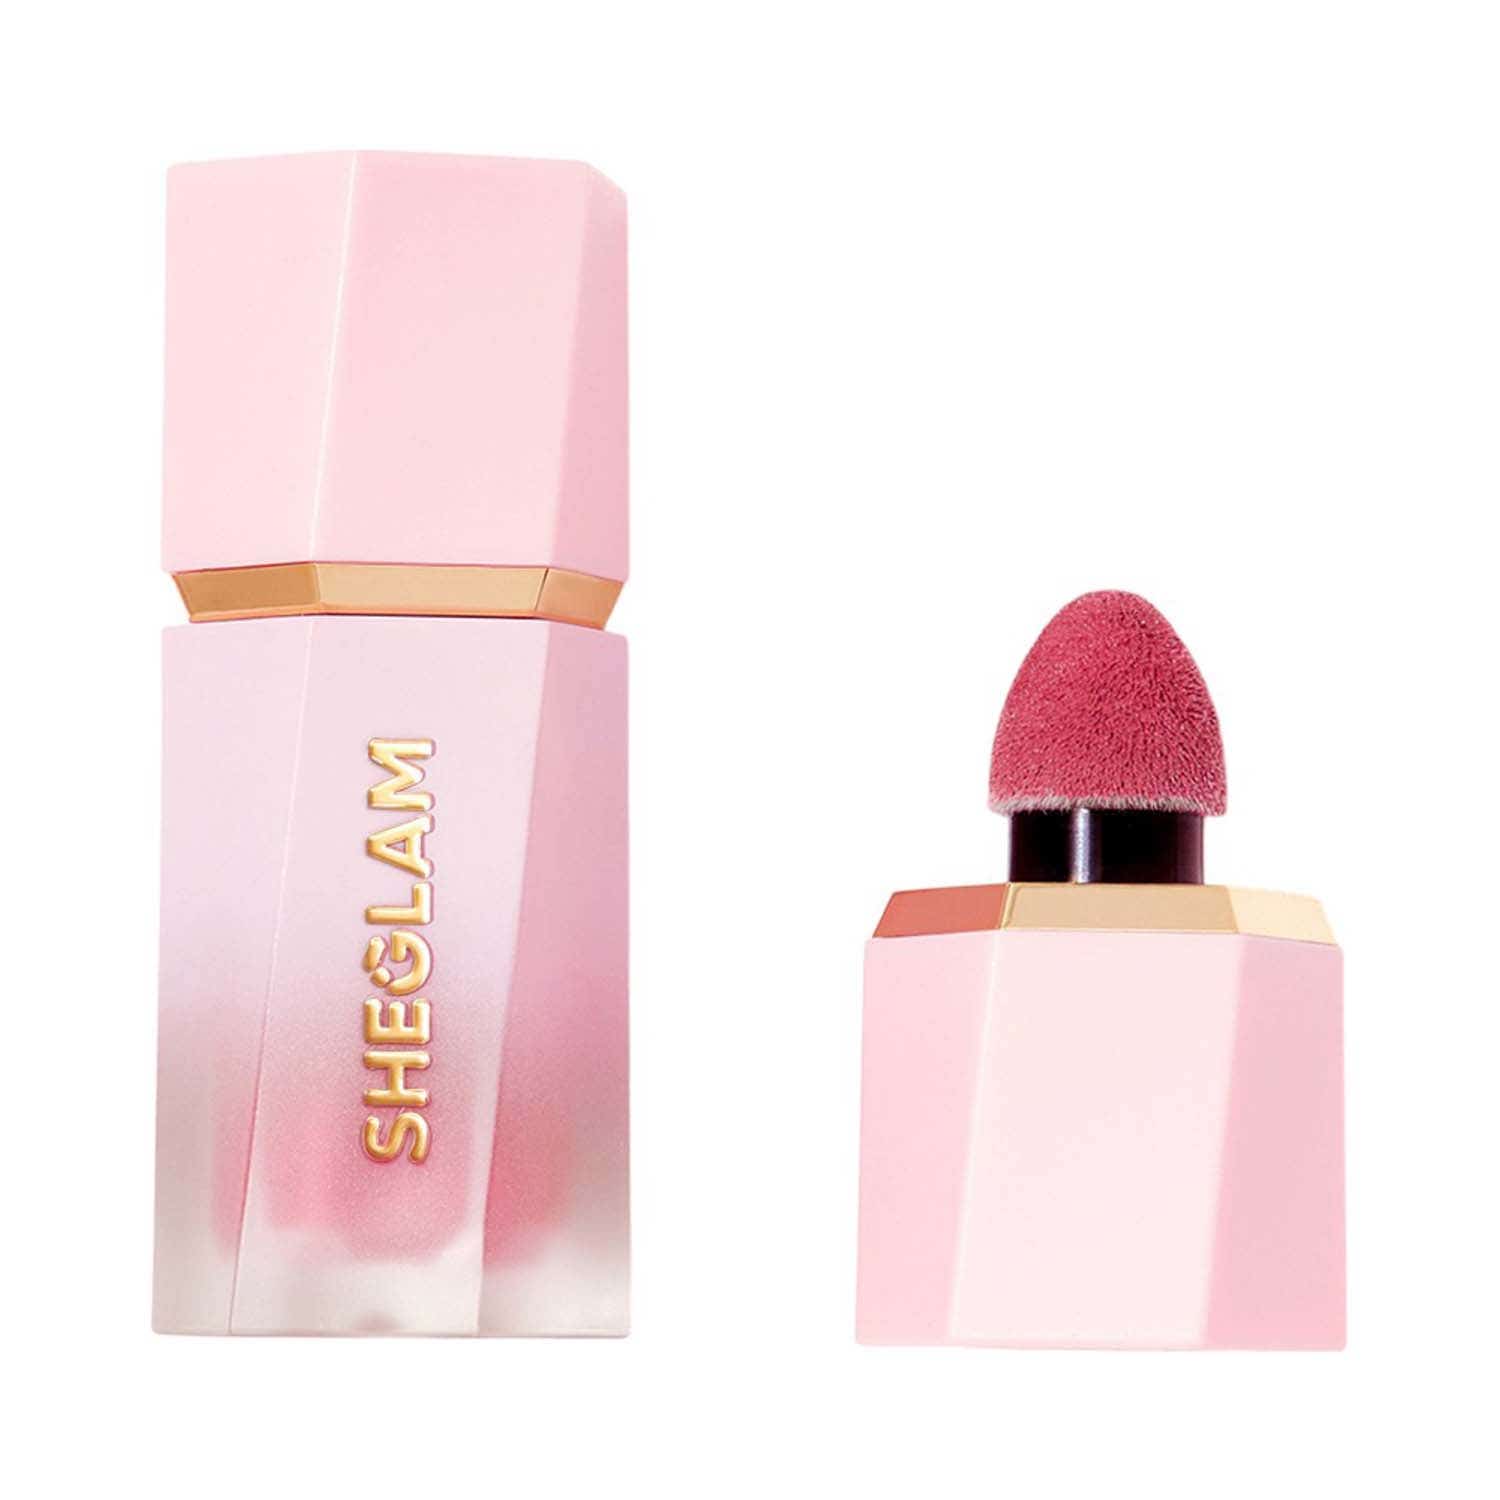
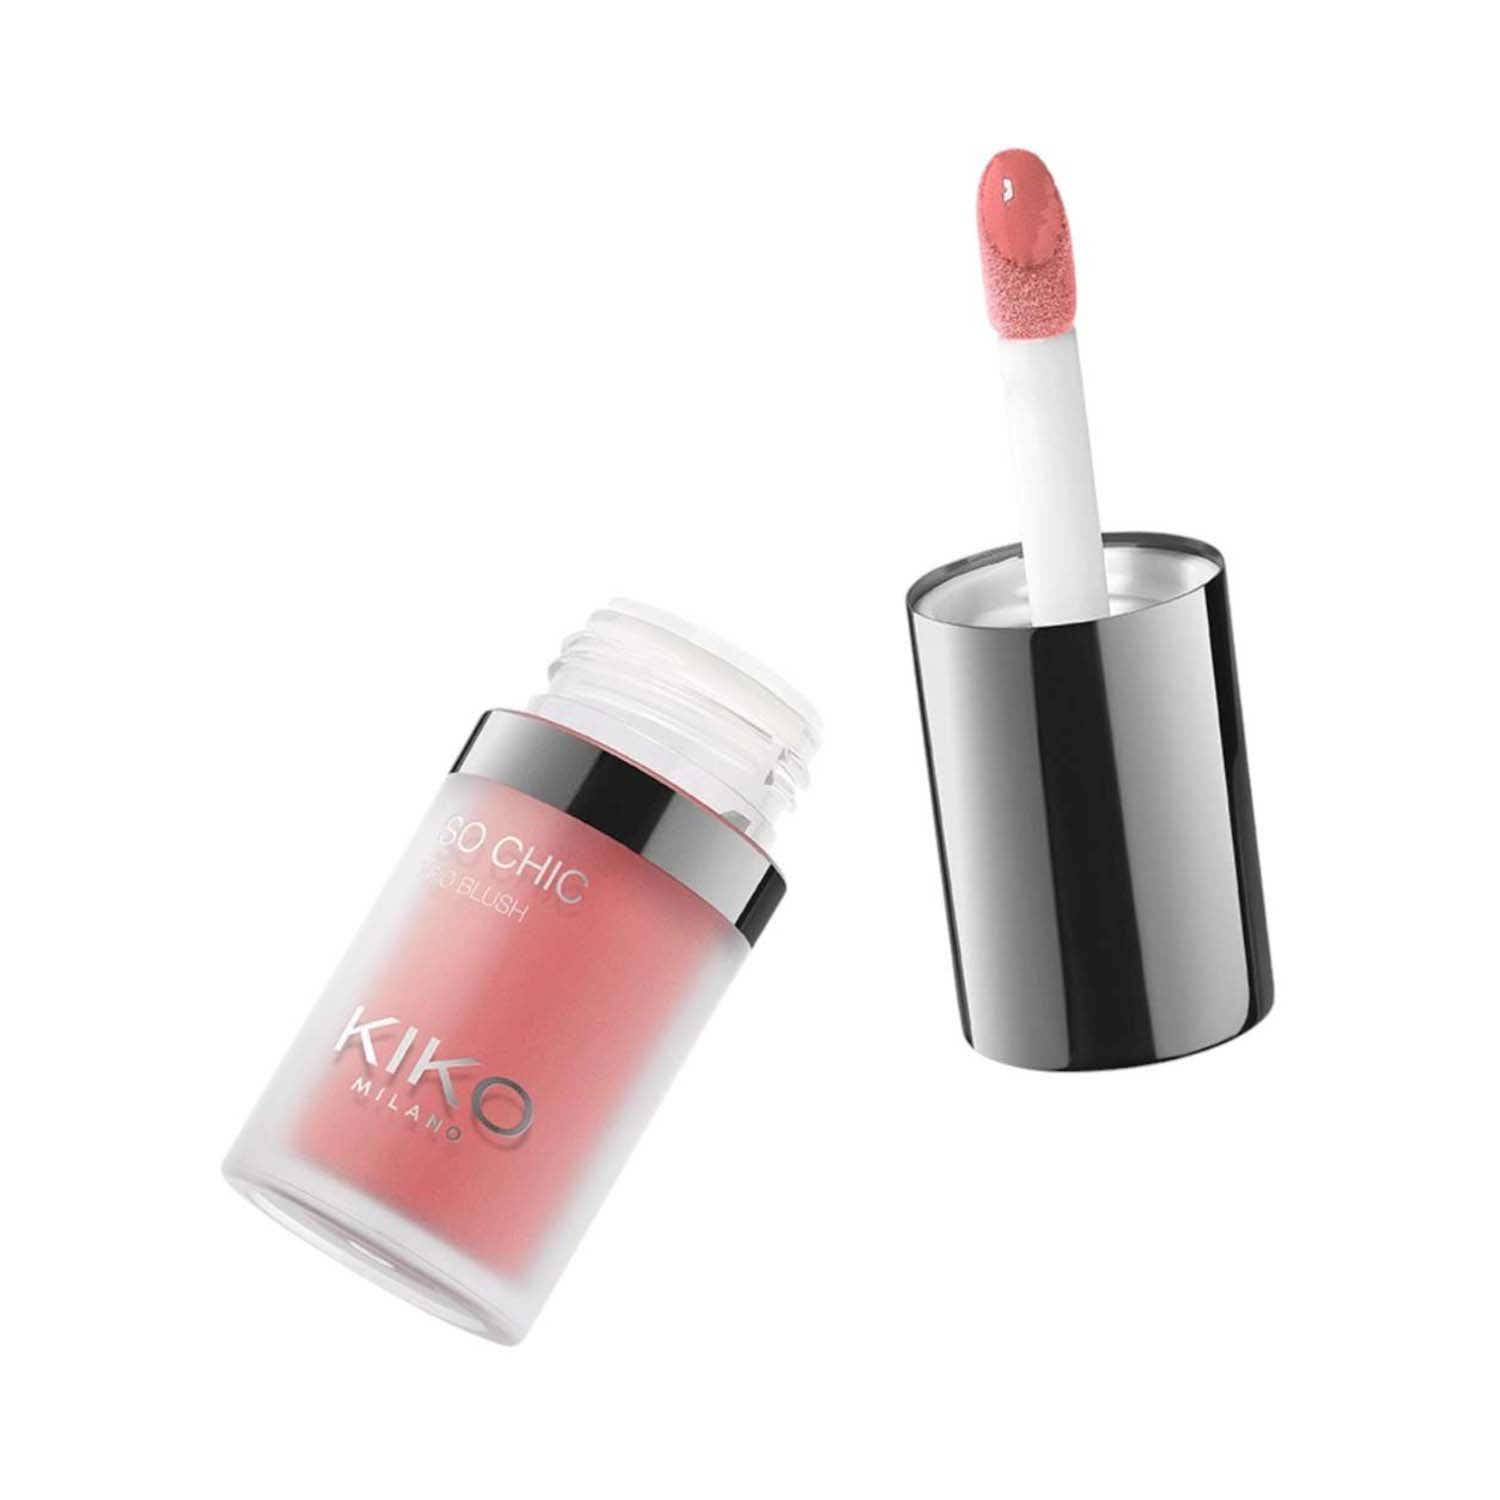


Douse your cheeks in the dusty hues of a beach sunset with one of the best blushes for summer: Huda Beauty’s Blush Filter Liquid Blush. Designed to deliver an airbrushed finish, the pigmented hue offers a generous amount of playtime with the first swipe of the doe foot applicator. As a sweet bonus, the perfumed blush will envelop your visage with a candied scent for the day.
Most of us grew up thinking blush was meant to mimic a natural flush—the kind you get after a workout, a compliment, or a slightly embarrassing moment. Blush blocking takes that idea and flips it on its head. Instead of trying to make blush disappear seamlessly into the skin, the technique embraces colour in a more intentional, statement-making way. The result is fresh, lifted, and a little editorial, while still being wearable enough for everyday makeup.
At its core, blush blocking is all about placement. Rather than concentrating colour on the apples of the cheeks in soft circular motions, the blush is applied higher on the face and swept outward towards the temples. This creates shape and dimension without relying on heavy contour or sharp bronzer lines. The pigment stays more concentrated, which is what gives the look its sculpted effect. Think less “barely there flush” and more “soft-focus cheekbones with personality.” It’s playful, flattering, and surprisingly easy to customise depending on how subtle—or bold—you want the final look to be.
One of the best things about blush blocking is that it works beautifully across skin tones. Unlike contouring, which relies on creating shadows and depth, blush blocking uses colour to define the face—which means it doesn’t need to compete with melanin to show up. In fact, richer and deeper skin tones often make the perfect canvas for bold, vibrant blush shades because the pigment appears especially radiant and dimensional on the skin.
The key is choosing colours with enough payoff to complement your complexion. Deep skin tones look stunning in berry, wine, brick red, and rich plum shades. Medium, olive, and South Asian skin tones tend to come alive with warm corals, peaches, terracottas, and rosy browns. Fair skin tones can experiment across the board, from soft rose pinks and lilacs to brighter pops of hot pink and cherry red. The beauty of blush blocking is that there are no strict rules—it’s less about looking “natural” and more about finding colours that make your skin look fresh, lifted, and alive.
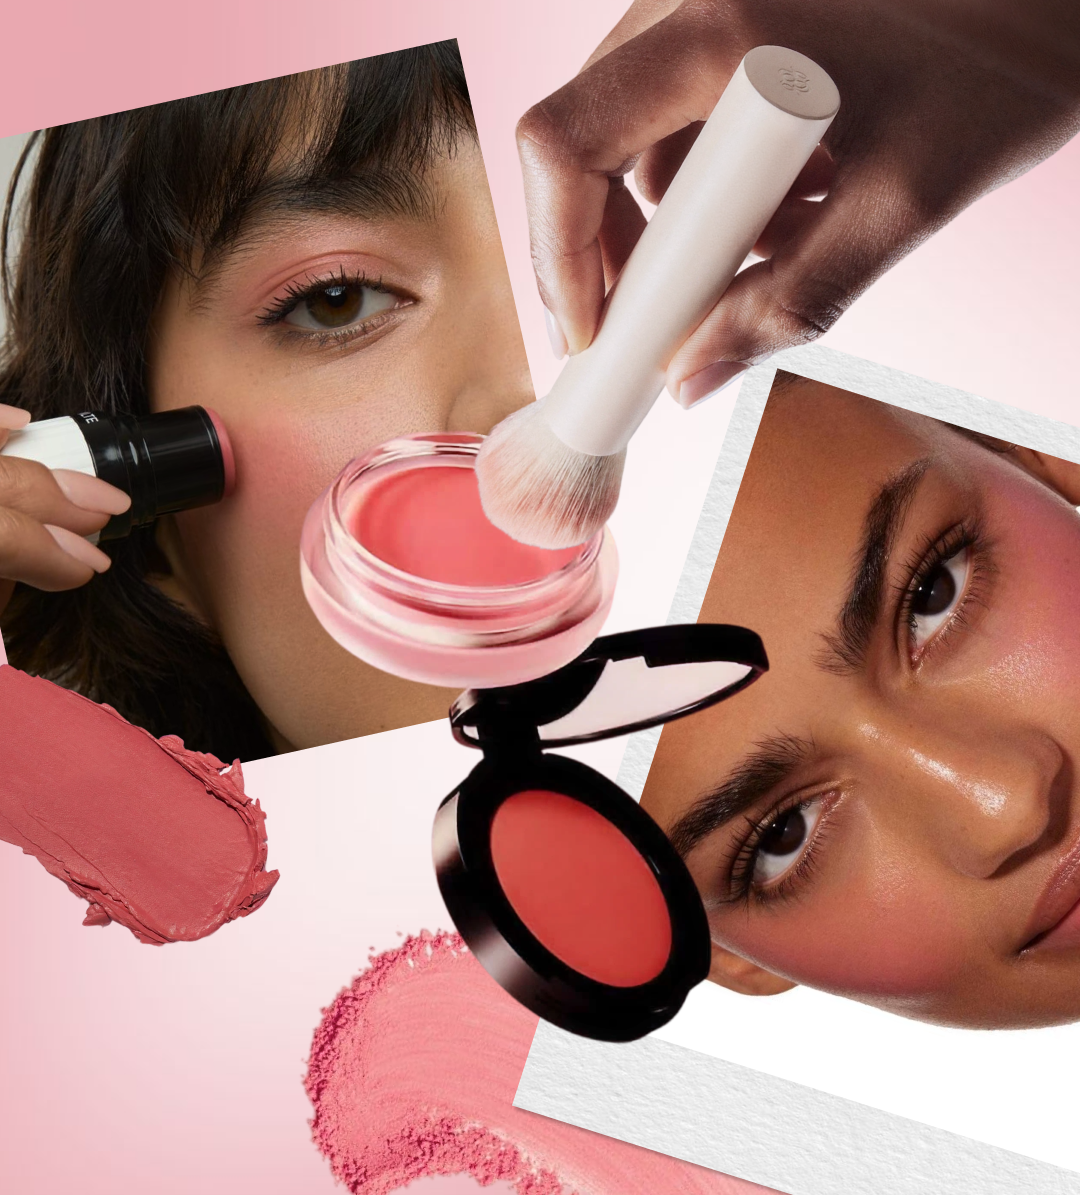
If you’re new to the technique, cream and liquid blushes are the easiest place to start. Their texture makes them easier to place precisely and blend before they set, which gives you more control over the intensity of the look. Start with a shade that actually shows up on your skin tone instead of one that disappears into the complexion. A little pigment goes a long way here, but the colour should still feel visible enough to create shape.
Apply a small amount just above the cheekbones or slightly under the eyes, then blend upward towards the temples using a brush, sponge, or even your fingers. The goal is to diffuse the edges while keeping most of the colour concentrated higher on the face. Avoid blending the blush too low or too close to the centre of the cheeks, as that can soften the lifted effect. Once you get comfortable, you can even layer two shades together—using a deeper tone lower on the cheekbone and a brighter pop of colour higher up for added dimension.
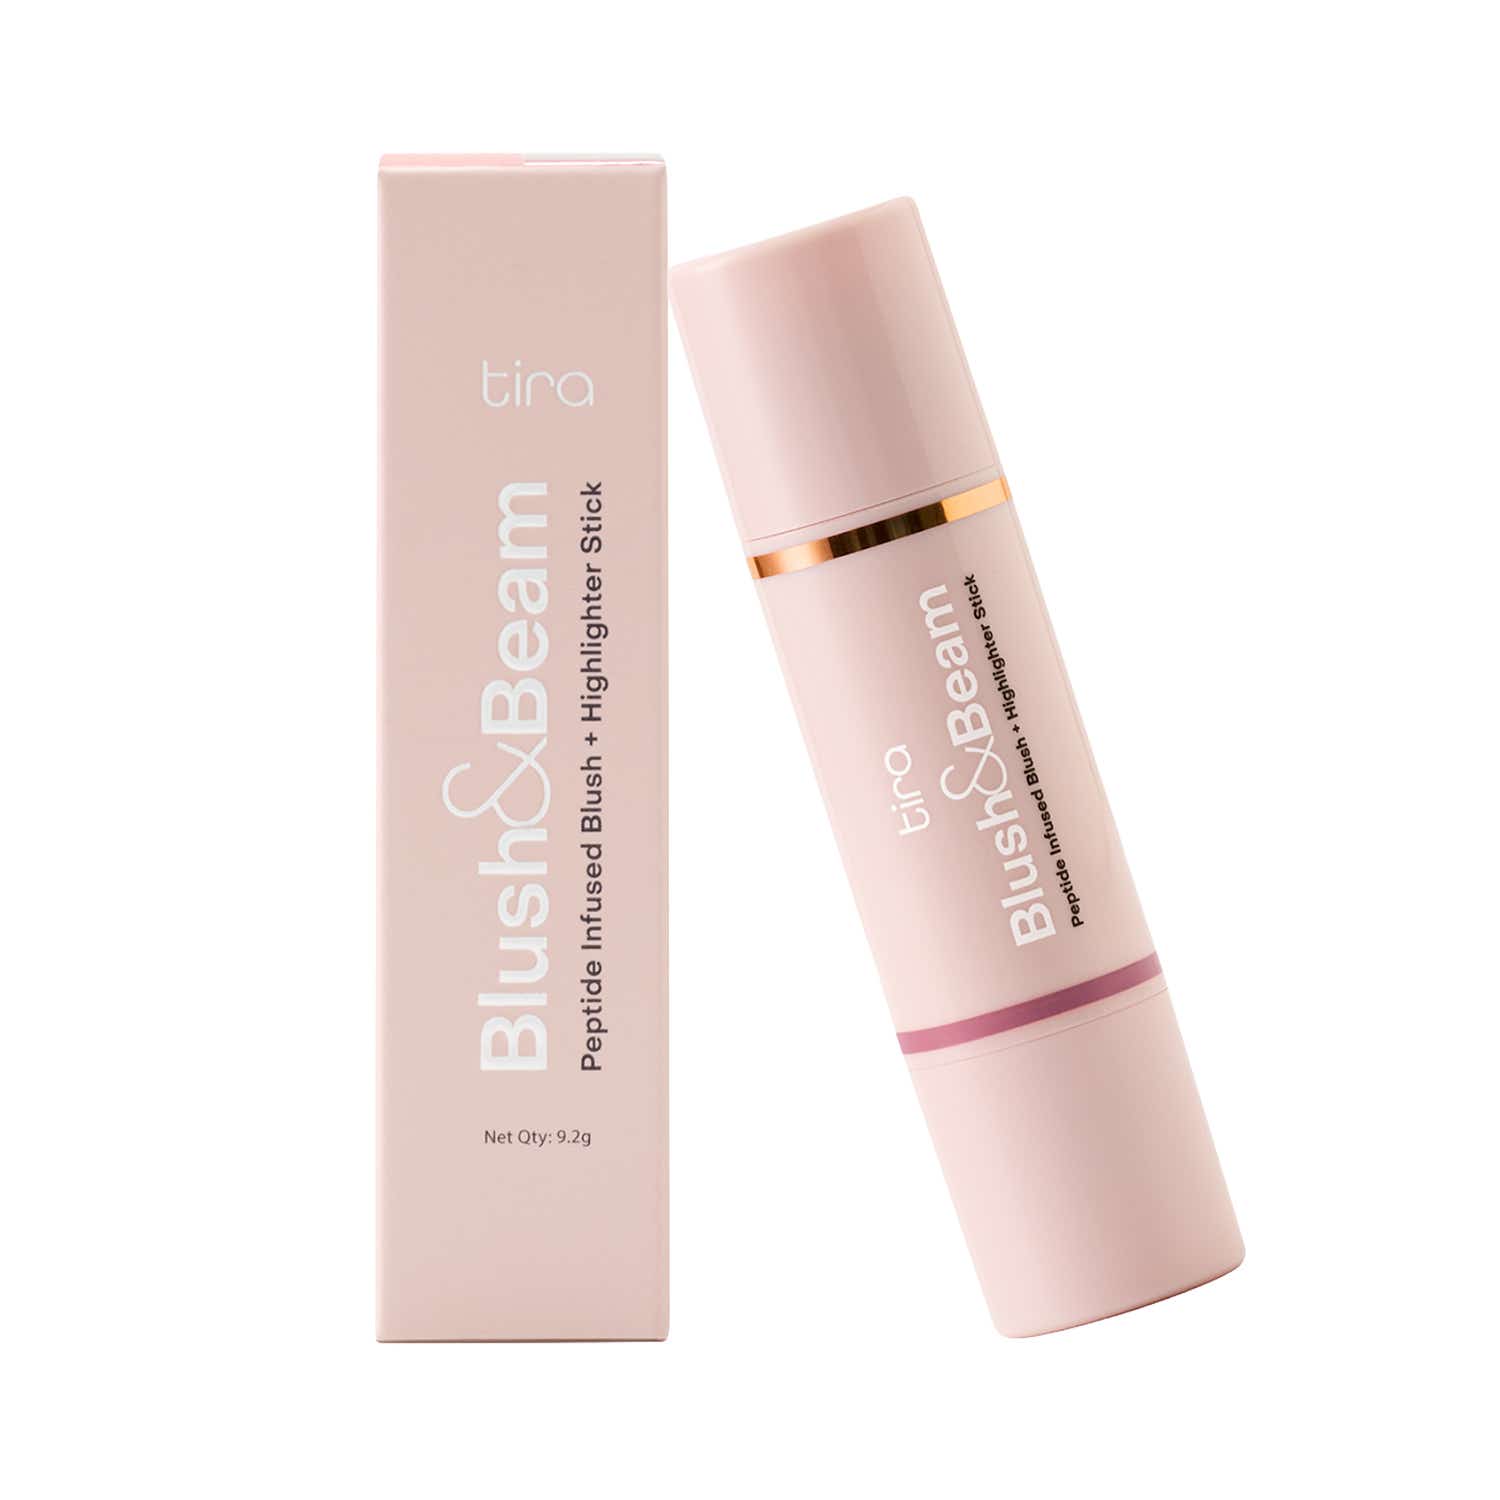
For a more elevated finish, tap a little highlighter onto the tops of the cheekbones and lock everything in with a hydrating setting spray. The rest of your makeup can stay minimal and effortless: a fresh base, brushed-up brows, subtle liner, and a glossy lip are often all you need. With blush blocking, the cheeks are meant to be the moment.
Most of us grew up thinking blush was meant to mimic a natural flush—the kind you get after a workout, a compliment, or a slightly embarrassing moment. Blush blocking takes that idea and flips it on its head. Instead of trying to make blush disappear seamlessly into the skin, the technique embraces colour in a more intentional, statement-making way. The result is fresh, lifted, and a little editorial, while still being wearable enough for everyday makeup.
At its core, blush blocking is all about placement. Rather than concentrating colour on the apples of the cheeks in soft circular motions, the blush is applied higher on the face and swept outward towards the temples. This creates shape and dimension without relying on heavy contour or sharp bronzer lines. The pigment stays more concentrated, which is what gives the look its sculpted effect. Think less “barely there flush” and more “soft-focus cheekbones with personality.” It’s playful, flattering, and surprisingly easy to customise depending on how subtle—or bold—you want the final look to be.
One of the best things about blush blocking is that it works beautifully across skin tones. Unlike contouring, which relies on creating shadows and depth, blush blocking uses colour to define the face—which means it doesn’t need to compete with melanin to show up. In fact, richer and deeper skin tones often make the perfect canvas for bold, vibrant blush shades because the pigment appears especially radiant and dimensional on the skin.
The key is choosing colours with enough payoff to complement your complexion. Deep skin tones look stunning in berry, wine, brick red, and rich plum shades. Medium, olive, and South Asian skin tones tend to come alive with warm corals, peaches, terracottas, and rosy browns. Fair skin tones can experiment across the board, from soft rose pinks and lilacs to brighter pops of hot pink and cherry red. The beauty of blush blocking is that there are no strict rules—it’s less about looking “natural” and more about finding colours that make your skin look fresh, lifted, and alive.
If you’re new to the technique, cream and liquid blushes are the easiest place to start. Their texture makes them easier to place precisely and blend before they set, which gives you more control over the intensity of the look. Start with a shade that actually shows up on your skin tone instead of one that disappears into the complexion. A little pigment goes a long way here, but the colour should still feel visible enough to create shape.
Apply a small amount just above the cheekbones or slightly under the eyes, then blend upward towards the temples using a brush, sponge, or even your fingers. The goal is to diffuse the edges while keeping most of the colour concentrated higher on the face. Avoid blending the blush too low or too close to the centre of the cheeks, as that can soften the lifted effect. Once you get comfortable, you can even layer two shades together—using a deeper tone lower on the cheekbone and a brighter pop of colour higher up for added dimension.
For a more elevated finish, tap a little highlighter onto the tops of the cheekbones and lock everything in with a hydrating setting spray. The rest of your makeup can stay minimal and effortless: a fresh base, brushed-up brows, subtle liner, and a glossy lip are often all you need. With blush blocking, the cheeks are meant to be the moment.