

Beauty Front Benchers
The post-monsoon hair reset your strands need
Read Now


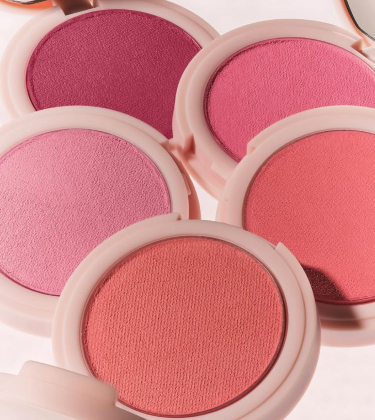
I don’t know about you, but I’ve been guilty of coating my cheeks with a ridiculous amount of blush to make up for the inevitability of it disappearing into thin air in a couple of hours. I used to blame the blush, but I’ve come to realise that the problem might lie with my application technique, not so much the formula. How you prep your skin and the order in which you apply the products can make a world of difference to your blush longevity. If you want to make your blush last longer, you’ve come to the right place. From priming and layering to placement and setting, this guide gives you the lowdown on how to make sure your blush doesn’t disintegrate after one spirited dance sequence at your next Diwali party.
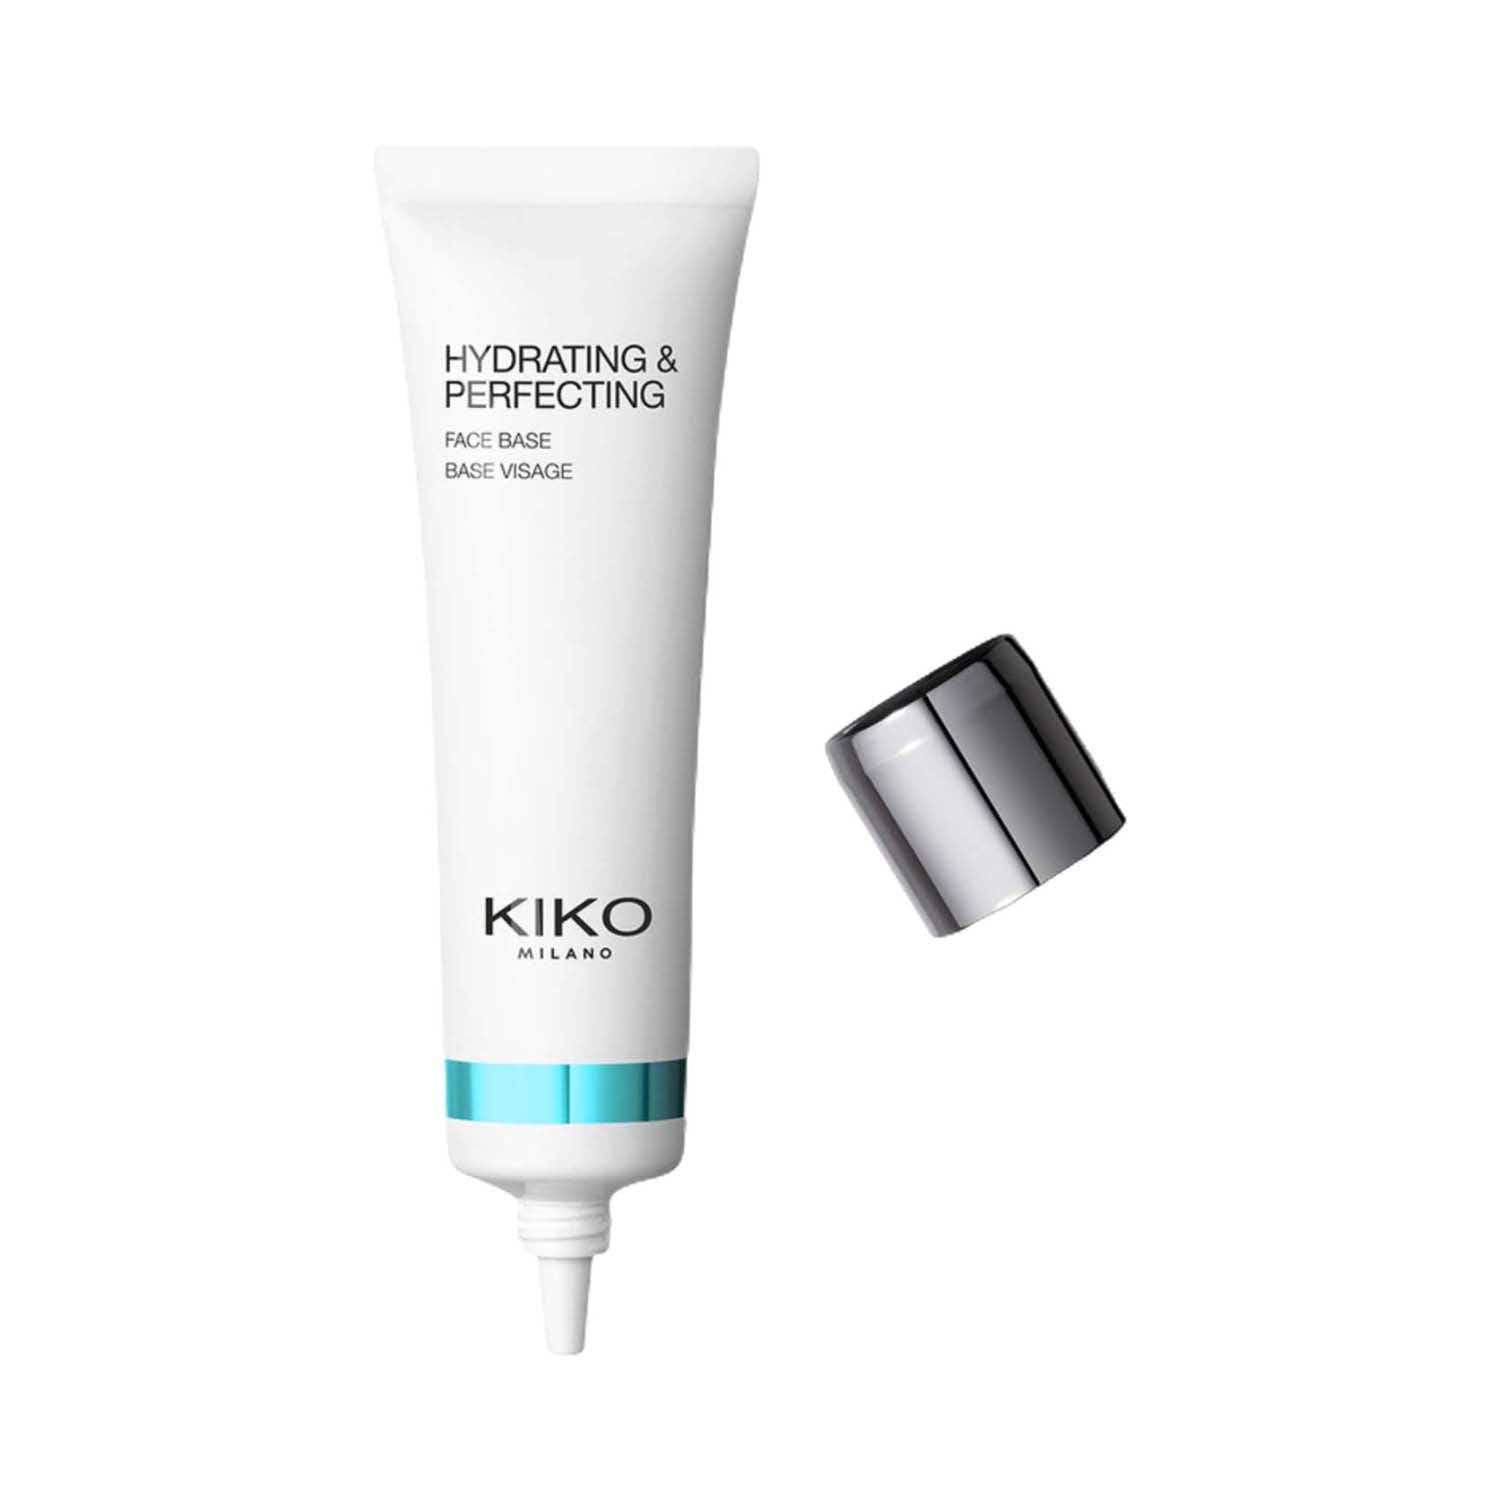
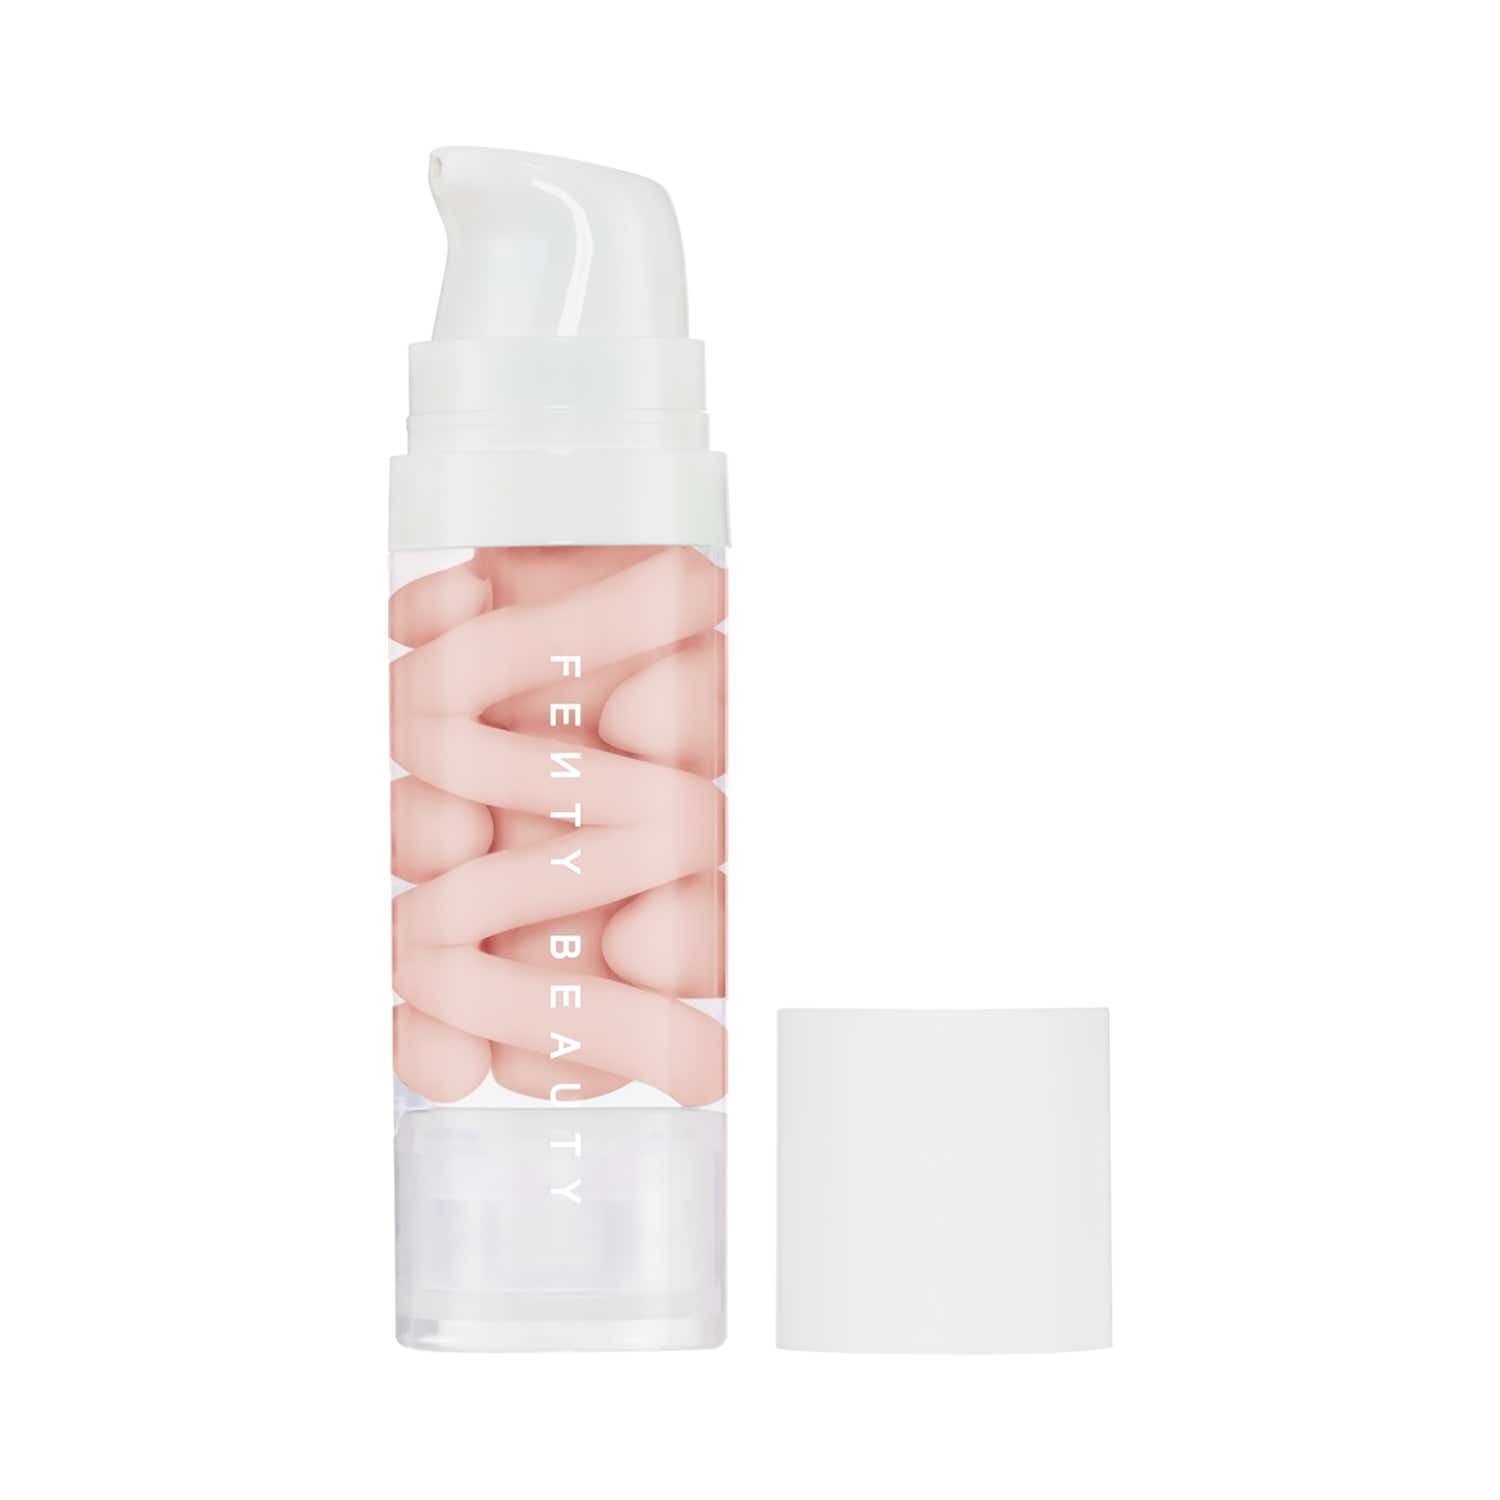


This blue-tinted primer from KIKO Milano focuses on restoring comfort and balance to dry skin. Aloe vera and shea butter work together to hydrate and soften, while the lightweight texture helps even out the complexion and minimise the appearance of pores. It feels smooth rather than heavy and does not leave behind an occlusive layer. Dermatologically tested and non-comedogenic, it suits skin that is both dry and sensitive, offering hydration without compromising comfort.
Douse your cheeks in the dusty hues of a beach sunset with one of the best blushes for summer: Huda Beauty’s Blush Filter Liquid Blush. Designed to deliver an airbrushed finish, the pigmented hue offers a generous amount of playtime with the first swipe of the doe foot applicator. As a sweet bonus, the perfumed blush will envelop your visage with a candied scent for the day.
This is the makeup fixer that’s everywhere right now—yes, the one from viral K-beauty brand Tirtir. Not only does it lock in your makeup, but also guards your against environmental stressors. And it’s got centella asiatica, the soothing ingredient that calms dry, irritated skin. Bonus: It helps prevent breakouts by absorbing excess sebum and leaving behind an airbrushed, soft-focus finish. Using it is a breeze: just shake the bottle, spray it in an X and T motion from a few inches away and your makeup is locked and loaded for the day.
Setting sprays might feel like an extra step, but in this heat? Totally worth it. This one from TIRTIR acts like a topcoat for your makeup, locking everything in with a light mist that feels refreshing, not sticky. It keeps your base from sliding off your face even after hours in the sun or under a mask. Bonus—it helps your makeup look more natural and lived-in as the day goes on, not patchy or uneven.
Your makeup’s best insurance policy. This fine mist locks everything in place and keeps it looking fresh all day. It adds a soft glow without feeling sticky or heavy. A quick spritz before you head out, and you’re set—literally.
Long-wearing makeup is at the heart of TIRTIR's appeal and this setting spray feels like a natural extension of that philosophy. The lightweight formula creates an invisible layer over makeup, helping it withstand humidity without disrupting the finish underneath. It works particularly well with natural-looking base products, preserving their skin-like appearance rather than making them look overly set.
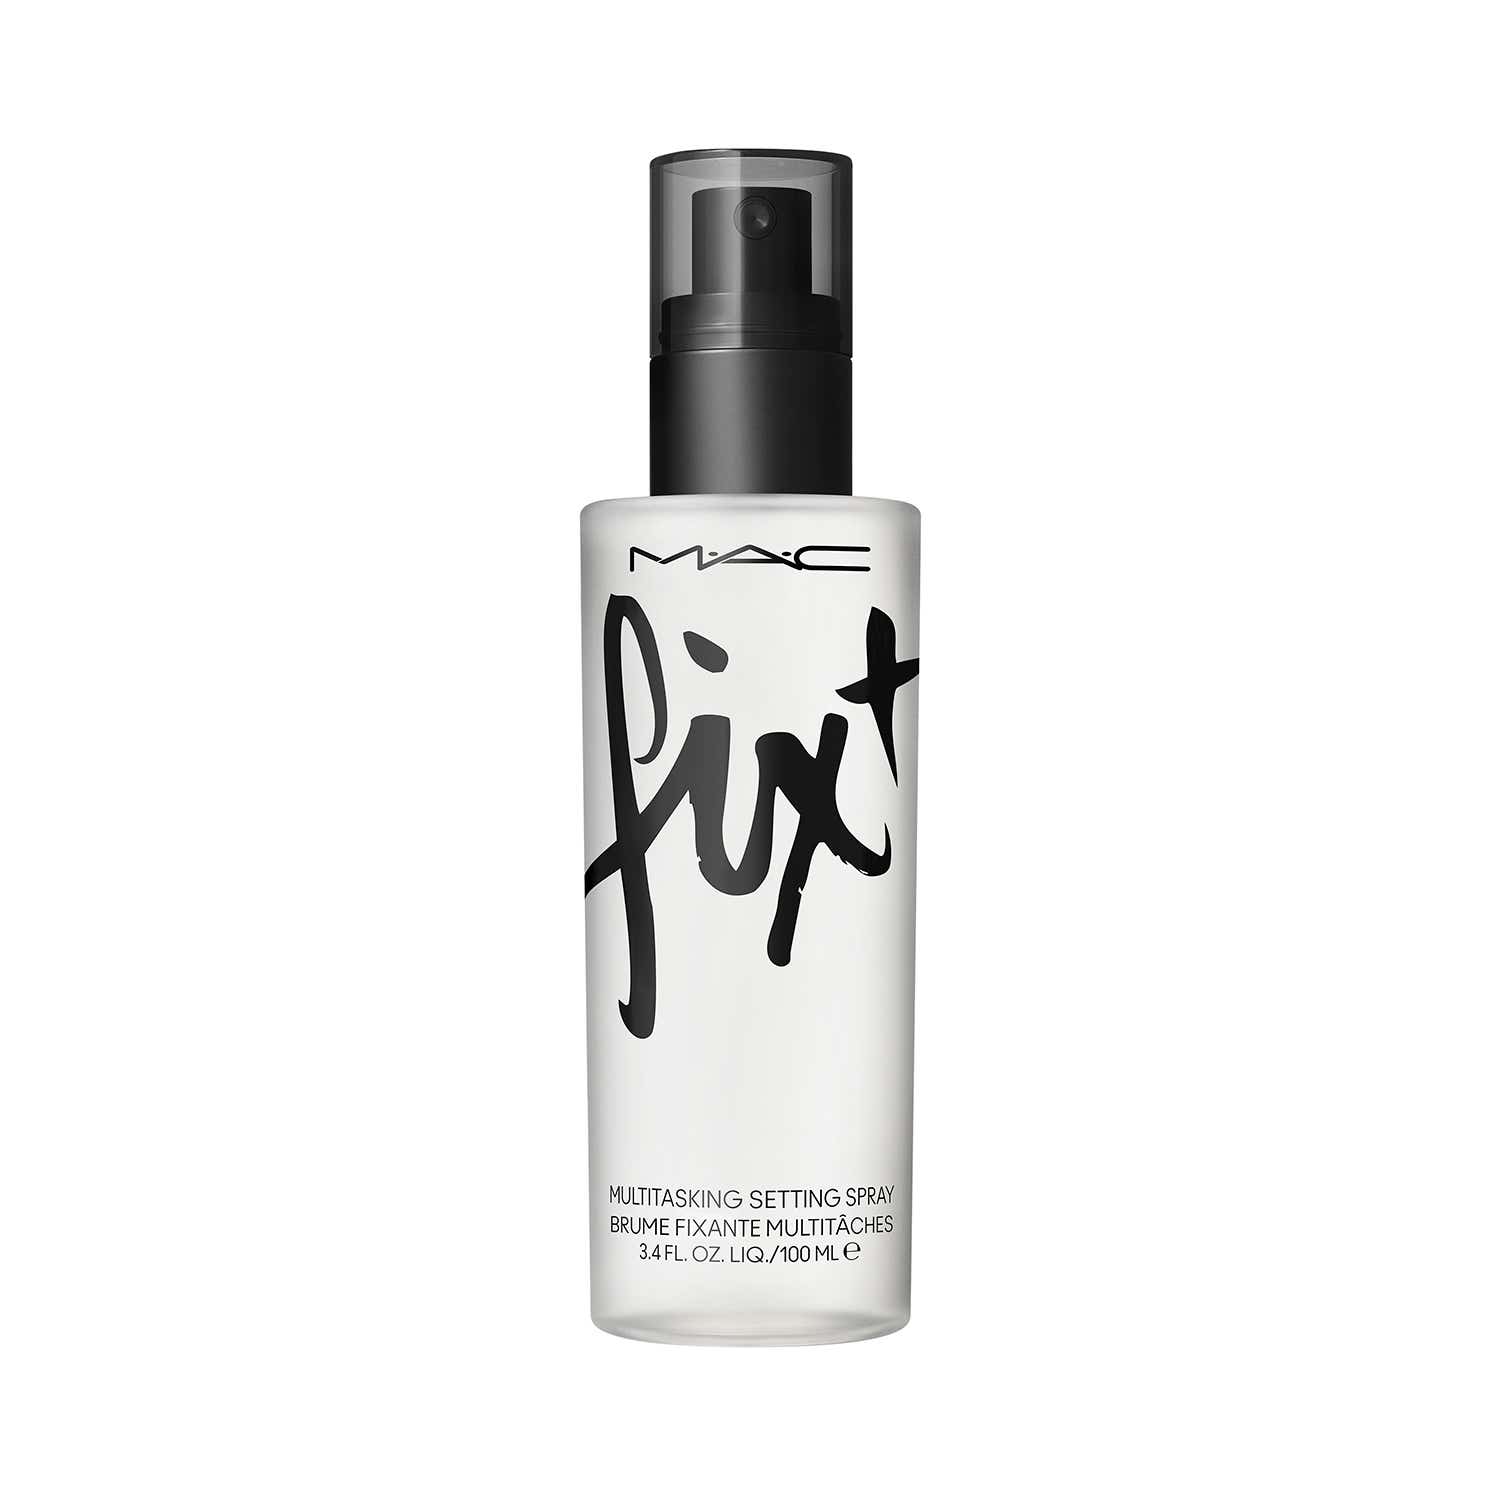
This one has been a makeup artist staple for long enough that it barely needs an introduction. Fix+ extends the wear of your makeup, gets rid of any powdery finish and adds just enough dewiness to make everything look more like skin. The best part? It works at every stage—spritz it before foundation to prep, mid-routine to melt products together or at the end to lock everything in place. M.A.C is up to 25% off right now and orders above ₹2000 come with a complimentary sachet. A good excuse to grab a backup while you're at it.
Backstage, on set and in professional makeup kits around the world, M.A.C Fix+ has earned its reputation as a beauty staple. More than just a setting spray, it's often used to bring the entire makeup look together. A few spritzes help soften the appearance of powders, melt different layers of makeup into the skin and create a more natural finish overall. It's equally useful before makeup, during application and throughout the day when the complexion needs a quick refresh. The result is makeup that looks less constructed and more effortlessly lived in.
Few beauty products have achieved cult status quite like Fix+. While it's often praised for refreshing makeup and adding a healthy-looking glow, it also works remarkably well as a setting spray. The lightweight formula helps soften powdery textures and brings different layers of makeup together, creating a more seamless finish that continues to look fresh long after application.
Aries doesn’t have the patience to keep checking their makeup every time the humidity rises. Enter M.A.C Prep + Prime Fix+, a lightweight mist that hydrates, refreshes and helps makeup look more seamless. Spritz it on before makeup to prep the skin, use it between layers or reach for it whenever your base could use a quick refresh. It’s easy, versatile and takes seconds to use, which is exactly the kind of low-effort beauty fix this always-on fire sign needs during monsoon.
Your blush can only be as good as the base you apply it on. Start by prepping your skin with a hydrating moisturiser and sunscreen. Next comes the primer and, no, it isn’t optional. You can choose a formula that’s best suited to your skin type—oily skin types will benefit from a mattifying primer and hydrating ones are good for dry skin types. Gripping primers are particularly helpful in ensuring that the makeup to follow stays locked in.
Let’s get you in on a secret: you don’t have to choose between your favourite cream and powder blush. The key to long-lasting blush application lies in using both formulas by layering them on top of one another. Kick things off by applying a liquid or cream blush and blending it out, and then go over it with a powder one (goes without saying, in a similar shade). Not only does your powder blush add an extra pigment to the cheeks, but it also helps set the cream formula underneath.
And if you learn anything from my blush naivete, let it be that a brighter blush doesn’t automatically mean that it’ll be more long-lasting. So, instead of slapping it all on there in one go and then struggling to blend it in (which often can be the case with highly pigmented liquid formulas), build up the intensity bit by bit until you’re happy with the look.
The placement of your blush has more to do with how it’ll end up looking rather than how long it’ll last, but being a little strategic with it can help minimise friction from your hands and accessories like glasses. Blush blocking, which is the technique of applying the product along your upper cheekbones and sweeping up towards your temples, gives your face a natural lifted effect along with the bonus of keeping the colour away from areas that are typically more prone to smudging.
This final step, which also happens to be the most important one, requires very little technique. Simply grab a setting spray and spritz it on evenly while keeping it a few inches from your face. This will help lock your makeup in place, so that your blush (or anything else, for that matter) doesn’t disappear on you. Pro tip: If you have oily skin, it might be a good idea to dust a bit of translucent powder on top of areas that tend to get shiny before you finish with a setting spray.
Your blush can only be as good as the base you apply it on. Start by prepping your skin with a hydrating moisturiser and sunscreen. Next comes the primer and, no, it isn’t optional. You can choose a formula that’s best suited to your skin type—oily skin types will benefit from a mattifying primer and hydrating ones are good for dry skin types. Gripping primers are particularly helpful in ensuring that the makeup to follow stays locked in.
Let’s get you in on a secret: you don’t have to choose between your favourite cream and powder blush. The key to long-lasting blush application lies in using both formulas by layering them on top of one another. Kick things off by applying a liquid or cream blush and blending it out, and then go over it with a powder one (goes without saying, in a similar shade). Not only does your powder blush add an extra pigment to the cheeks, but it also helps set the cream formula underneath.
And if you learn anything from my blush naivete, let it be that a brighter blush doesn’t automatically mean that it’ll be more long-lasting. So, instead of slapping it all on there in one go and then struggling to blend it in (which often can be the case with highly pigmented liquid formulas), build up the intensity bit by bit until you’re happy with the look.
The placement of your blush has more to do with how it’ll end up looking rather than how long it’ll last, but being a little strategic with it can help minimise friction from your hands and accessories like glasses. Blush blocking, which is the technique of applying the product along your upper cheekbones and sweeping up towards your temples, gives your face a natural lifted effect along with the bonus of keeping the colour away from areas that are typically more prone to smudging.
This final step, which also happens to be the most important one, requires very little technique. Simply grab a setting spray and spritz it on evenly while keeping it a few inches from your face. This will help lock your makeup in place, so that your blush (or anything else, for that matter) doesn’t disappear on you. Pro tip: If you have oily skin, it might be a good idea to dust a bit of translucent powder on top of areas that tend to get shiny before you finish with a setting spray.


Your blush can only be as good as the base you apply it on. Start by prepping your skin with a hydrating moisturiser and sunscreen. Next comes the primer and, no, it isn’t optional. You can choose a formula that’s best suited to your skin type—oily skin types will benefit from a mattifying primer and hydrating ones are good for dry skin types. Gripping primers are particularly helpful in ensuring that the makeup to follow stays locked in.
Let’s get you in on a secret: you don’t have to choose between your favourite cream and powder blush. The key to long-lasting blush application lies in using both formulas by layering them on top of one another. Kick things off by applying a liquid or cream blush and blending it out, and then go over it with a powder one (goes without saying, in a similar shade). Not only does your powder blush add an extra pigment to the cheeks, but it also helps set the cream formula underneath.
And if you learn anything from my blush naivete, let it be that a brighter blush doesn’t automatically mean that it’ll be more long-lasting. So, instead of slapping it all on there in one go and then struggling to blend it in (which often can be the case with highly pigmented liquid formulas), build up the intensity bit by bit until you’re happy with the look.
The placement of your blush has more to do with how it’ll end up looking rather than how long it’ll last, but being a little strategic with it can help minimise friction from your hands and accessories like glasses. Blush blocking, which is the technique of applying the product along your upper cheekbones and sweeping up towards your temples, gives your face a natural lifted effect along with the bonus of keeping the colour away from areas that are typically more prone to smudging.
This final step, which also happens to be the most important one, requires very little technique. Simply grab a setting spray and spritz it on evenly while keeping it a few inches from your face. This will help lock your makeup in place, so that your blush (or anything else, for that matter) doesn’t disappear on you. Pro tip: If you have oily skin, it might be a good idea to dust a bit of translucent powder on top of areas that tend to get shiny before you finish with a setting spray.