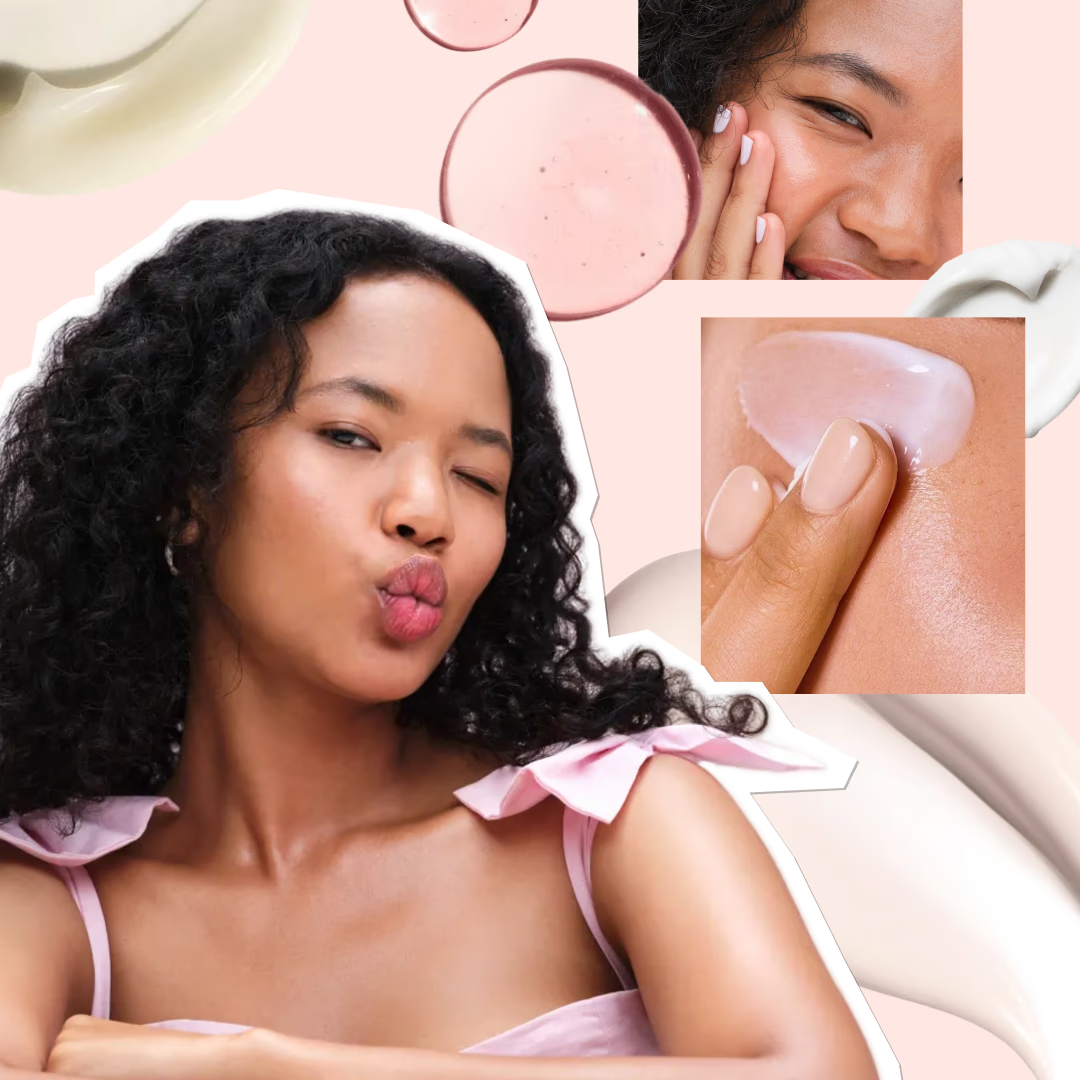
A key part of a well-done makeup look often lies in the way one plays up the lips. And the fuller lips trend has become an internet sensation ever since trendsetters like Kylie Jenner were seeing sporting fuller pouts. Whether through the art of overlining or the use of lip plumpers and tools, achieving the look doesn’t have to be daunting. With the right products and technique, it can be seamlessly achieved in just a few simple steps. Here are some tips and tricks on how to overline your lips and elevate your makeup game.
Here’s a step-by-step guide on how to overline small lips to achieve a fuller look:
Step 1: Determine your lip shape
All of us have a differently shaped lips, while some people have a heavier bottom lip and only want to focus on creating balance by overlining their top lip, others have thinner lips in totality and want to bring fullness. Understanding your shape makes it easier to learn how to overline lips.

Step 2: Prep your lips
Lip prep is crucial to make the overlined lips look natural and juicy. First, exfoliate your lips with a lip scrub to remove any dry or flaky skin. Then, apply a lip balm to moisturise them. Make sure the lip balm is not too greasy or heavy, as this can make the lip liner slide. We recommend the Laneige Berry Lip Glowy Balm as it is infused with murumuru butter, making it moisturising and lightweight.
Step 3: Select your lip colour
When it comes to selecting a lip colour, everyone has different preferences. While some lean towards a brown/nude lip, others prefer a pop of colour with pink/red tones. This can be determined by the choice of your existing lipstick shade or by experimenting with newer ones. Once you know your colour, pick out a lip liner and use it to add fullness.
Step 4: Lip liner
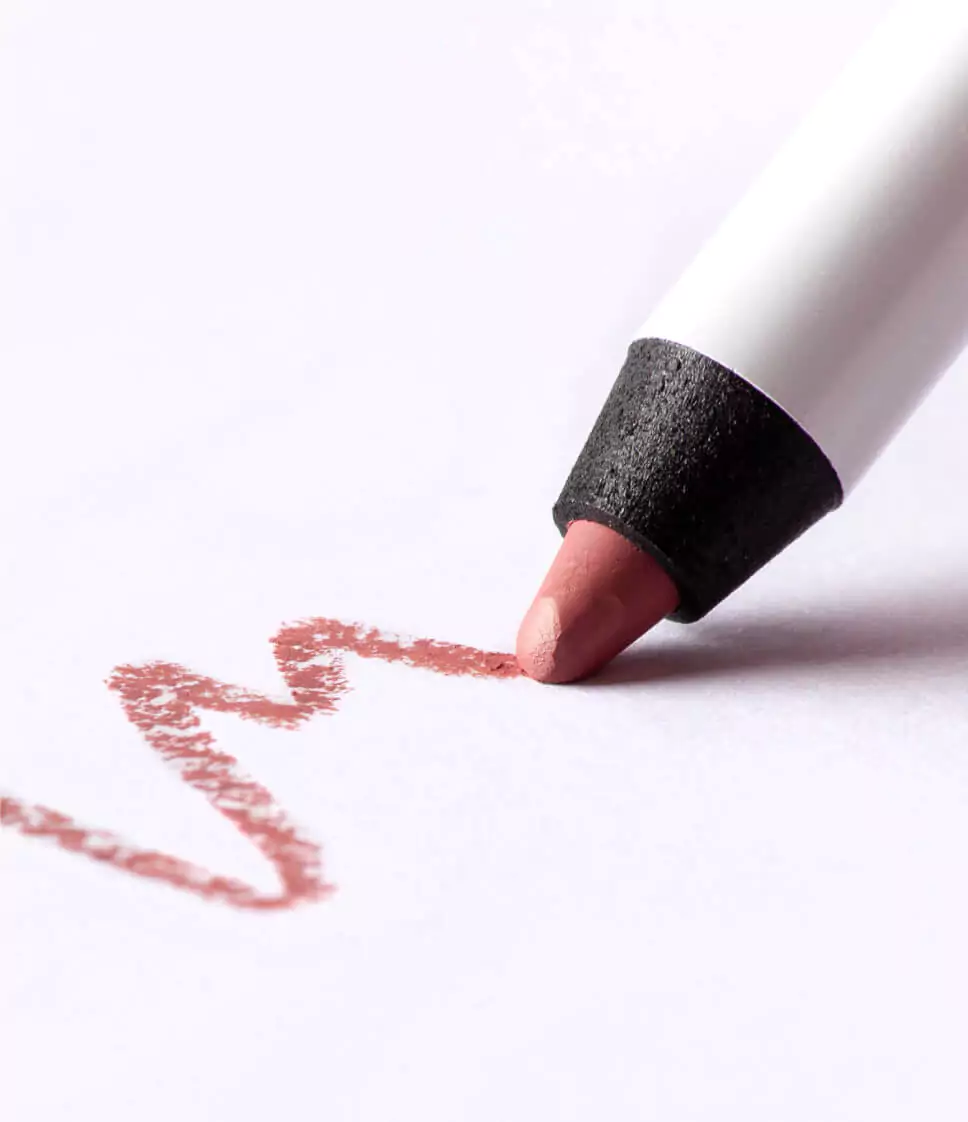
When it comes to overlining lips, lip liner is your best friend. This magic pencil is a must-have in everyone's makeup kit as it can transform the way your lips look. It is used to outline your lips which automatically give your pout shape and definition. Use it to overline the corners of your lip and taper inwards to give the appearance of a fuller top lip. Define your cupid’s bow by making an X and following the natural shape to create a fuller, more well-defined shape that moves lower to the corners of your lip. Opting for a shade that’s darker than your lipstick will help you contour your lips and provide more dimension. A wooden lip pencil that can be sharpened is perfect to get the job done. The Anastasia Beverly Hills Lip Liner does just that. This velvet matte lip liner adds shape to your lips by contouring the outlines with its lightweight, high-pigment formula that glides easily.
Step 5: Lipstick
After lining your lips using the steps mentioned above, focus your choice of lipstick on the parts that are left bare or untouched by the lip liner. Focusing your lipstick on the centre of your overlined lips will provide definition and add a seamless gradient between your lip liner and lipstick which will give the illusion of fuller lips. The Too Faced Lady Bold Cream Lipstick is a game changer in the lip makeup category. With one swipe pigment, these lipsticks are lightweight, long-wearing and feel extremely comfortable on the lips. You can even try the high pigment lip products from MAC Cosmetics, or the Locked Kiss Ink Liquid Lipstick, infused with shea butter, it offers a matte finish that lasts up to 24 hours.
Step 6: Lip gloss
Although lip gloss seems like an optional step as a part of your lip makeup routine, it adds a juicy, plump look to your lips. The Laura Mercier Lip Glace is the perfect product to achieve this. And a foolproof lip makeup tip? Add a nude lip gloss in the centre to add dimension and shine. It is also infused with nourishing primrose oil, which keeps your lips hydrated and ensures a uniform colour payoff.


.jpeg)


