
Rituals
Everything you need to know about hair cycling
Read Now


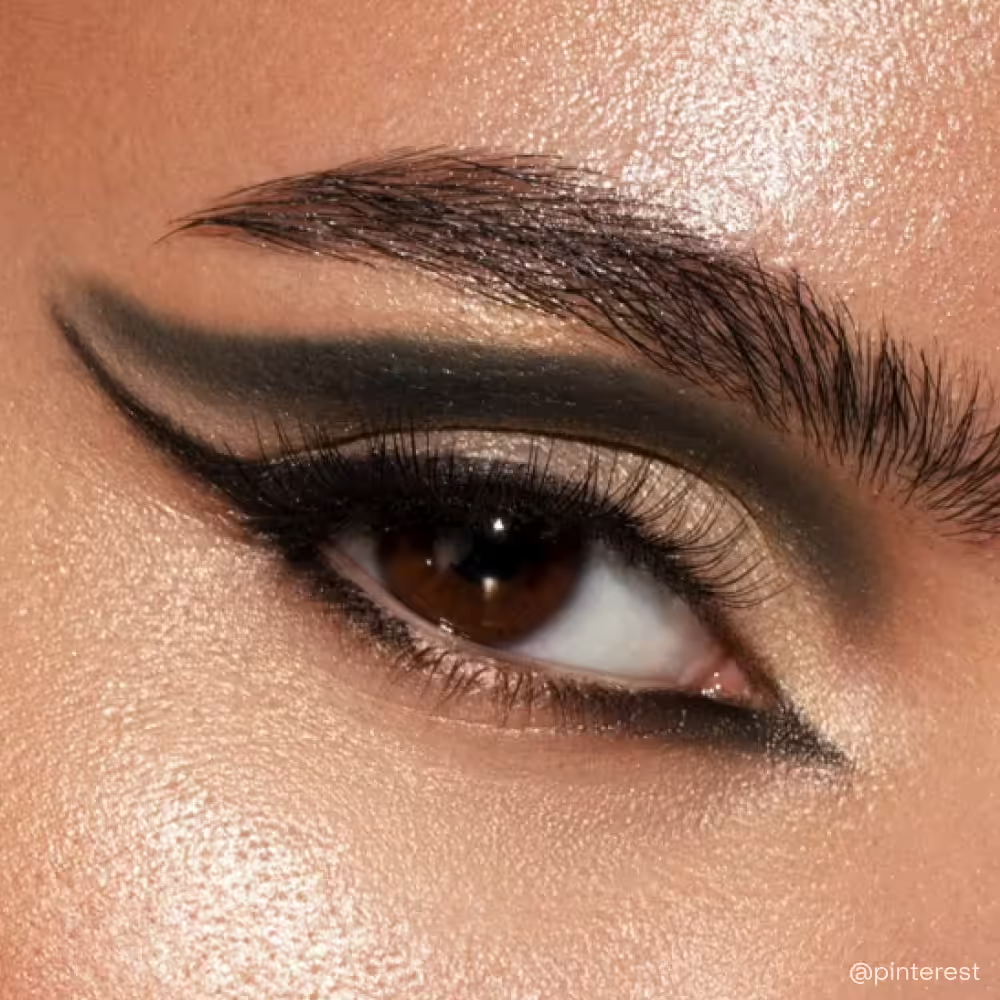

The lived-in eyeliner look has always exuded a main character aura. It’s the unbothered finish that looks like you’ve been wearing your liner all day, with just the right amount of soft definition and smudged-out edges. It’s an effortlessly cool, model-off-duty vibe that works for day or night.
Unlike the traditional sharp-winged liner, the lived-in look embraces a more nonchalant approach. It focuses on creating depth and dimension, but with a soft and wearable, I-could-care-less attitude. Think of it as the eyeliner equivalent of bedhead hair—intentionally messy, naturally flattering and surprisingly easy to achieve once you know the BTS tricks.
So, if you’re looking to switch up your usual cat eye, this technique is forgiving, versatile and so messily beautiful that you cannot go wrong. Here’s how to master the lived-in eyeliner in five simple steps.


.jpeg)

Married life often comes with a calendar full of dinners, brunches and parties and this palette is ready for all of them. It’s one of those rare finds that works for any mood—try a soft wash of matte brown for daytime or a quick shimmer for evening and save the full smoky eye for when you’re feeling bold. The pigments are rich, blend effortlessly and stay put for hours without creasing. Compact, versatile and endlessly wearable, it’s the kind of palette you’ll keep reaching for long after you’ve hit pan.
Since your eye makeup can make or break a look, getting it right should be high-priority. Besides, don’t shy away from using pop colours and glitter that see you through the evening. With matte nudes, multi-chromatic foils, eye gloss and sparkly shades, the Huda Beauty Grunge Eyeshadow Palette will help you shift the focus to your lids.
Bring on the spooktacular vibes with this grunge-inspired eyeshadow palette from Huda Beauty. Forget everything you know about smoky glam and, instead, lean into your gothic side with this versatile lineup of mattes, multi-chromatic foils and glossy shades that will help you create a wide array of mystical makeup looks.
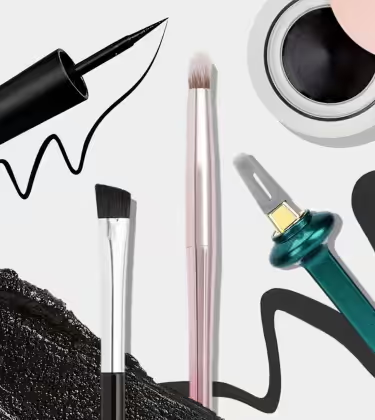
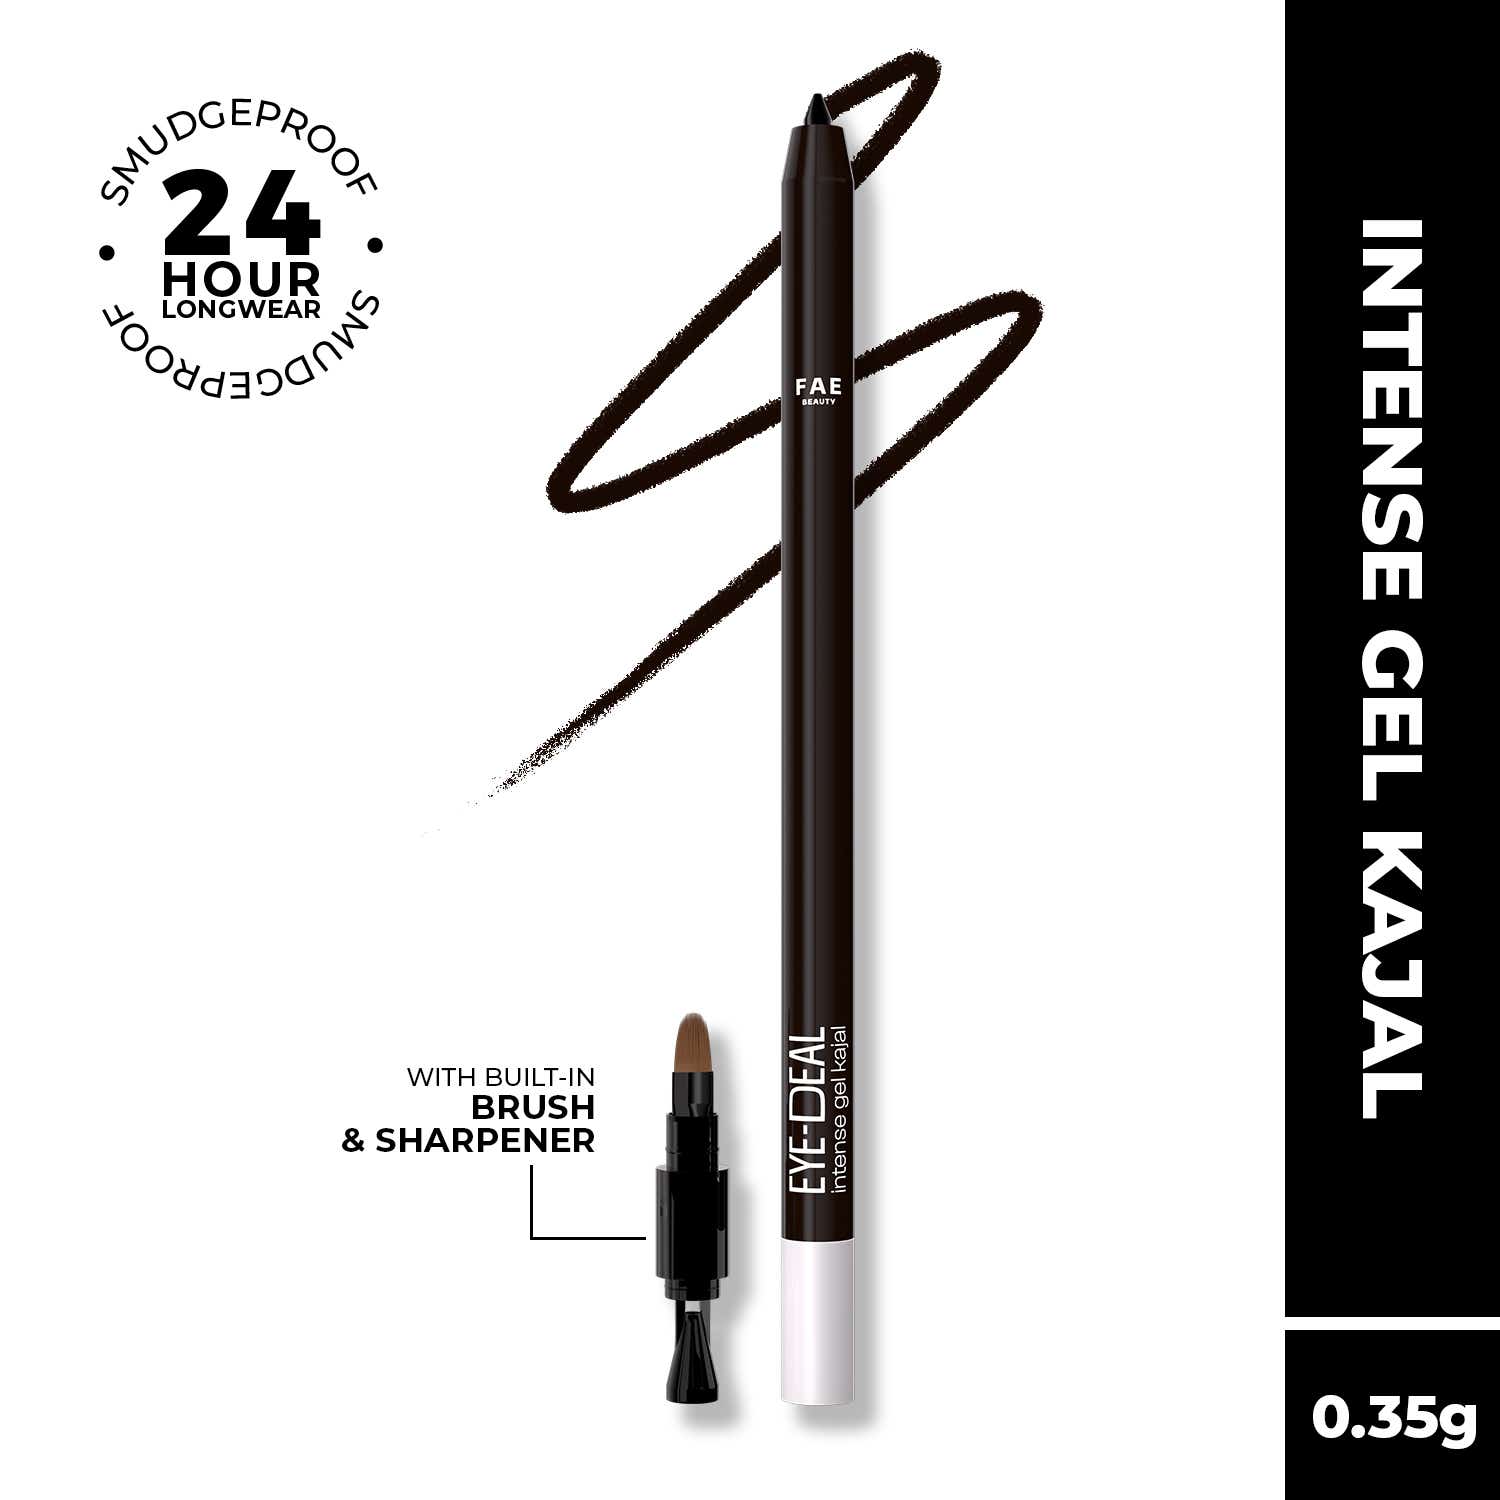
The foundation of any lived-in liner look is the right formula of product. Set your liquid liner aside. For the smudged-out effect, reach for a creamy pencil that allows softness and movement. Look for a kajal or gel eye pencil that glides on easily without tugging or leaving precise lines.
Start by lining your upper lash line, keeping as close to the roots as possible. Don’t worry about making it perfect; the beauty of this look is in its imperfection. You can even forgo the waterline if you like a more subtle effect.
The key is to work quickly while the product is still malleable—though, the creaminess of a kajal pencil prevents it from setting too hard, so you should be fine. We’re looking for flexibility to smudge and blend before we set it completely.
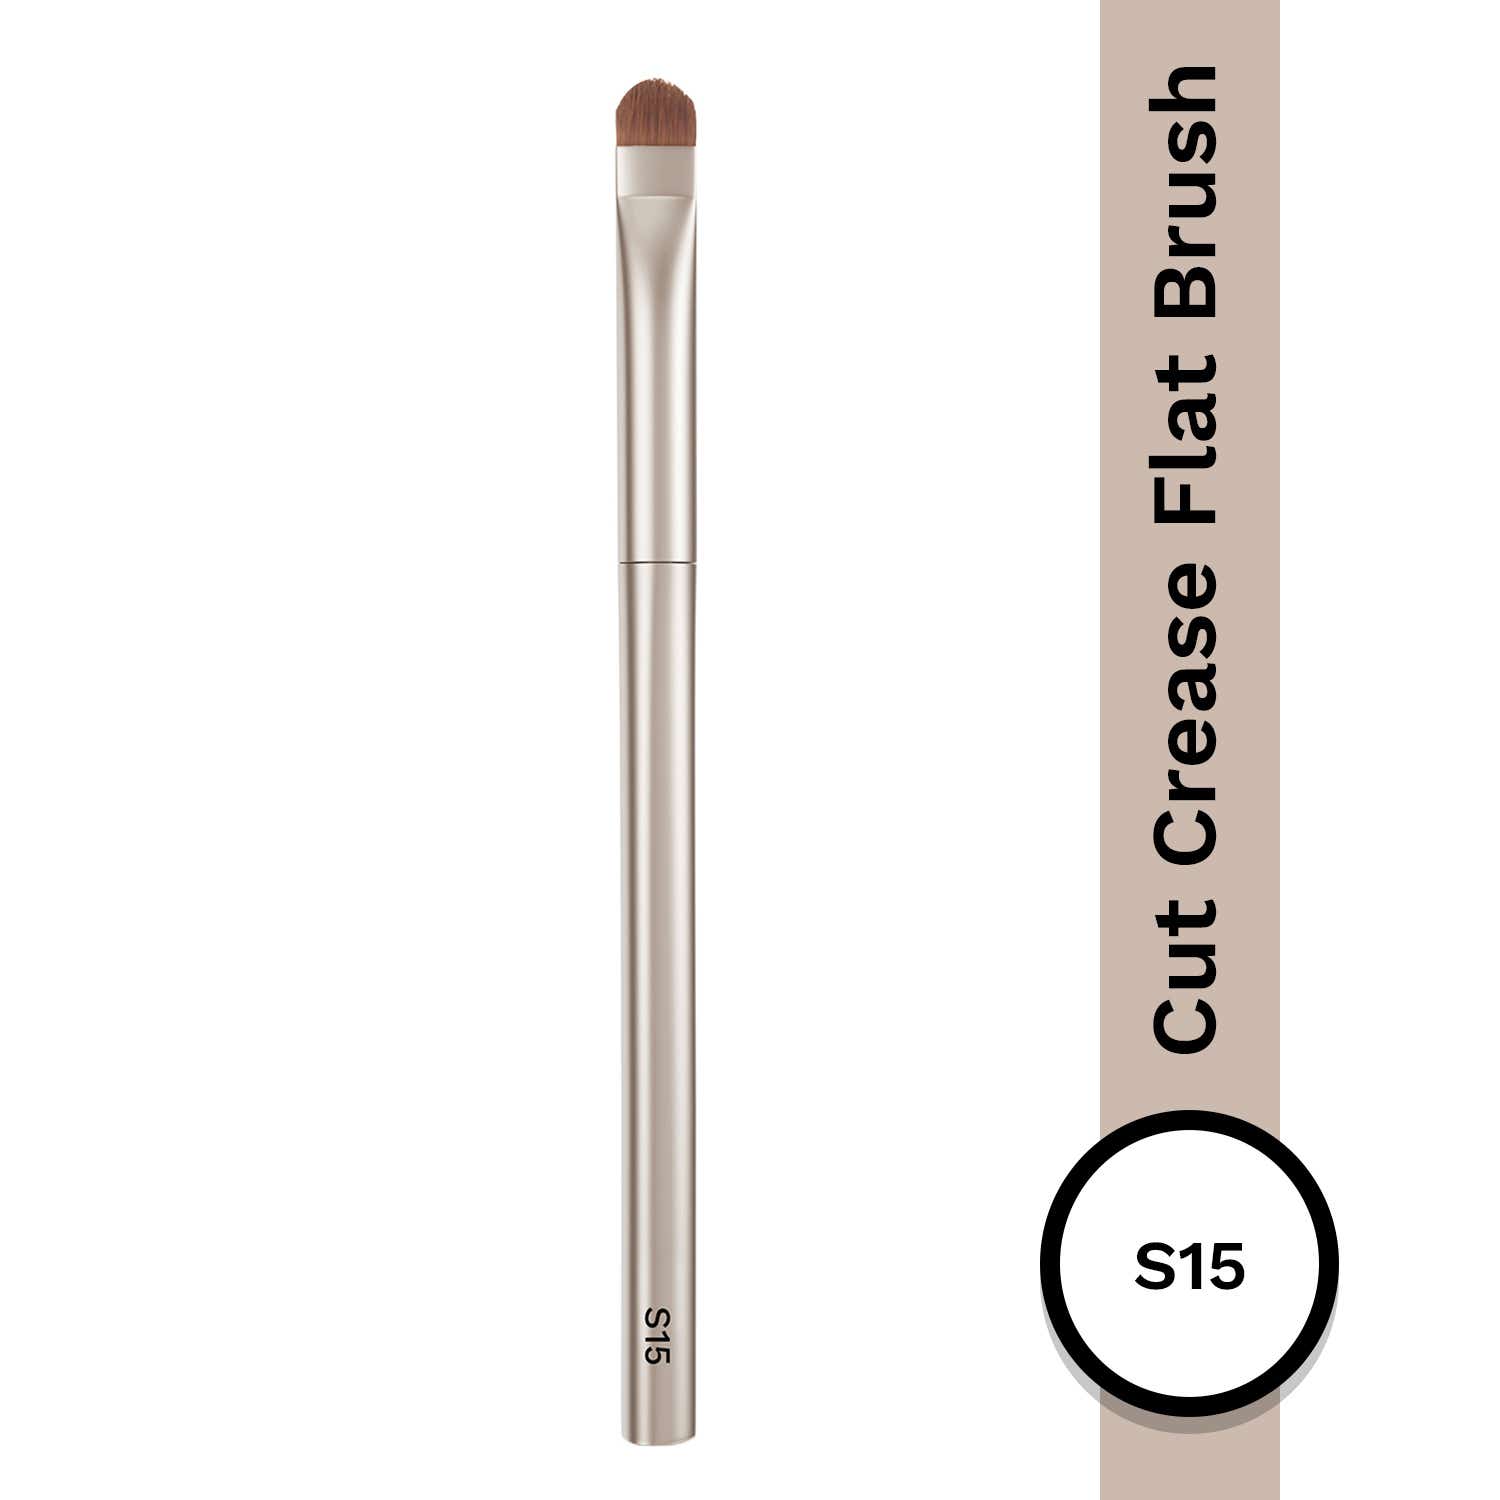
Take a small, dense brush—a smudger brush or even a flat crease brush—and gently soften the line you just created. The aim is to blur the edges so softly that it melts into your lash line rather than sitting on top of it.
Work in small, back-and-forth strokes, focusing on the outer corner and gradually moving inwards. If you’ve lined your lower lash line, smudge that too, creating a soft halo of colour rather than a defined line. This step is what transforms your liner from freshly applied to lived-in.
Don’t be afraid to go a little overboard with the smudging; you can even use your fingers for a more unbothered finish. Add more product if you’ve softened it too much; the beauty is in adjustment and what suits your face best. But the slightly diffused, hazy effect is exactly what gives this look personality.
To really lock in the lived-in effect and add dimension, layer a matching or complementary eyeshadow over your smudged liner. If you used a black liner, reach for a deep charcoal or soft black shadow. For brown liner, a warm taupe or a chocolate shade will look stunning.
Use a fluffy blending brush and tap the shadow of the smudged liner. Don’t pull, focusing on the outer corner and blending it up towards the crease slightly. This not only sets the liner in place but also creates a seamless gradient that looks naturally smokey and contiguous. The shadow adds staying power while making the whole look feel more cohesive and intentional.
The beauty of lived-in liner is that it makes a statement without trying too hard, which means the rest of your makeup should stay understated to make the eyes the hero. Skip heavy contouring, vibrant blush or bold lips.
A coat or two of mascara, as subtle as possible—no spider lashes, please—is all you need to finish the eyes. Jiggle the wand at the roots and sweep light-handed through to the tips for natural-looking definition. For the rest of the face, stick to a fresh, clean-girl base, a dash of subtle powder blush, a touch of highlighter and a nude, peach or berry-toned lip. The overall effect should balance out the dark eyes, but still feel like you threw it together in under five minutes, even if in reality it took longer.
Unlike a sharp, graphic liner that needs to stay put all day long, the lived-in liner is meant to do what it says: live with you. It has the permission to move throughout the day, but you don’t want to end up looking like a koala bear. So the final step is a quick spritz of setting spray to lock everything in place.
Hold the bottle about arm’s length away and mist your face lightly. This sets your makeup while keeping it looking fresh and natural. If you’re worried about your liner migrating throughout the day, you can also dab some translucent powder very lightly under the eyelids before you start. This creates a base that helps the liner grip better.
And the best part is: if your liner does fade or smudge a bit more as the day goes on, it only adds to the charm of the lived-in look. This is why it actually gets better with time.


The foundation of any lived-in liner look is the right formula of product. Set your liquid liner aside. For the smudged-out effect, reach for a creamy pencil that allows softness and movement. Look for a kajal or gel eye pencil that glides on easily without tugging or leaving precise lines.
Start by lining your upper lash line, keeping as close to the roots as possible. Don’t worry about making it perfect; the beauty of this look is in its imperfection. You can even forgo the waterline if you like a more subtle effect.
The key is to work quickly while the product is still malleable—though, the creaminess of a kajal pencil prevents it from setting too hard, so you should be fine. We’re looking for flexibility to smudge and blend before we set it completely.
Take a small, dense brush—a smudger brush or even a flat crease brush—and gently soften the line you just created. The aim is to blur the edges so softly that it melts into your lash line rather than sitting on top of it.
Work in small, back-and-forth strokes, focusing on the outer corner and gradually moving inwards. If you’ve lined your lower lash line, smudge that too, creating a soft halo of colour rather than a defined line. This step is what transforms your liner from freshly applied to lived-in.
Don’t be afraid to go a little overboard with the smudging; you can even use your fingers for a more unbothered finish. Add more product if you’ve softened it too much; the beauty is in adjustment and what suits your face best. But the slightly diffused, hazy effect is exactly what gives this look personality.
To really lock in the lived-in effect and add dimension, layer a matching or complementary eyeshadow over your smudged liner. If you used a black liner, reach for a deep charcoal or soft black shadow. For brown liner, a warm taupe or a chocolate shade will look stunning.
Use a fluffy blending brush and tap the shadow of the smudged liner. Don’t pull, focusing on the outer corner and blending it up towards the crease slightly. This not only sets the liner in place but also creates a seamless gradient that looks naturally smokey and contiguous. The shadow adds staying power while making the whole look feel more cohesive and intentional.
The beauty of lived-in liner is that it makes a statement without trying too hard, which means the rest of your makeup should stay understated to make the eyes the hero. Skip heavy contouring, vibrant blush or bold lips.
A coat or two of mascara, as subtle as possible—no spider lashes, please—is all you need to finish the eyes. Jiggle the wand at the roots and sweep light-handed through to the tips for natural-looking definition. For the rest of the face, stick to a fresh, clean-girl base, a dash of subtle powder blush, a touch of highlighter and a nude, peach or berry-toned lip. The overall effect should balance out the dark eyes, but still feel like you threw it together in under five minutes, even if in reality it took longer.
Unlike a sharp, graphic liner that needs to stay put all day long, the lived-in liner is meant to do what it says: live with you. It has the permission to move throughout the day, but you don’t want to end up looking like a koala bear. So the final step is a quick spritz of setting spray to lock everything in place.
Hold the bottle about arm’s length away and mist your face lightly. This sets your makeup while keeping it looking fresh and natural. If you’re worried about your liner migrating throughout the day, you can also dab some translucent powder very lightly under the eyelids before you start. This creates a base that helps the liner grip better.
And the best part is: if your liner does fade or smudge a bit more as the day goes on, it only adds to the charm of the lived-in look. This is why it actually gets better with time.