
Rituals
Everything you need to know about hair cycling
Read Now


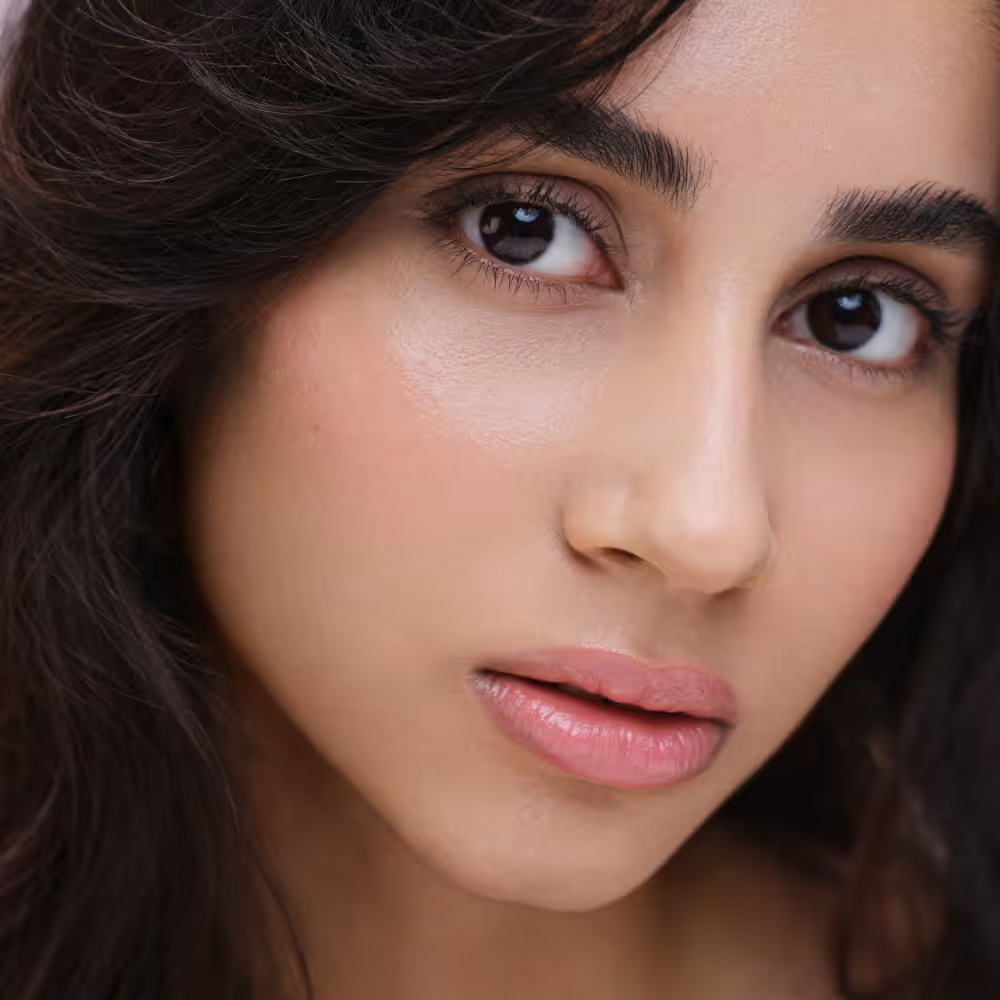

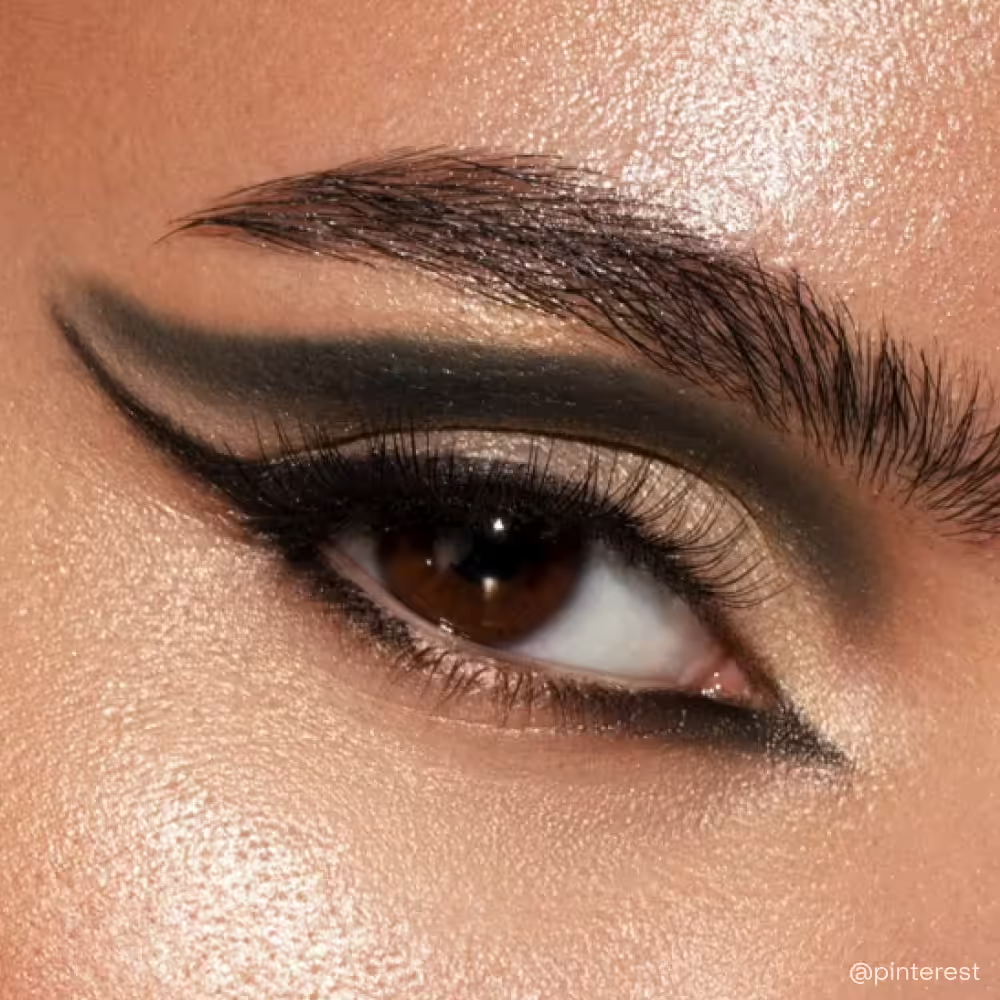
The under-eye area is delicate, expressive and unfortunately very honest. It creases when we smile, squint, laugh or simply exist. But here’s the good news: crease-free under-eyes aren’t a myth reserved for makeup artists or perfect lighting—they’re mostly about technique, not piling on more product.
Getting smooth, bright, long-lasting under-eye coverage is less about chasing the latest concealer and more about understanding prep, placement and patience. With the right steps (and a few small mindset shifts), you can make your concealer work with your skin instead of against it. This guide breaks it all down—no gatekeeping, no unrealistic promises—just practical, tried-and-tested steps to help your under-eyes look fresh, seamless and comfortably crease-free all day.


.PNG)

What is the beauty of Joseon? Why, that would be you. While eye masks provide intensive care, you’ll need to keep up a consistent routine of an everyday eye serum to treat persistent concerns over time. This ginseng-and retinal-enhanced eye serum is clearly up to the task. The creamy serum-like texture sits comfortably on the under-eye area. It is infused with ginseng root extract that works on hydrating the skin while retinal targets fine lines and visible signs of ageing.
This lightweight eye serum absorbs quickly and layers easily under makeup. The ginseng helps revive the appearance of tired eyes, while the retinal works gradually to smoothe fine lines and refine skin texture. With consistent use, the eye area looks brighter, more rested and better supported. It’s particularly satisfying on mornings after late nights, early flights or one too many episodes of a binge-worthy series.
"When I was looking for an under-eye cream to add to my routine, this one from Beauty of Joseon got my attention quickly. The combination of ginseng and retinal is doing a lot of work in a small bottle—ginseng to brighten and firm, retinal to address fine lines over time. It absorbs almost immediately and never feels heavy or sticky around the eyes. I started using it consistently and within a few weeks, my dark circles looked visibly less intense and the skin around my eyes felt smoother."
A moisturiser-primer hybrid that lives up to the hype. Rich but never greasy, it melts into the skin with shea butter and vitamins B, C and E. Whether you’re layering it under foundation or wearing it solo, it gives your skin that smooth, healthy finish that just works.
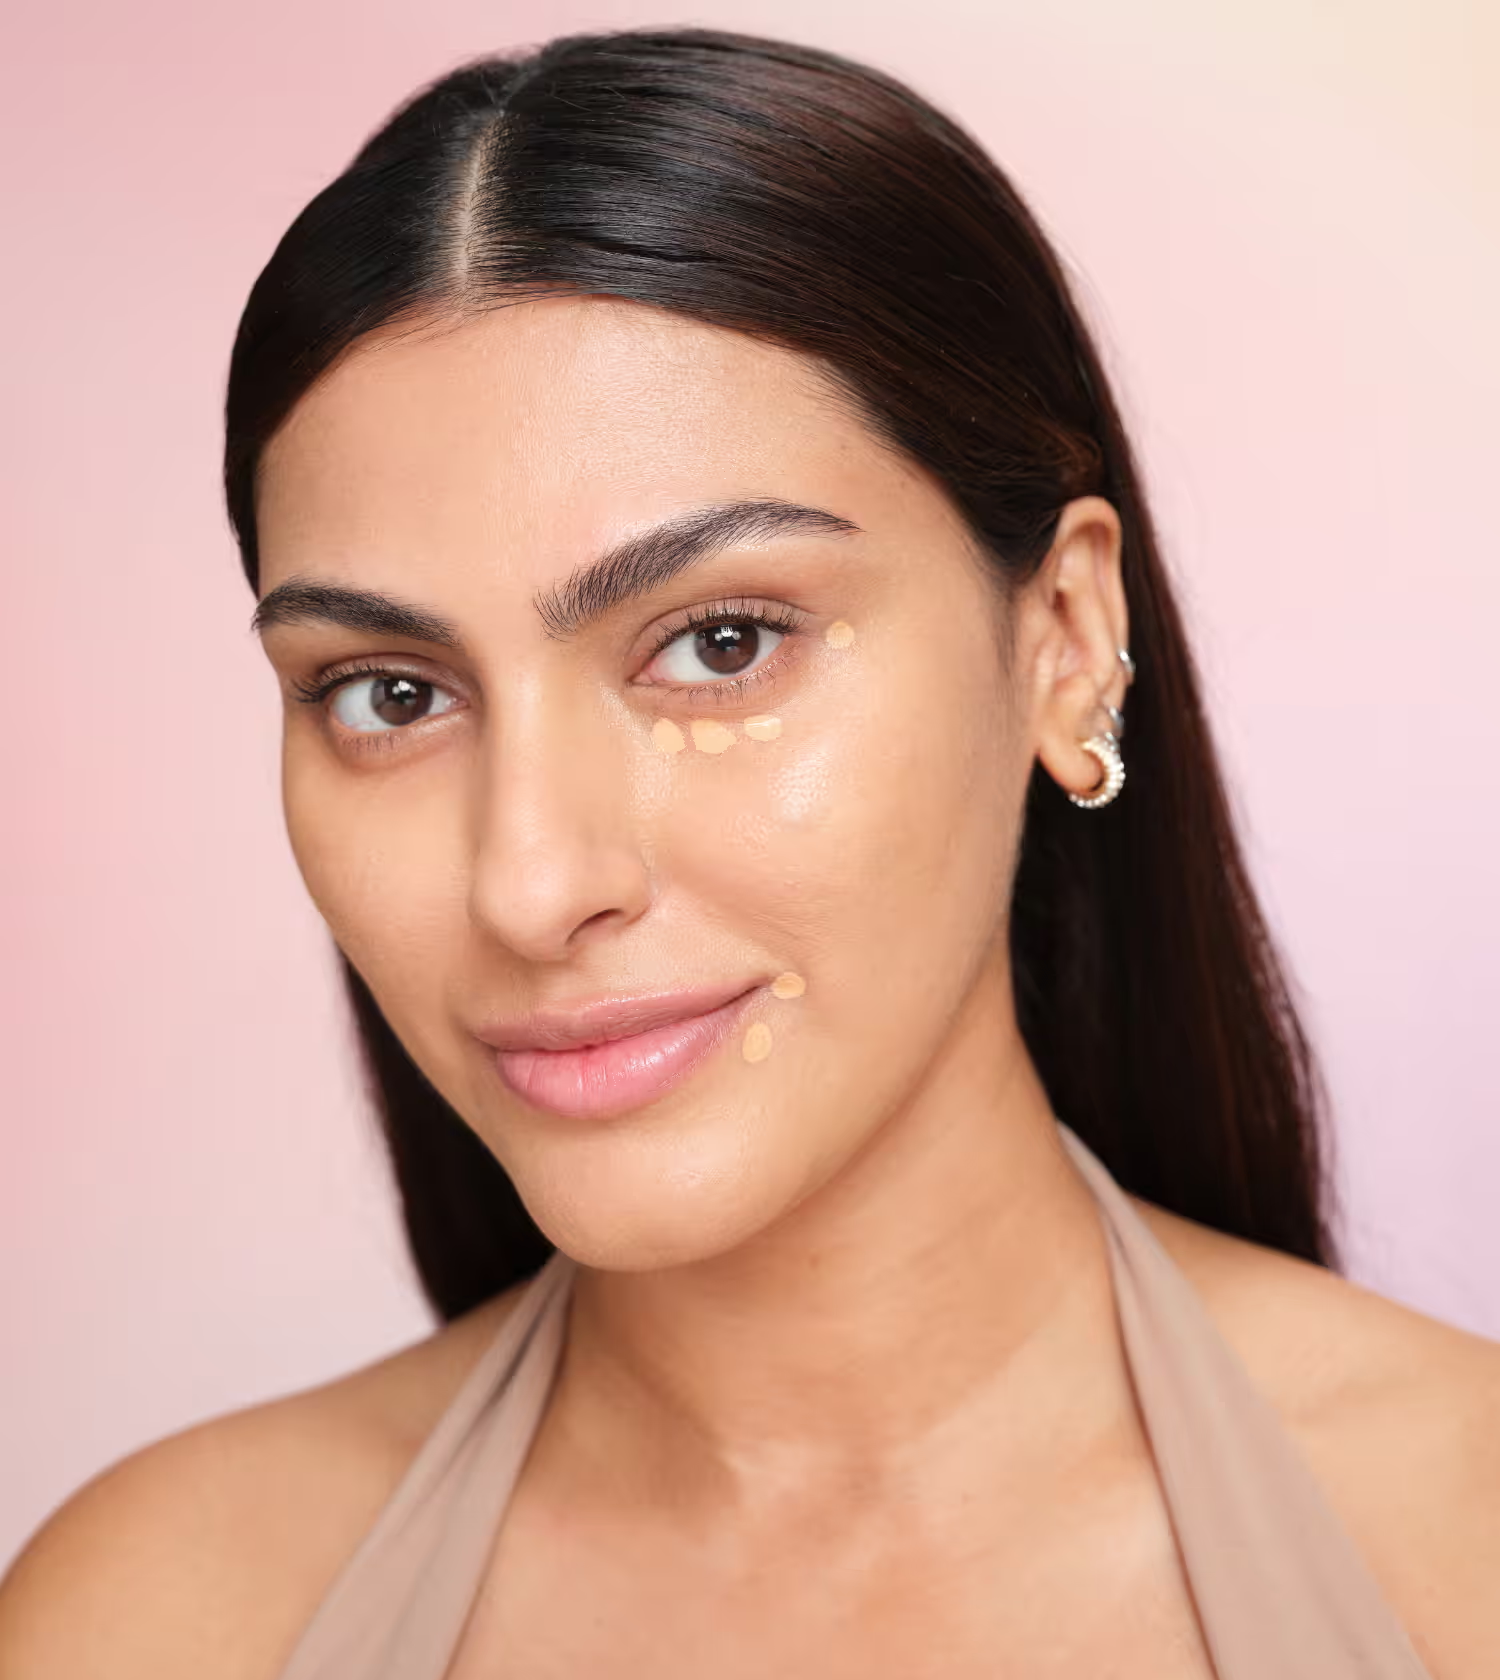
A smooth under-eye always starts before makeup. After cleansing, apply a lightweight eye cream or hydrating gel and gently tap it in until the skin feels comfortable and supple, not slippery. Well-prepped skin helps concealer glide on evenly instead of clinging to texture or settling into lines. Give the product a minute to absorb, then lightly blot with a tissue to remove any excess. The goal is hydration without residue so your concealer has something to hold on to.
If creasing is a regular issue, a small amount of primer can make a noticeable difference. Use a smoothing or lightly gripping primer only where you tend to crease most, typically the inner corner and fine lines beneath the eye. Keep the layer extremely thin and allow it to set for a few seconds before moving on. This step subtly evens out the skin and improves wear without making the under-eye feel heavy or overdone.
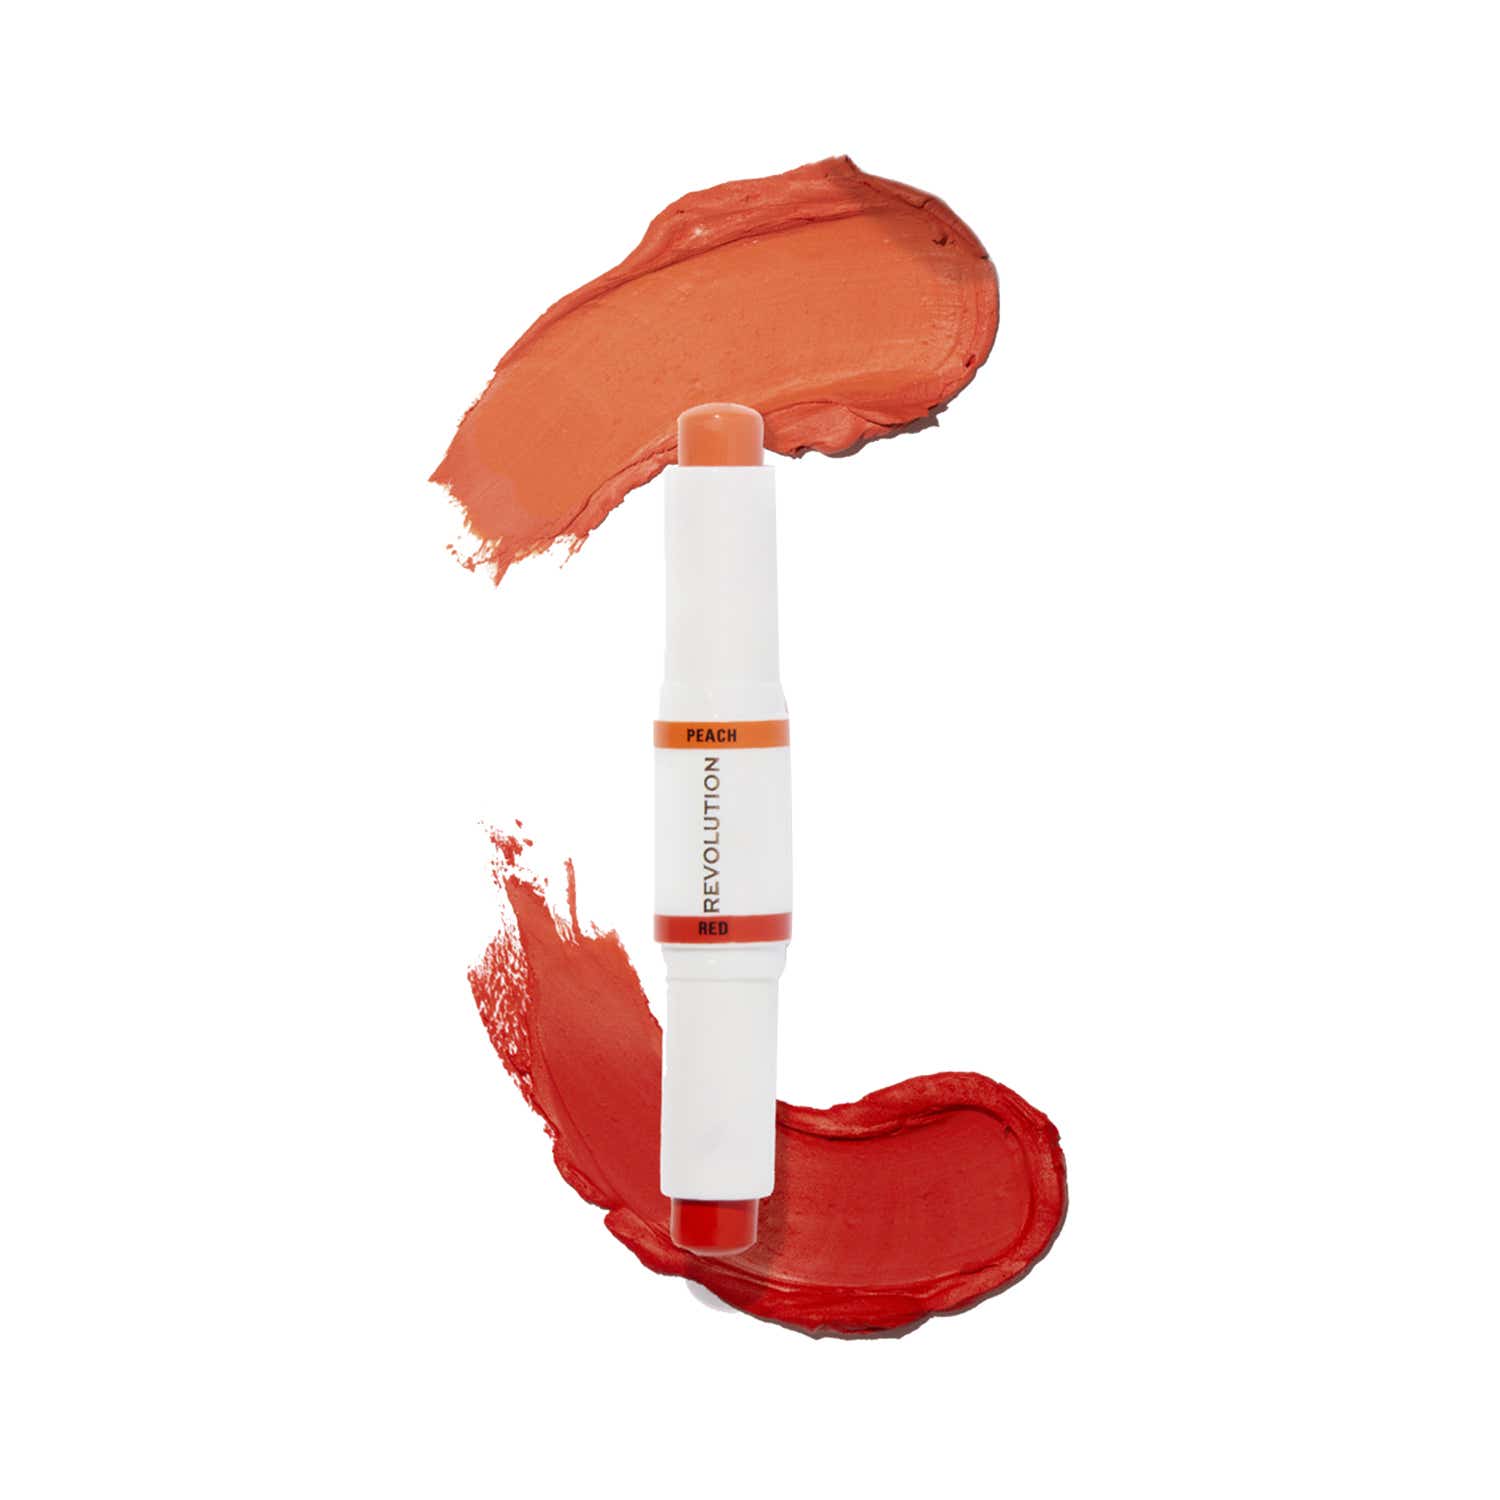
Colour corrector is your quiet hero when it comes to crease-free coverage. By neutralising dark circles first, you reduce the need for thick layers of concealer later. Apply a minimal amount only to the deepest shadows and blend it out until it looks like skin. It should cancel discolouration, not fully cover it. When done correctly, the corrector melts into the under-eye and creates a more even canvas without adding texture.
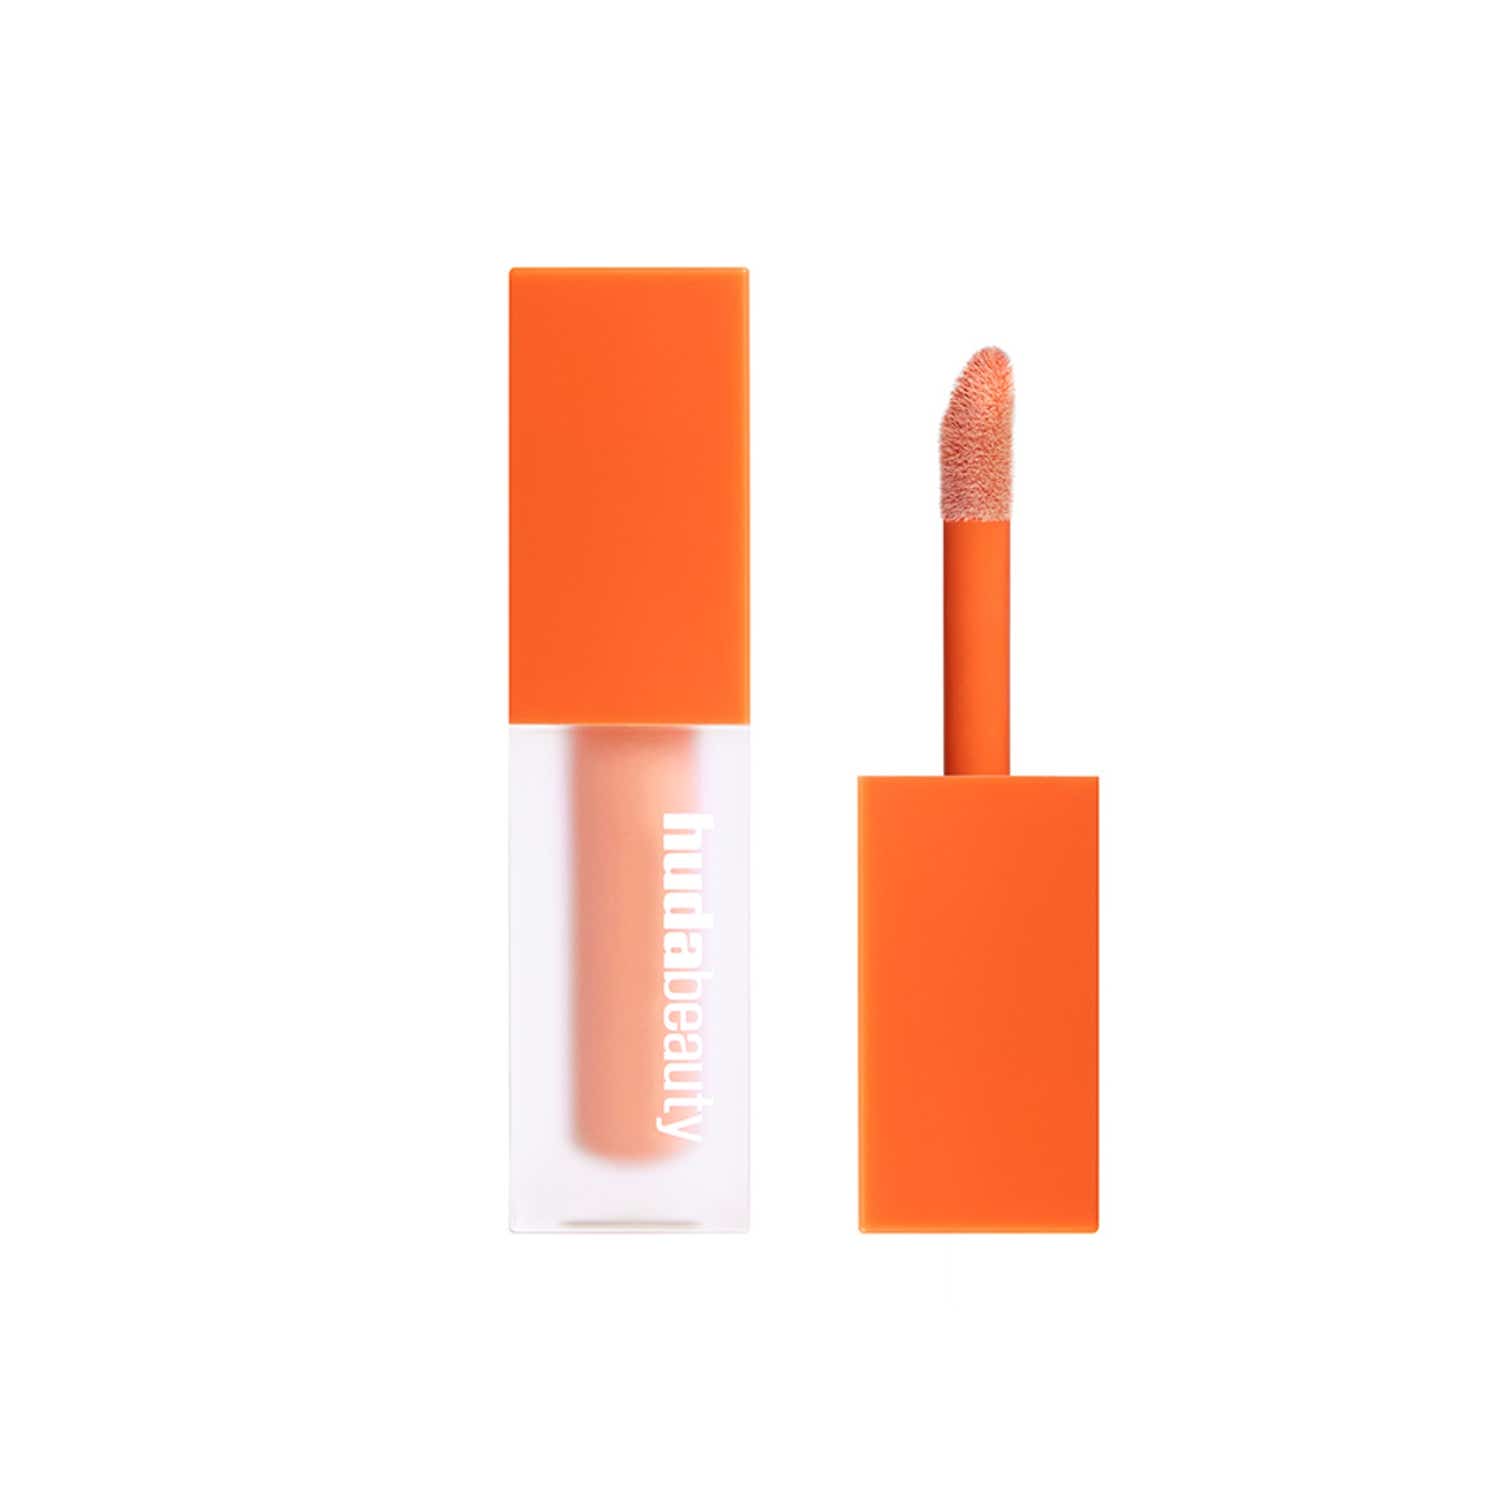
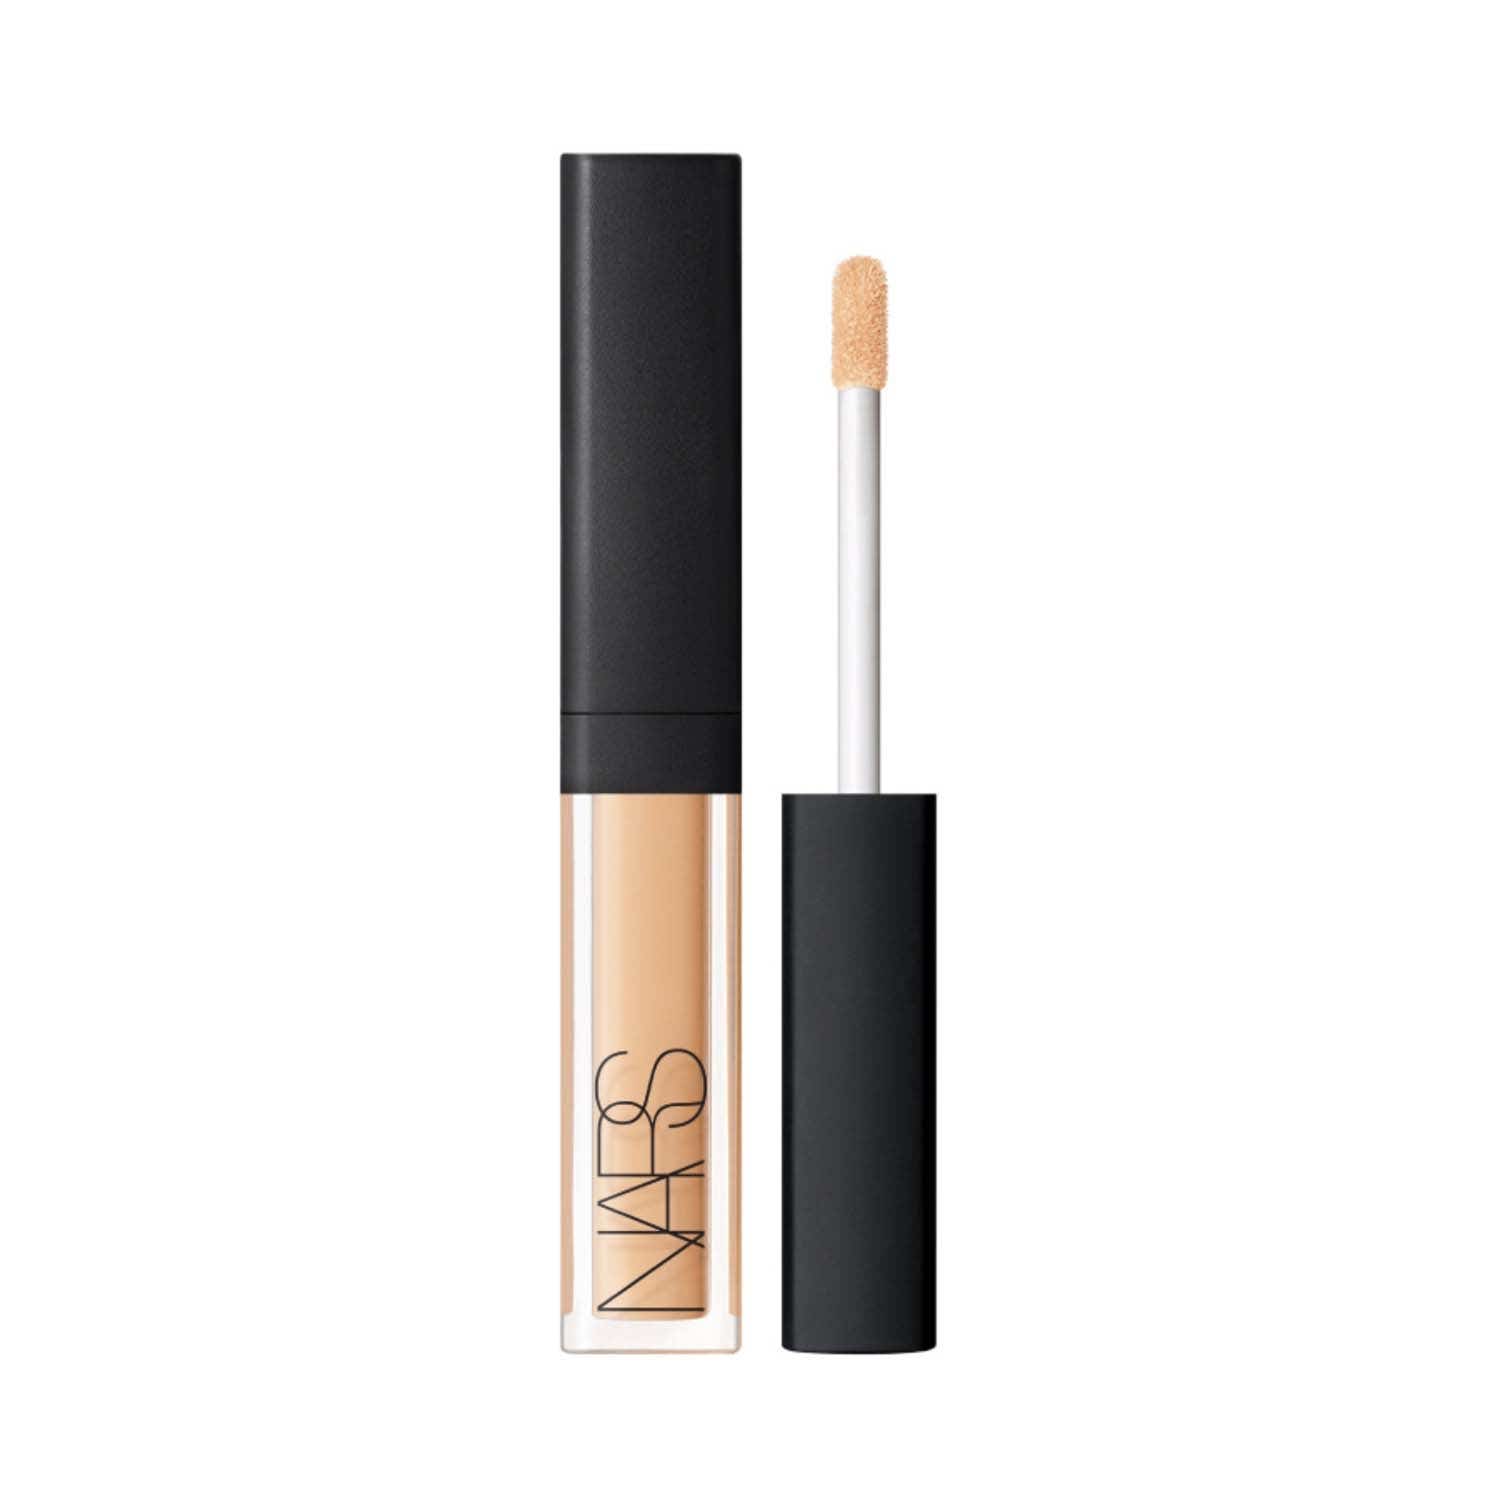
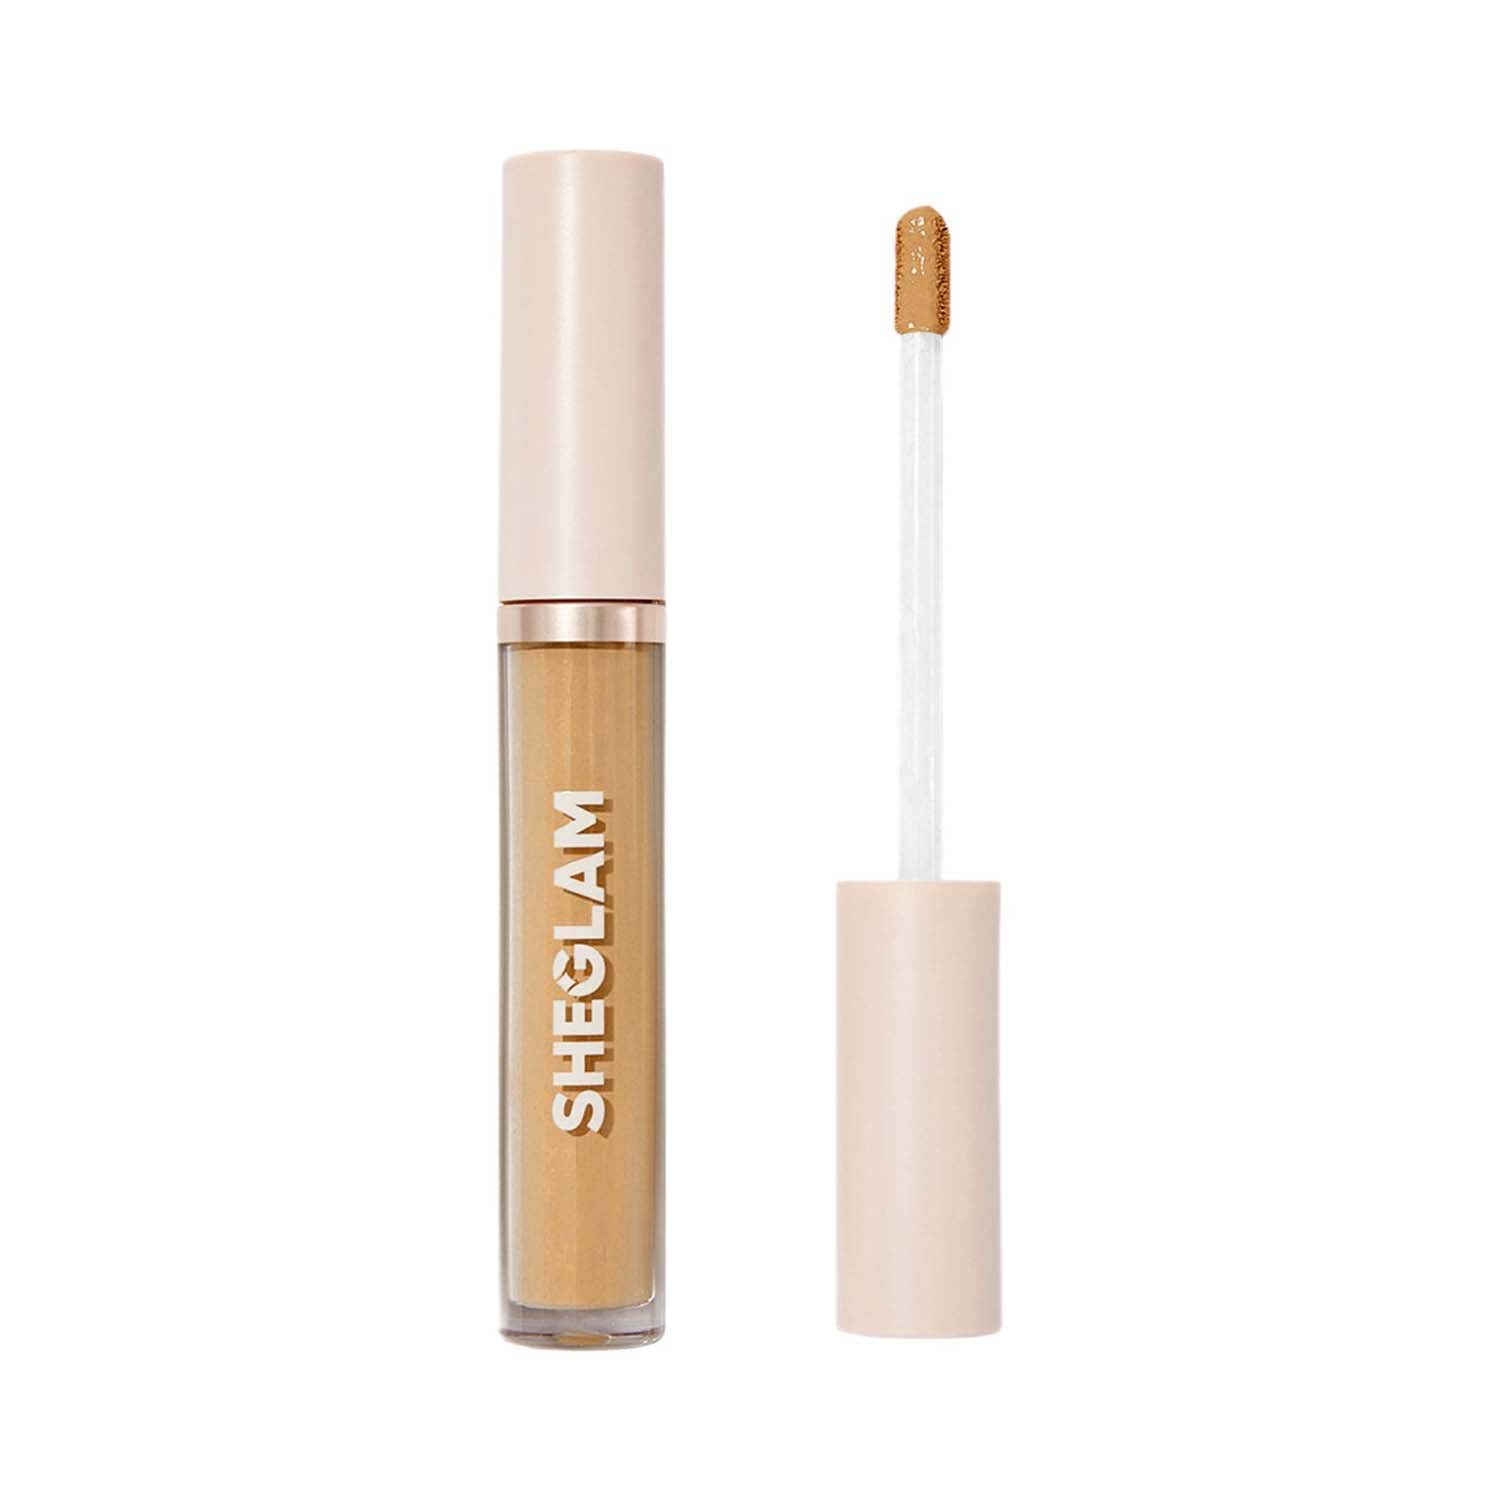
Instead of sweeping concealer across the entire under-eye, focus on precise placement. Apply small amounts to the inner corner, outer corner and any remaining darkness, avoiding direct build-up in fine lines. Blend gently using tapping motions so the product stays thin and seamless. Less product means more flexibility and movement, allowing the under-eye to look natural, bright and smooth rather than flat or creased.
Before setting, give your concealer a few seconds to settle, then gently tap out any creasing with a clean finger or sponge. This step ensures the product is exactly where you want it before it is locked in. Taking this extra moment helps prevent powder from setting creases in place and keeps the under-eye looking soft and skin-like.
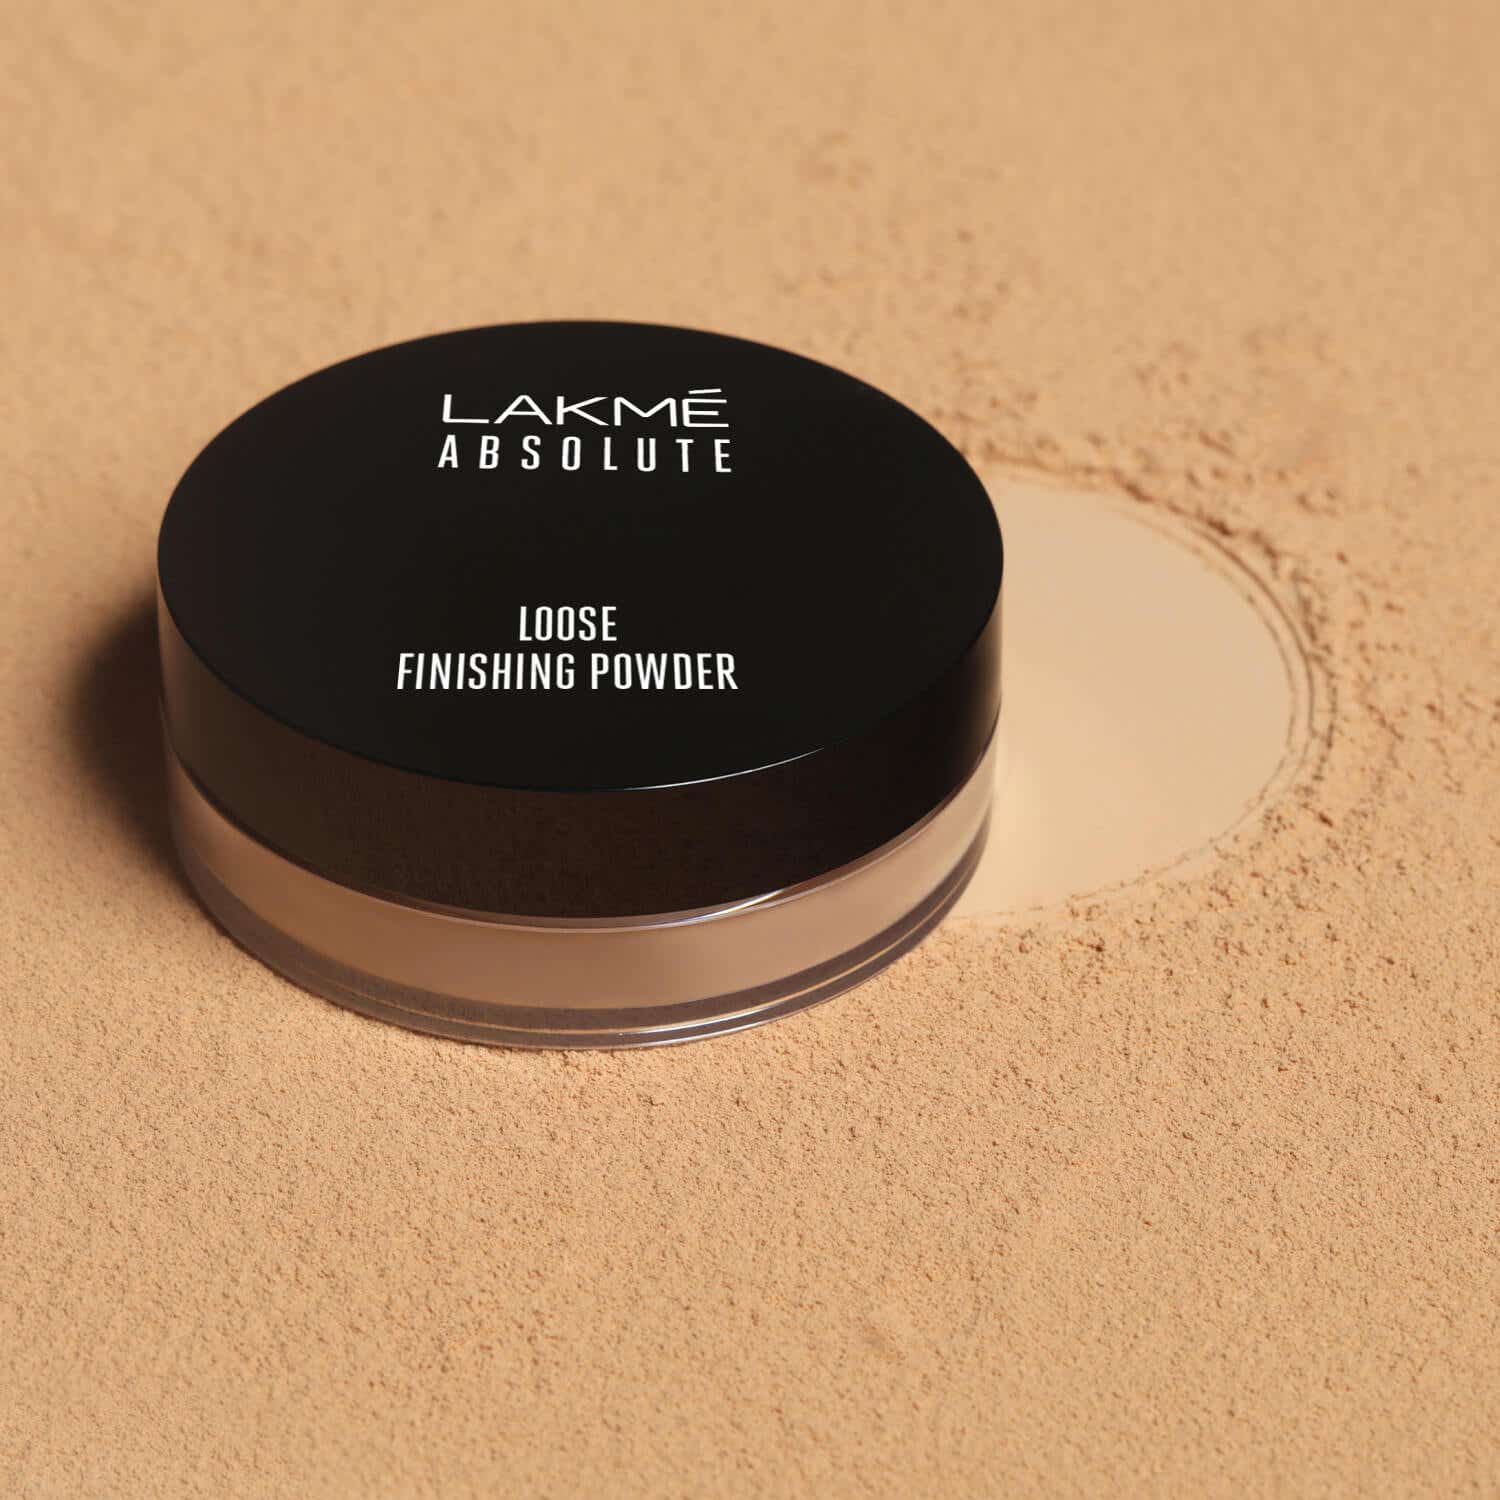
Setting is about control, not coverage. Use a finely milled loose powder and apply a minimal amount only where creasing occurs. Press it in gently rather than sweeping to maintain coverage and avoid disturbing the concealer underneath. Once set, lightly dust away excess powder for a smooth, natural finish. The result should feel comfortable, look fresh and stay crease-free throughout the day.
.PNG)


A smooth under-eye always starts before makeup. After cleansing, apply a lightweight eye cream or hydrating gel and gently tap it in until the skin feels comfortable and supple, not slippery. Well-prepped skin helps concealer glide on evenly instead of clinging to texture or settling into lines. Give the product a minute to absorb, then lightly blot with a tissue to remove any excess. The goal is hydration without residue so your concealer has something to hold on to.
If creasing is a regular issue, a small amount of primer can make a noticeable difference. Use a smoothing or lightly gripping primer only where you tend to crease most, typically the inner corner and fine lines beneath the eye. Keep the layer extremely thin and allow it to set for a few seconds before moving on. This step subtly evens out the skin and improves wear without making the under-eye feel heavy or overdone.
Colour corrector is your quiet hero when it comes to crease-free coverage. By neutralising dark circles first, you reduce the need for thick layers of concealer later. Apply a minimal amount only to the deepest shadows and blend it out until it looks like skin. It should cancel discolouration, not fully cover it. When done correctly, the corrector melts into the under-eye and creates a more even canvas without adding texture.
Instead of sweeping concealer across the entire under-eye, focus on precise placement. Apply small amounts to the inner corner, outer corner and any remaining darkness, avoiding direct build-up in fine lines. Blend gently using tapping motions so the product stays thin and seamless. Less product means more flexibility and movement, allowing the under-eye to look natural, bright and smooth rather than flat or creased.
Before setting, give your concealer a few seconds to settle, then gently tap out any creasing with a clean finger or sponge. This step ensures the product is exactly where you want it before it is locked in. Taking this extra moment helps prevent powder from setting creases in place and keeps the under-eye looking soft and skin-like.
Setting is about control, not coverage. Use a finely milled loose powder and apply a minimal amount only where creasing occurs. Press it in gently rather than sweeping to maintain coverage and avoid disturbing the concealer underneath. Once set, lightly dust away excess powder for a smooth, natural finish. The result should feel comfortable, look fresh and stay crease-free throughout the day.