


Powder Room
Celebrity hairstylist shares how to keep your hair fresh between washes
Read Now


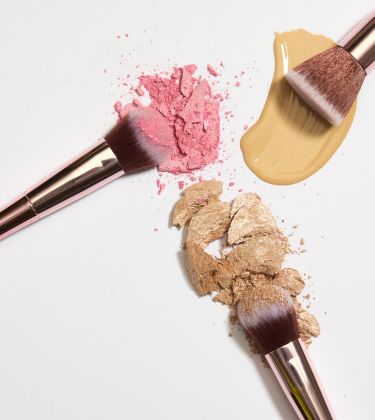
We’ve all had our makeup moments—the foundation that didn’t quite match, eyeliner wings that looked more like distant cousins, or blush that went from sun-kissed to sunburnt in two swipes. Makeup is fun, creative and ever-evolving, but sometimes, it just doesn’t come together the way you want it to.
To help make sense of those “off” days, we turned to celebrity and bridal makeup artist—and one of our expert panellists—Tanvi Chemburkar. From choosing the right undertone to nailing your base and knowing when to stop with the powder, she shares the kind of practical, no-nonsense tips that instantly level up your routine. If you’ve ever stared at your reflection and thought, “Something’s missing, but I can’t tell what,” start here.

.PNG)


When COSRX launched its now-iconic snail mucin essence, the internet had a collective moment—and for good reason. First, there’s the headline ingredient: 98% snail secretion filtrate (yes, really). Then, there’s the slime-like texture that makes applying it strangely satisfying. But what really caught people off guard wasn’t the snail factor—it was how nourishing it turned out to be. Packed with skin-forward hyaluronic acid, it sinks in fast, leaving skin feeling plump, bouncy and deeply hydrated. Bonus: it’s lightweight enough for summer days and delivers that dewy, glass-skin glow without feeling sticky.
This one’s a no-brainer. This viral Cosrx essence is a staple in so many routines for a reason—it hydrates, repairs and gives your skin a soft, dewy feel. The lightweight formulation is also known to improve skin texture, reduce the appearance of fine lines and soothe irritation. Besides, it helps enhance skin elasticity, making it a go-to for anyone dealing with dry, damaged or acne-scarred skin. Whether you're looking to smooth out rough patches or boost overall skin health, this is a product you'll want to keep on hand in multiples.
Whether you are looking for moisture retention, plumping or nourishment, this widely loved essence can do it all—and it doesn’t choose to stop there, either. By dialling up exfoliation and cell turnover, the snail mucin in this multipurpose essence helps get the upper hand on hyperpigmentation, as well.
What am I adding to my cart during the Hello Beauty Sale? The Tirtir Mask Fit Red Cushion. It gives me a soft-focus, glassy-skin look without any heaviness. It’s got niacinamide for my random flare-ups and a silky formula that somehow stays put for 72 hours (I won’t test that but love the commitment). Plus, SPF 40 means I’m getting some sun protection on the go.
Great makeup starts before you even reach for your brushes. As Chemburkar puts it, the goal is a clean, fresh canvas. “Always make sure you’ve washed your face. If you don’t have access to water and face wash, at least wipe everything off with micellar water. That ensures there’s no dirt or leftover makeup on the skin.”
Once your face is clean, hydration is non-negotiable. “Use a moisturiser that suits your skin type. If your skin is well hydrated, makeup blends in better instead of sitting on top.”
She doesn’t skip the small stuff either. “Use an under-eye cream and a lip balm,” she says. If your skin leans Sahara-level dry, she recommends layering a hydrating serum under your moisturiser, followed by a gentle face massage. “It helps the products sink in better, which creates a smoother base.”
For oily or combination skin, Chemburkar opts for a sebum-controlling step: “I like using a silicone-based primer or a sebum-soaking product to help with longevity and oil control.”
Bottom line: your prep can make or break the whole look.
Nothing sabotages a good look like the wrong foundation shade. According to Chemburkar, choosing one that’s too light is the most common mistake—and the quickest way to end up with an ashy or grey cast.
Her advice? Always test the foundation on your jawline or cheek, not your hand. “The shades are completely different on your hand,” she points out. Ideally, try a few on your face and once you’ve shortlisted some, do half-face swatches and check them in natural light.
She also recommends waiting 10–15 minutes to see how the foundation oxidises, and making sure you’ve identified your undertone: “warm, cool or neutral.” When in doubt, test multiple options. “Pick the one that disappears into your skin. It shouldn’t look lighter or darker—it should blend right in.”
Overdrawn, overly dark brows can throw off your whole vibe. “People tend to overdo it,” Chemburkar says. “It ends up looking fake.” Her go-to method? Use a brow pencil or gel close to your natural colour, and fill with the lightest strokes possible. “Dark shades and harsh lines only exaggerate things.”
She also suggests opting for a gel or pencil a touch lighter than your hair for a softer, more natural finish—think defined, not overdone.
Cakey makeup usually starts with neglected skincare. “To avoid that, skin prep is key—cleanse, hydrate and moisturise first,” Chemburkar says. Then, be strategic with product. “Build in layers, depending on what you’re covering. Less is more.”
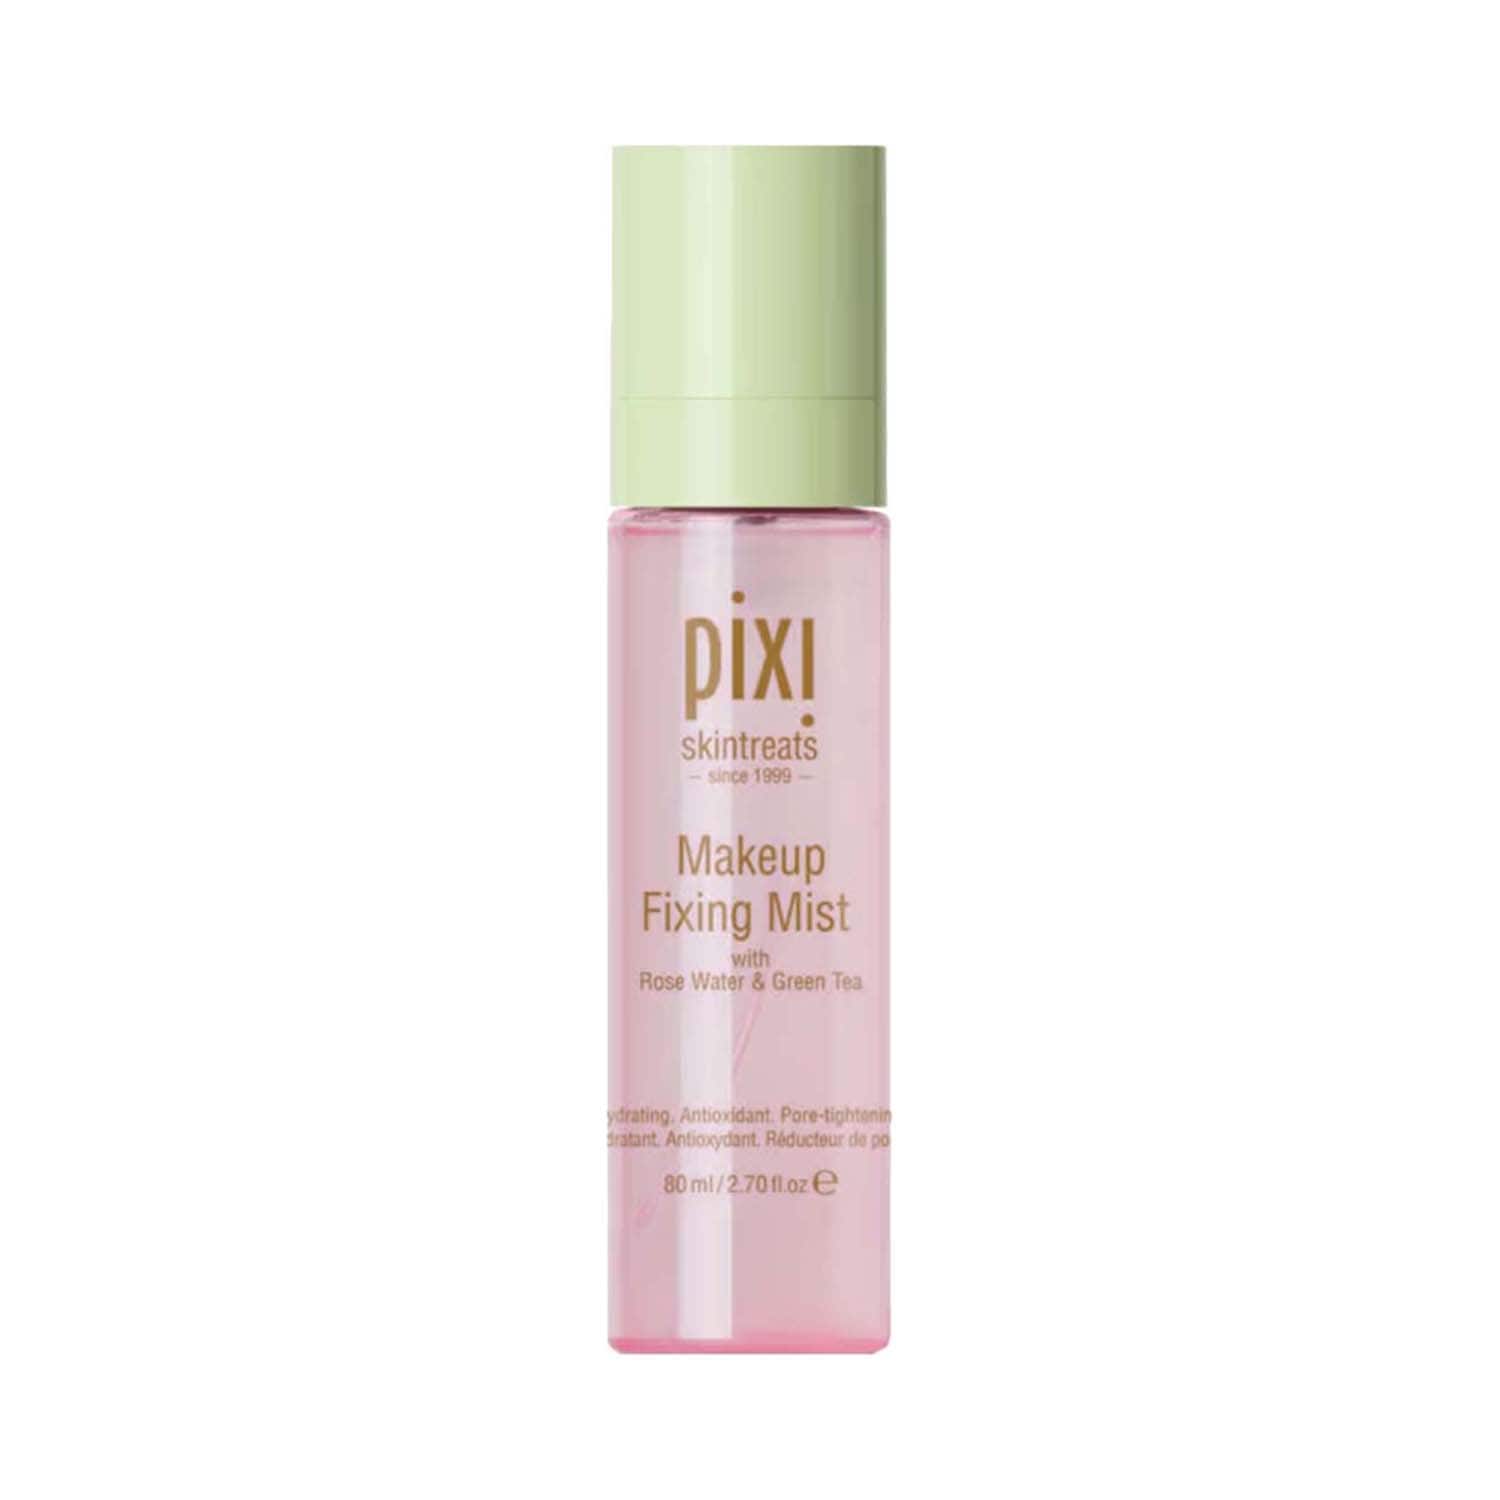
When it comes to powder, she’s firm: “Too much powder is a big no-no. Just use it sparingly on areas that get oily or where makeup tends to move.” To finish, a setting spray melts everything into place and gives that fresh-skin finish.
If your contour and blush are more obvious than seamless, it’s time to soften your hand. “Harsh lines are a big no. Makeup should be blended,” Chemburkar says. Her method: apply sparingly, build slowly, and blend with a fluffy brush. Then go in with a damp sponge to meld it into the skin. “That’s what gives it a skin-like finish.”
Creasing eyeshadow or fading pigment? You probably skipped eye prep. “The best way to avoid smudging is to prep the lids. I blot away any oil and lightly set them with loose powder,” Chemburkar explains. If there’s discolouration, she preps with concealer and sets it. Alternatively, she reaches for waterproof cream products—chubby sticks or pots—that double as long-wear bases.
Another thing to remember is that eyeshadow needs blending, not just placement. “People apply shadow and leave it, which looks unfinished. Use brushes to blend and create transitions between shades,” she says.
The under-eye area needs TLC too. “People forget that it’s usually dehydrated. Use a hydrating eye cream and let it sit before concealer.” When applying concealer, she recommends thin layers. “Less product means less creasing.” Then blend everything out with a damp sponge and lightly set with translucent powder. To lock it all in? “I use waterproof or water-resistant products. And I always end with a setting spray to keep everything in place.”
Most people skip hydrating their under-eyes—which, ironically, is the area where concealer creases the most. Chemburkar advises starting with a light, hydrating eye cream and letting it sit for a few minutes before makeup goes on. “Go in with thin layers of concealer—less is more,” she says.
When it comes to whether concealer should be applied before or after foundation, she believes there’s no one-size-fits-all approach. That said, she usually prefers applying it after foundation.
“When you use a little foundation, you’re already covering any unevenness or discolouration. So, when you get to concealer, you end up using less—which makes the makeup look more natural and skin-like,” she explains. If she’s using a colour corrector, though, that goes on first. She layers foundation over it, then finishes with concealer for a polished, balanced base.
To keep concealer from creasing, Chemburkar sets it intentionally. She applies translucent powder against the direction of fine lines—an underrated trick that helps lock the product in without letting it settle into creases.
However, getting the base right is only half the battle—how you set it can make or break the wear. If your concealer’s sliding around by midday, consider this your cheat sheet for keeping it fresh and firmly in place.
A long-lasting lip isn’t magic—it’s a method. And yes, it is possible to prevent your lipstick from vanishing before lunch. Chemburkar breaks it down:
Exfoliate: “Use a sugar scrub to take off dead skin.”
Hydrate: “Apply lip balm and let it sit while you do the rest of your face.”
Blot: “Before applying lipstick, blot off the balm.”
A crucial step is to never skip the lip liner. “It helps lipstick last longer and stay put—even if the top layer fades, the liner remains.”
She fills the lips with pencil, then applies lipstick in layers, blotting in between. “If I’m using a creamy formula, I repeat this once or twice. It makes the lipstick last longer.”
For events, she dusts loose powder over a tissue placed on the lips to lock it in. Her final tip: “Pick hydrating but long-wear formulas—and always test the undertone to make sure it complements your skin.”
Every pro has their emergency kit—and Chemburkar’s is all about smart, speedy fixes.
Makeup remover wipes are non-negotiable. “They clean up any mistake fast,” she says. Q-tips are another must-have for precise touch-ups, helping sharpen edges and clean up tricky corners without disrupting the rest of your look.
Her go-to tool for rescuing a patchy base? A damp beauty sponge. “It melts harsh lines and fixes cakiness in seconds,” she explains. And when it comes to quick coverage fixes, nothing beats a trusty concealer. “It’s great for quick corrections.”
To tame midday brow drama, she always keeps a clear brow gel on hand. “It keeps everything in place,” she says. And when her makeup starts to look a little tired, she reaches for a hydrating setting spray to bring it back to life. “It revives everything.”
For on-the-go touch-ups, Chemburkar keeps things light and breathable. “Avoid heavy products—use blotting or compact powders just to freshen up.”


Great makeup starts before you even reach for your brushes. As Chemburkar puts it, the goal is a clean, fresh canvas. “Always make sure you’ve washed your face. If you don’t have access to water and face wash, at least wipe everything off with micellar water. That ensures there’s no dirt or leftover makeup on the skin.”
Once your face is clean, hydration is non-negotiable. “Use a moisturiser that suits your skin type. If your skin is well hydrated, makeup blends in better instead of sitting on top.”
She doesn’t skip the small stuff either. “Use an under-eye cream and a lip balm,” she says. If your skin leans Sahara-level dry, she recommends layering a hydrating serum under your moisturiser, followed by a gentle face massage. “It helps the products sink in better, which creates a smoother base.”
For oily or combination skin, Chemburkar opts for a sebum-controlling step: “I like using a silicone-based primer or a sebum-soaking product to help with longevity and oil control.”
Bottom line: your prep can make or break the whole look.
Nothing sabotages a good look like the wrong foundation shade. According to Chemburkar, choosing one that’s too light is the most common mistake—and the quickest way to end up with an ashy or grey cast.
Her advice? Always test the foundation on your jawline or cheek, not your hand. “The shades are completely different on your hand,” she points out. Ideally, try a few on your face and once you’ve shortlisted some, do half-face swatches and check them in natural light.
She also recommends waiting 10–15 minutes to see how the foundation oxidises, and making sure you’ve identified your undertone: “warm, cool or neutral.” When in doubt, test multiple options. “Pick the one that disappears into your skin. It shouldn’t look lighter or darker—it should blend right in.”
Overdrawn, overly dark brows can throw off your whole vibe. “People tend to overdo it,” Chemburkar says. “It ends up looking fake.” Her go-to method? Use a brow pencil or gel close to your natural colour, and fill with the lightest strokes possible. “Dark shades and harsh lines only exaggerate things.”
She also suggests opting for a gel or pencil a touch lighter than your hair for a softer, more natural finish—think defined, not overdone.
Cakey makeup usually starts with neglected skincare. “To avoid that, skin prep is key—cleanse, hydrate and moisturise first,” Chemburkar says. Then, be strategic with product. “Build in layers, depending on what you’re covering. Less is more.”
When it comes to powder, she’s firm: “Too much powder is a big no-no. Just use it sparingly on areas that get oily or where makeup tends to move.” To finish, a setting spray melts everything into place and gives that fresh-skin finish.
If your contour and blush are more obvious than seamless, it’s time to soften your hand. “Harsh lines are a big no. Makeup should be blended,” Chemburkar says. Her method: apply sparingly, build slowly, and blend with a fluffy brush. Then go in with a damp sponge to meld it into the skin. “That’s what gives it a skin-like finish.”
Creasing eyeshadow or fading pigment? You probably skipped eye prep. “The best way to avoid smudging is to prep the lids. I blot away any oil and lightly set them with loose powder,” Chemburkar explains. If there’s discolouration, she preps with concealer and sets it. Alternatively, she reaches for waterproof cream products—chubby sticks or pots—that double as long-wear bases.
Another thing to remember is that eyeshadow needs blending, not just placement. “People apply shadow and leave it, which looks unfinished. Use brushes to blend and create transitions between shades,” she says.
The under-eye area needs TLC too. “People forget that it’s usually dehydrated. Use a hydrating eye cream and let it sit before concealer.” When applying concealer, she recommends thin layers. “Less product means less creasing.” Then blend everything out with a damp sponge and lightly set with translucent powder. To lock it all in? “I use waterproof or water-resistant products. And I always end with a setting spray to keep everything in place.”
Most people skip hydrating their under-eyes—which, ironically, is the area where concealer creases the most. Chemburkar advises starting with a light, hydrating eye cream and letting it sit for a few minutes before makeup goes on. “Go in with thin layers of concealer—less is more,” she says.
When it comes to whether concealer should be applied before or after foundation, she believes there’s no one-size-fits-all approach. That said, she usually prefers applying it after foundation.
“When you use a little foundation, you’re already covering any unevenness or discolouration. So, when you get to concealer, you end up using less—which makes the makeup look more natural and skin-like,” she explains. If she’s using a colour corrector, though, that goes on first. She layers foundation over it, then finishes with concealer for a polished, balanced base.
To keep concealer from creasing, Chemburkar sets it intentionally. She applies translucent powder against the direction of fine lines—an underrated trick that helps lock the product in without letting it settle into creases.
However, getting the base right is only half the battle—how you set it can make or break the wear. If your concealer’s sliding around by midday, consider this your cheat sheet for keeping it fresh and firmly in place.
A long-lasting lip isn’t magic—it’s a method. And yes, it is possible to prevent your lipstick from vanishing before lunch. Chemburkar breaks it down:
Exfoliate: “Use a sugar scrub to take off dead skin.”
Hydrate: “Apply lip balm and let it sit while you do the rest of your face.”
Blot: “Before applying lipstick, blot off the balm.”
A crucial step is to never skip the lip liner. “It helps lipstick last longer and stay put—even if the top layer fades, the liner remains.”
She fills the lips with pencil, then applies lipstick in layers, blotting in between. “If I’m using a creamy formula, I repeat this once or twice. It makes the lipstick last longer.”
For events, she dusts loose powder over a tissue placed on the lips to lock it in. Her final tip: “Pick hydrating but long-wear formulas—and always test the undertone to make sure it complements your skin.”
Every pro has their emergency kit—and Chemburkar’s is all about smart, speedy fixes.
Makeup remover wipes are non-negotiable. “They clean up any mistake fast,” she says. Q-tips are another must-have for precise touch-ups, helping sharpen edges and clean up tricky corners without disrupting the rest of your look.
Her go-to tool for rescuing a patchy base? A damp beauty sponge. “It melts harsh lines and fixes cakiness in seconds,” she explains. And when it comes to quick coverage fixes, nothing beats a trusty concealer. “It’s great for quick corrections.”
To tame midday brow drama, she always keeps a clear brow gel on hand. “It keeps everything in place,” she says. And when her makeup starts to look a little tired, she reaches for a hydrating setting spray to bring it back to life. “It revives everything.”
For on-the-go touch-ups, Chemburkar keeps things light and breathable. “Avoid heavy products—use blotting or compact powders just to freshen up.”


