Rituals
The weekly bodycare reset your skin’s been asking for
Read Now


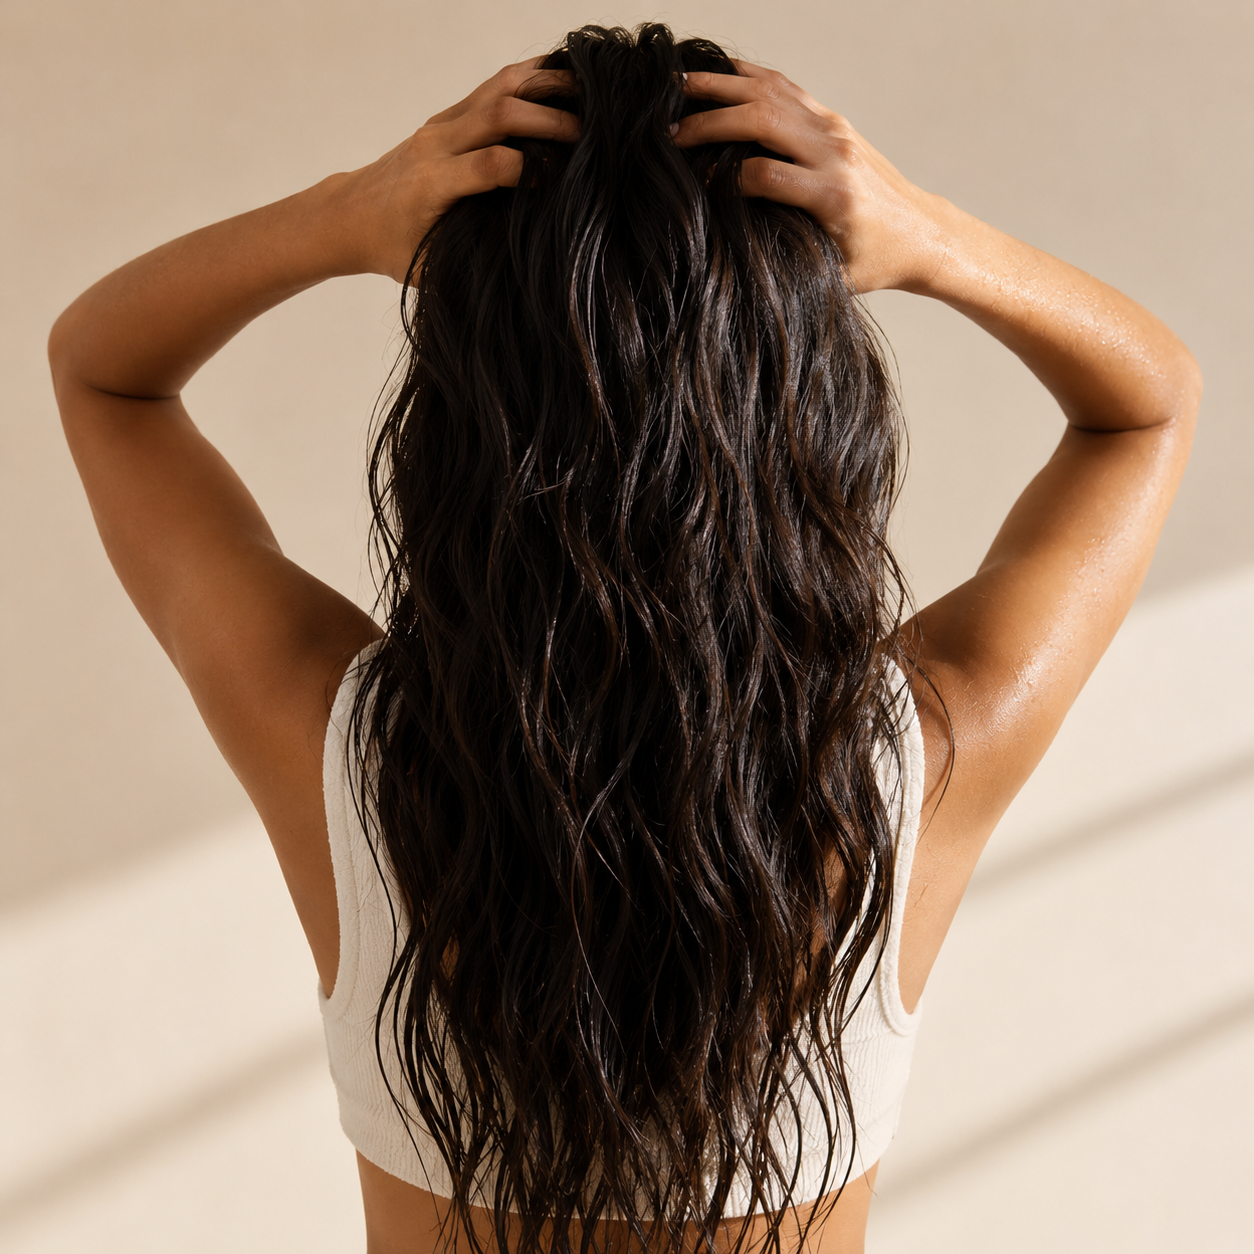
You washed your hair, used the right products, waited for it to dry and it’s still frizzy. Sound familiar? It’s usually not the products that are the problem. It’s the order they go on in. Apply your oil before your leave-in and you’ve accidentally sealed moisture out. Skip the cream layer and your serum has nothing to hold on to. Put everything on dry hair instead of damp, and it just sits on the surface rather than absorbing. It’s something nobody really tells you, which is why so many of us have been doing wash day on repeat without quite getting the results we’re after.
Once the layering order clicks, though? Smooth hair stops feeling like a lucky accident. Ahead, your five-step guide to doing it right.
.jpeg)


Looking for that sleek, glassy hair effect? The OSiS+ Glow serum has you covered. Infused with shea butter, this frizz-control serum nourishes and revives dull hair while taming flyaways and smoothing the overall appearance of your strands. It even protects your hair from humidity, making it ideal for Indian tropical weather. Its lightweight texture ensures long-lasting shine.
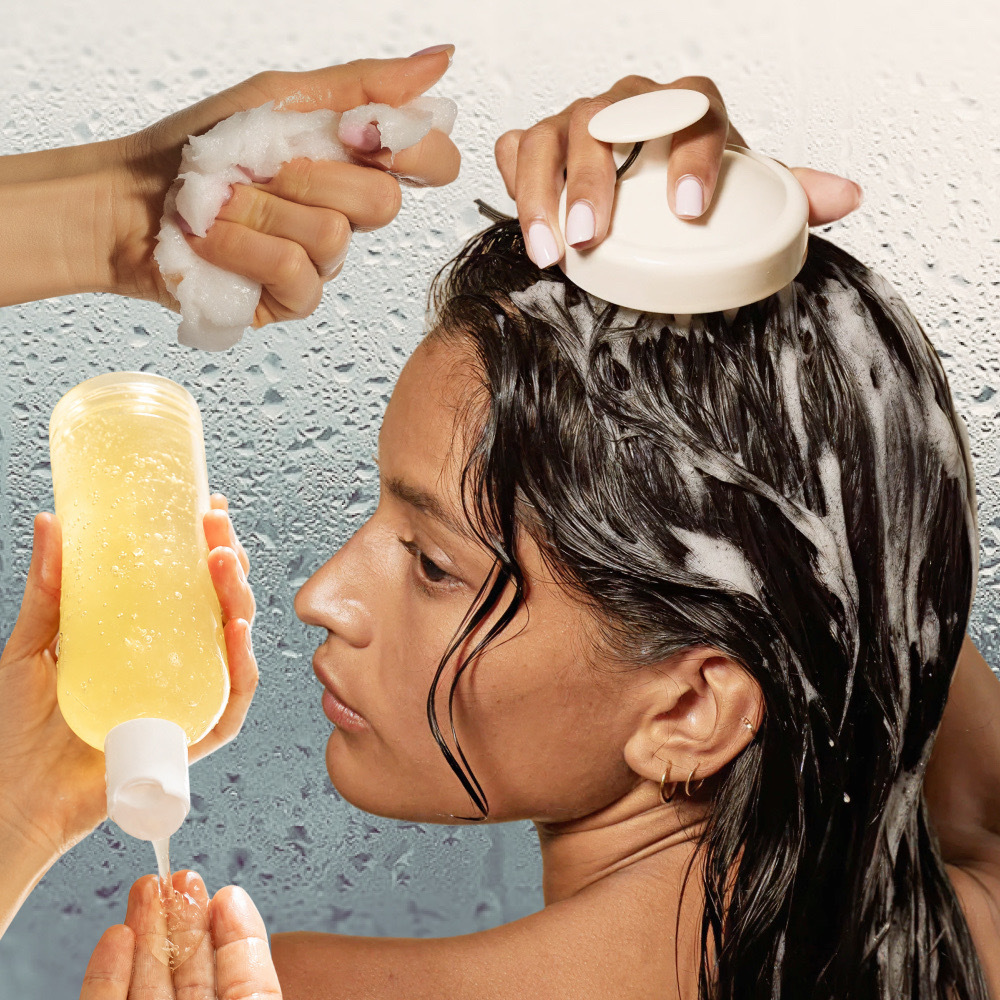
Before a single product goes on, this step decides everything. Rubbing wet hair with a regular towel roughs up the cuticle, which is exactly what causes the immediate post-wash puffiness. The fix is simple: switch to a microfibre towel or a cotton T-shirt—and scrunch, don’t rub. Pat the hair gently until it’s damp but not dripping. This is the state you want for applying everything that follows. Soaking wet hair dilutes products; fully dry hair won’t absorb them properly.
Why it matters: The cuticle is most vulnerable when wet. Gentle handling at this stage means your products get to do their job.
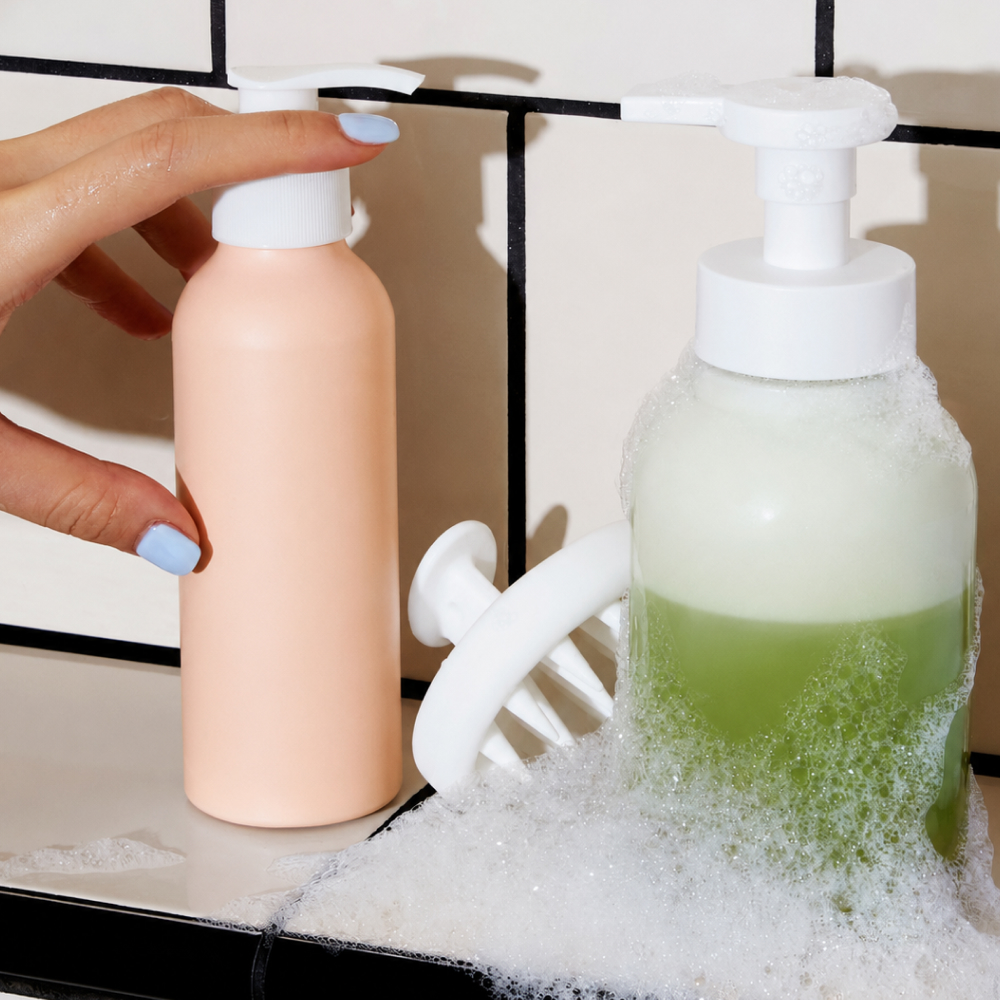
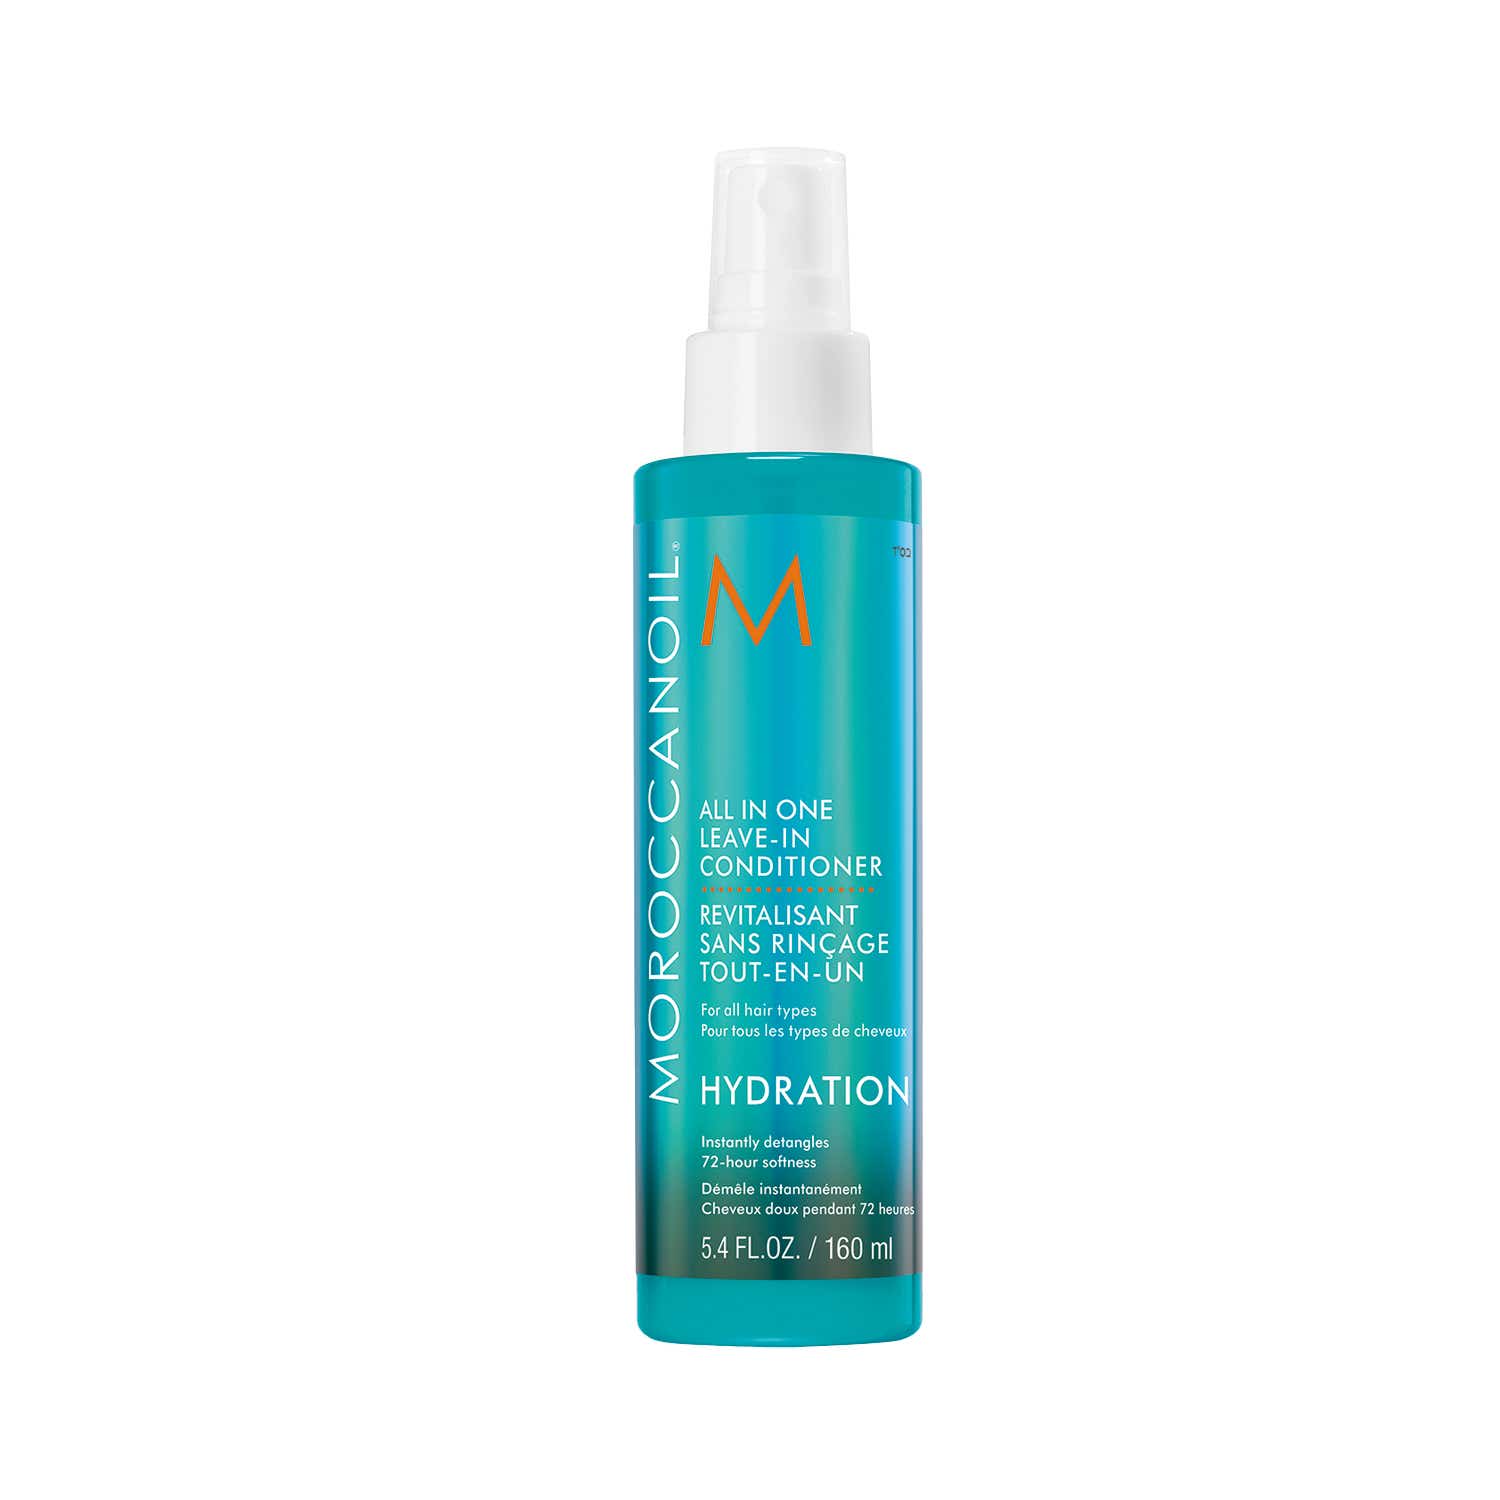
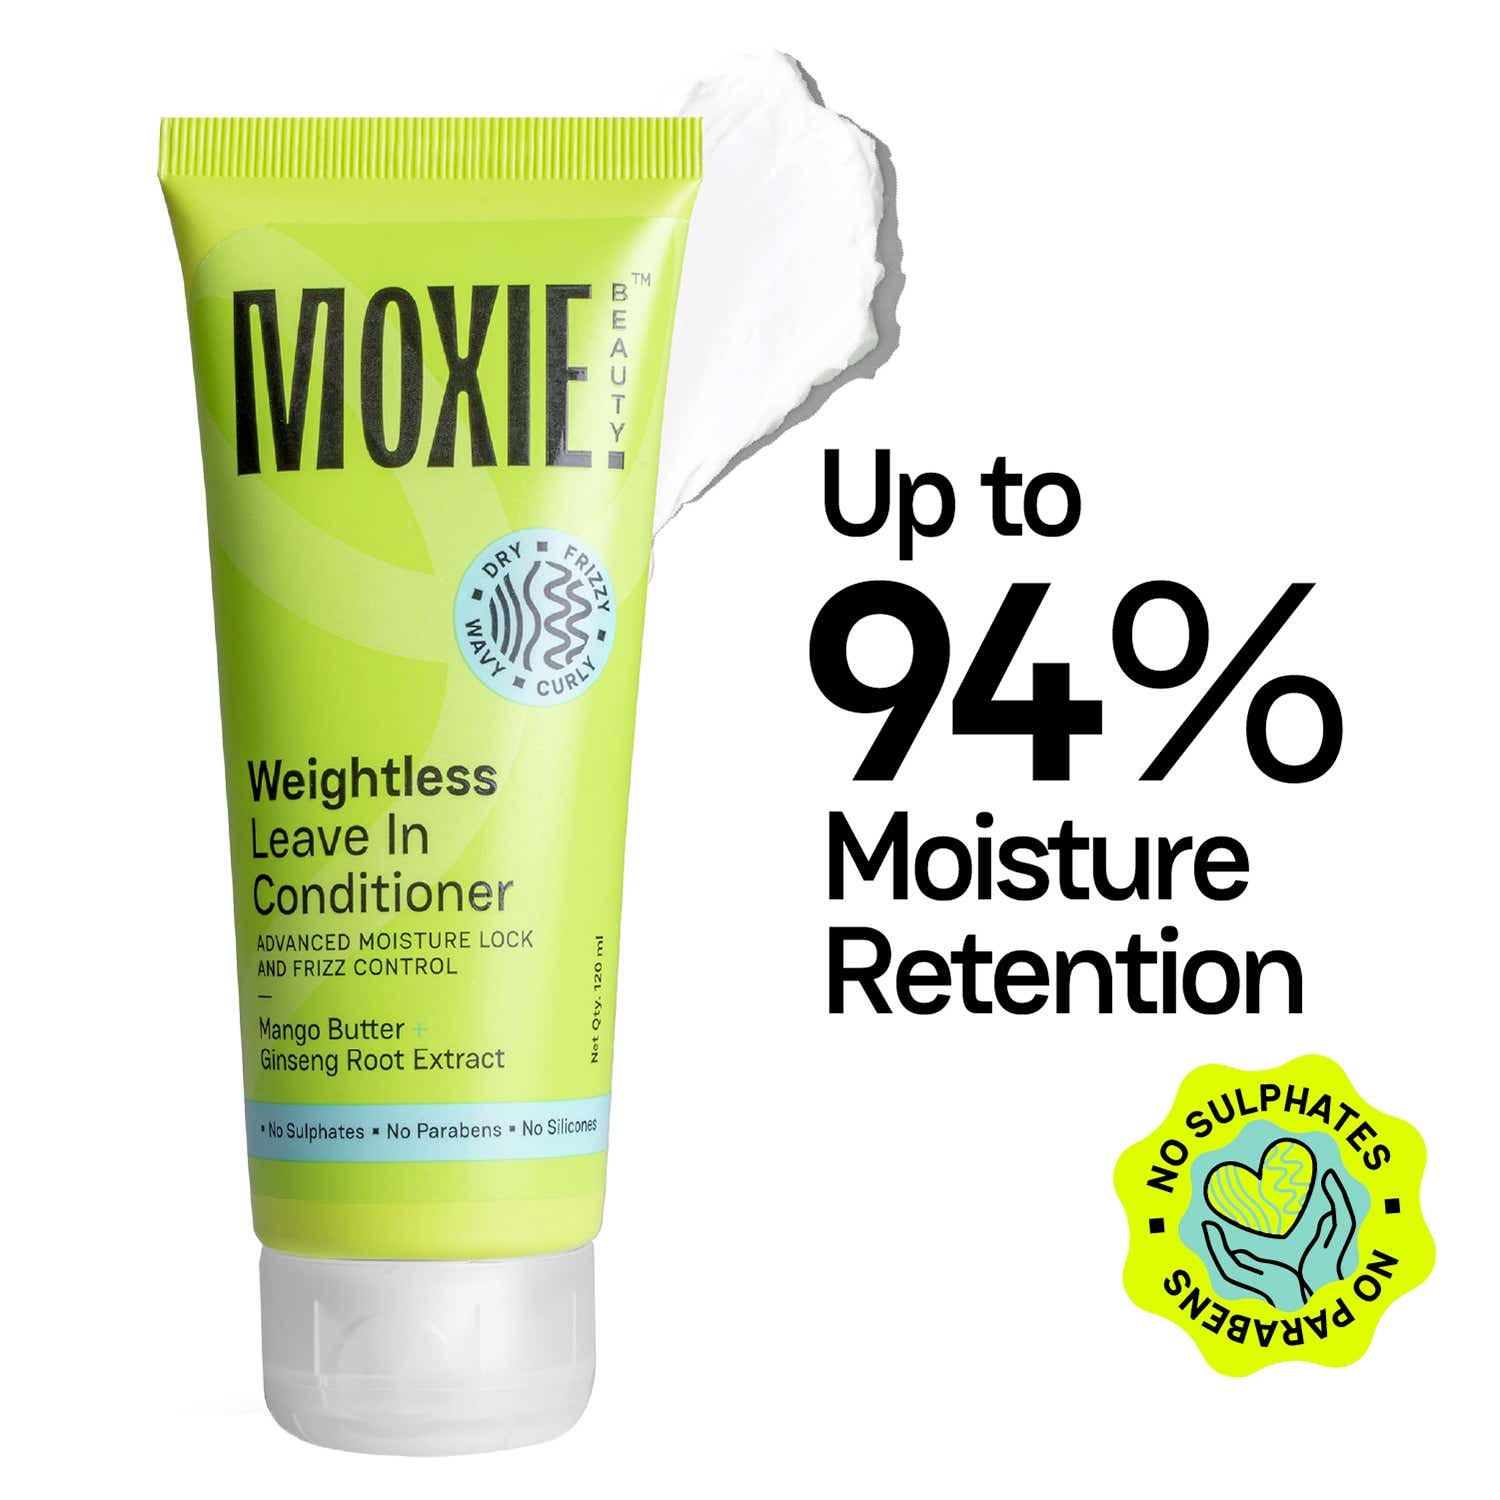
This is your first product layer, and it always goes on damp hair. A leave-in conditioner provides the moisture base that everything else builds on—think of it as the first line of defence rather than the last. Work it through mid-lengths to ends, avoiding the roots if your scalp tends to get oily.
Why it matters: Leave-in conditioners fill in gaps along the hair shaft, making it harder for humidity to get in and cause swelling. Everything you apply after this step needs this base to work.
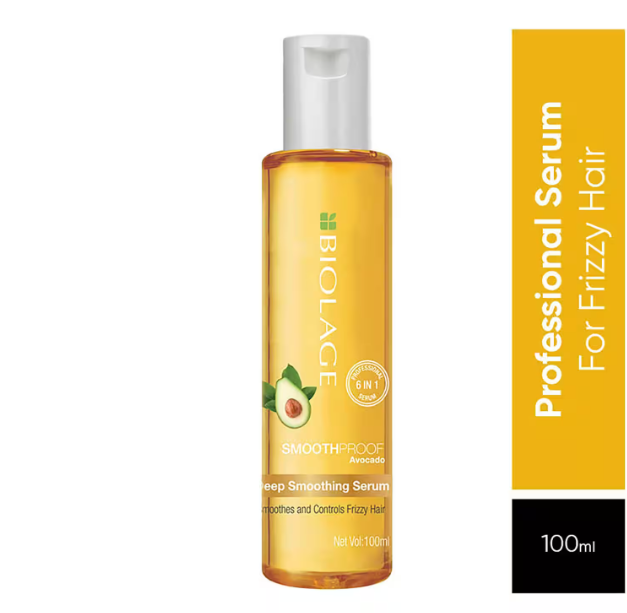
While your hair is still damp, add an anti-frizz serum on top. This layer coats the strand and creates a light barrier against humidity, which is where most frizz comes from. Emulsify the product between your palms first, then distribute from mid-lengths downward. A little goes a long way. If you have particularly dry hair, choose a product with an oil base. They have a high absorption rate and pair well with a leave-in underneath.
Why it matters: This is the step where frizz actually gets controlled, not just temporarily smoothed. The moisture from your leave-in is still in the hair, and the serum’s job is to keep it there.
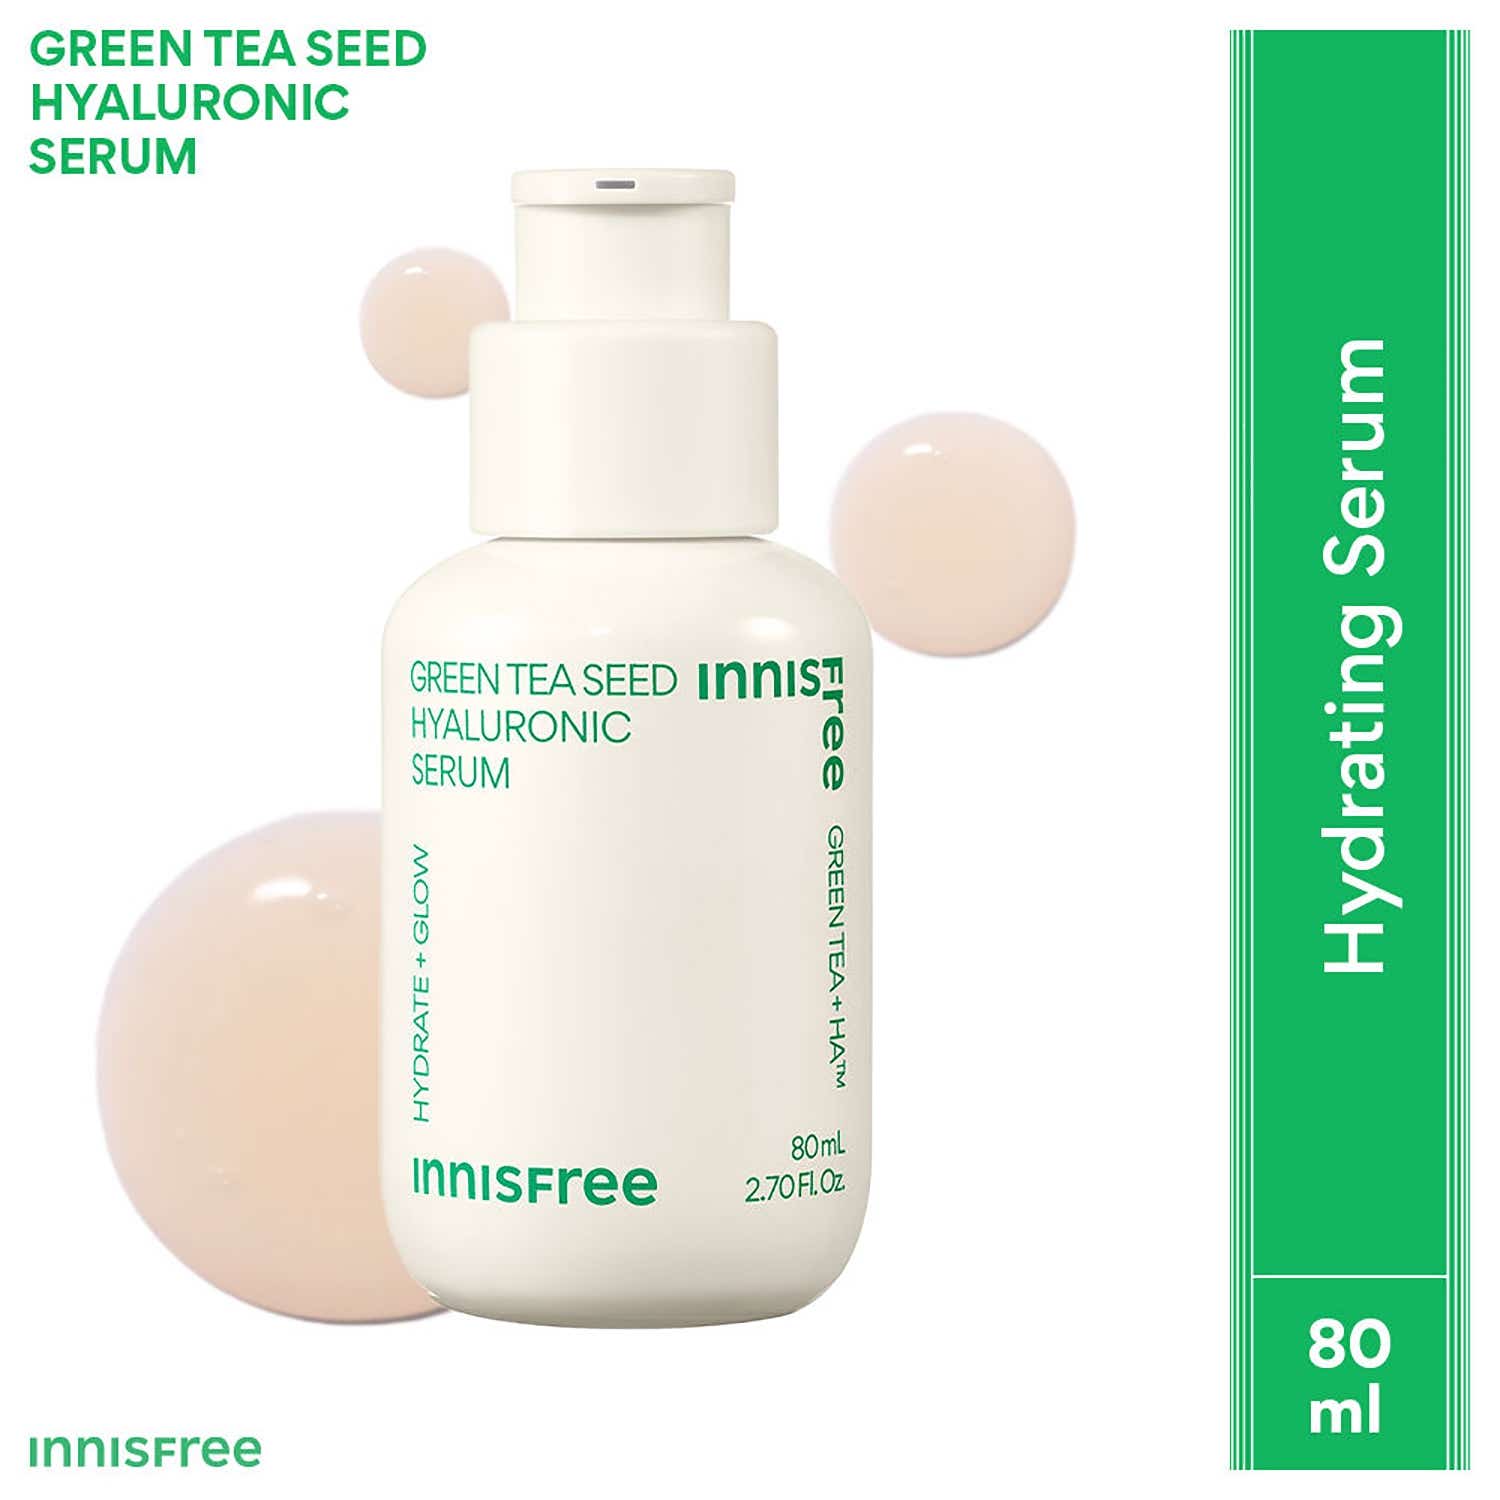
The last product layer is a finishing serum, and it’s the seal on everything you’ve applied. Go for one or two drops, and smooth them over the surface of the hair once the previous layers have been distributed. This is what locks in moisture and adds the gloss that makes hair look done without feeling stiff.
Why it matters: Finishing serums applied to bare hair tend to look greasy. On top of a moisture base, they do exactly what they’re meant to: shine and seal.
This last step costs nothing and is the one that most people skip. Once your products are on, let your hair dry undisturbed—ideally by air drying, or with a diffuser on low heat if you’re short on time. Every time you run your fingers through damp hair, you’re disturbing the cuticle and undoing the layers you’ve just built up. Resist the urge to touch, tousle or check on it until it’s fully dry.
Why it matters: All the product layering in the world is undone by hands-on drying. Patience here is what separates a good hair day from a great one.
Before a single product goes on, this step decides everything. Rubbing wet hair with a regular towel roughs up the cuticle, which is exactly what causes the immediate post-wash puffiness. The fix is simple: switch to a microfibre towel or a cotton T-shirt—and scrunch, don’t rub. Pat the hair gently until it’s damp but not dripping. This is the state you want for applying everything that follows. Soaking wet hair dilutes products; fully dry hair won’t absorb them properly.
Why it matters: The cuticle is most vulnerable when wet. Gentle handling at this stage means your products get to do their job.
This is your first product layer, and it always goes on damp hair. A leave-in conditioner provides the moisture base that everything else builds on—think of it as the first line of defence rather than the last. Work it through mid-lengths to ends, avoiding the roots if your scalp tends to get oily.
Why it matters: Leave-in conditioners fill in gaps along the hair shaft, making it harder for humidity to get in and cause swelling. Everything you apply after this step needs this base to work.
While your hair is still damp, add an anti-frizz serum on top. This layer coats the strand and creates a light barrier against humidity, which is where most frizz comes from. Emulsify the product between your palms first, then distribute from mid-lengths downward. A little goes a long way. If you have particularly dry hair, choose a product with an oil base. They have a high absorption rate and pair well with a leave-in underneath.
Why it matters: This is the step where frizz actually gets controlled, not just temporarily smoothed. The moisture from your leave-in is still in the hair, and the serum’s job is to keep it there.
The last product layer is a finishing serum, and it’s the seal on everything you’ve applied. Go for one or two drops, and smooth them over the surface of the hair once the previous layers have been distributed. This is what locks in moisture and adds the gloss that makes hair look done without feeling stiff.
Why it matters: Finishing serums applied to bare hair tend to look greasy. On top of a moisture base, they do exactly what they’re meant to: shine and seal.
This last step costs nothing and is the one that most people skip. Once your products are on, let your hair dry undisturbed—ideally by air drying, or with a diffuser on low heat if you’re short on time. Every time you run your fingers through damp hair, you’re disturbing the cuticle and undoing the layers you’ve just built up. Resist the urge to touch, tousle or check on it until it’s fully dry.
Why it matters: All the product layering in the world is undone by hands-on drying. Patience here is what separates a good hair day from a great one.